Yesterday, as I was eying some tempting dishes in the spring special issue of Bon Appetit waiting for my appointment at a store, two things caught my attention about spring/summer cooking:
I'll be very honest, I do get greedy looking at all the fresh produce in the market around this time and stock up much more than I need to. After reading the two statements from Bon Appetit, I decided to clean out my fridge and make dinner that required minimal cooking. Being inspired by all the pictures in the magazine, I got my fancy on. The dinner comprised of watermelon salad, avocado-tomato salad and stuffed sweet peppers.
Watermelon Salad
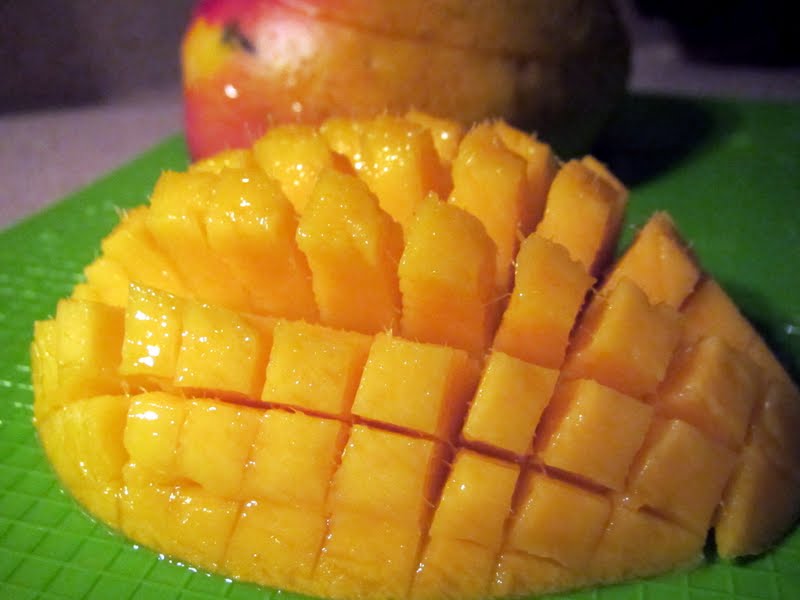
Last summer my GF and I discovered how to successfully use the melon baller. It turned into an all afternoon activity trying to carve the perfect ball shapes. It's really not that difficult to use a melon baller but you can quickly crush a delicate fruit like watermelon if not used properly. Dig the scoop firmly into the melon and scoop out flesh like you would ice-cream. Make sure you turn the scoop all the way around to get that perfect round shape. After scooping out the flesh, you end up with a watermelon resembling swiss cheese from Tom & Jerry :D. Now all you need to do is add a tablespoon of lemon juice + 1 teaspoon honey and drizzle it over melon balls. Garnish with chopped fresh sweet basil and your fancy looking salad is ready!
Lemon juice helps maintain freshness of the melon and honey brings out the sweetness. Mint is an excellent choice for garnishing as it goes well with anything sweet. Basil comes from the same family and I happen to love its pairing with fruits.
You can make a mixed melon salad with watermelon, cantaloupe and honeydew. The three colors look just beautiful together.
Avocado Tomato Salad
All that fancy-shmancy food with practically no work! Put on your cute summer dress and call your girlfriends over for a fun backyard lunch.
- Nothing you serve in this season needs to be 'piping hot'.
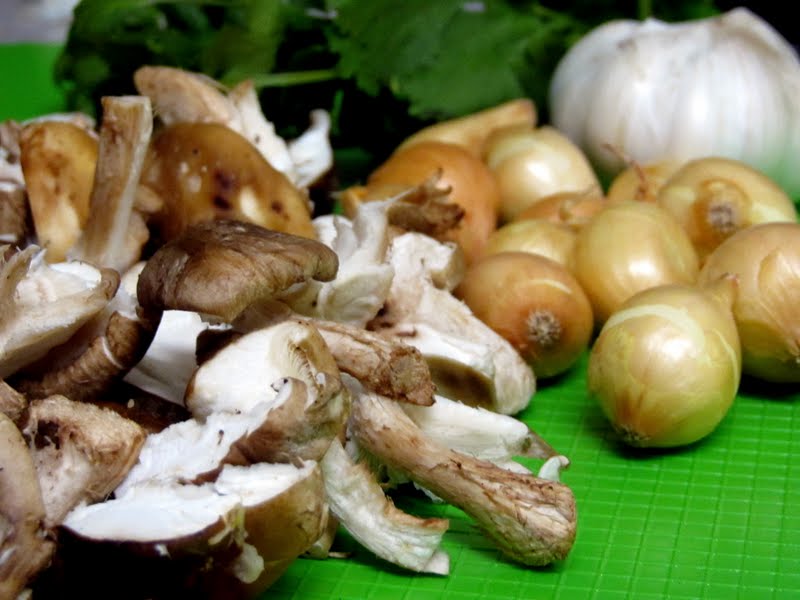
- The good thing about summer is you get to eat plenty of vegetables. It also means you end up with more produce than you know what to do with.
I'll be very honest, I do get greedy looking at all the fresh produce in the market around this time and stock up much more than I need to. After reading the two statements from Bon Appetit, I decided to clean out my fridge and make dinner that required minimal cooking. Being inspired by all the pictures in the magazine, I got my fancy on. The dinner comprised of watermelon salad, avocado-tomato salad and stuffed sweet peppers.
 |
| Watermelon Salad |
Last summer my GF and I discovered how to successfully use the melon baller. It turned into an all afternoon activity trying to carve the perfect ball shapes. It's really not that difficult to use a melon baller but you can quickly crush a delicate fruit like watermelon if not used properly. Dig the scoop firmly into the melon and scoop out flesh like you would ice-cream. Make sure you turn the scoop all the way around to get that perfect round shape. After scooping out the flesh, you end up with a watermelon resembling swiss cheese from Tom & Jerry :D. Now all you need to do is add a tablespoon of lemon juice + 1 teaspoon honey and drizzle it over melon balls. Garnish with chopped fresh sweet basil and your fancy looking salad is ready!
Lemon juice helps maintain freshness of the melon and honey brings out the sweetness. Mint is an excellent choice for garnishing as it goes well with anything sweet. Basil comes from the same family and I happen to love its pairing with fruits.
You can make a mixed melon salad with watermelon, cantaloupe and honeydew. The three colors look just beautiful together.
 |
| Avocado-Tomato prettied up |
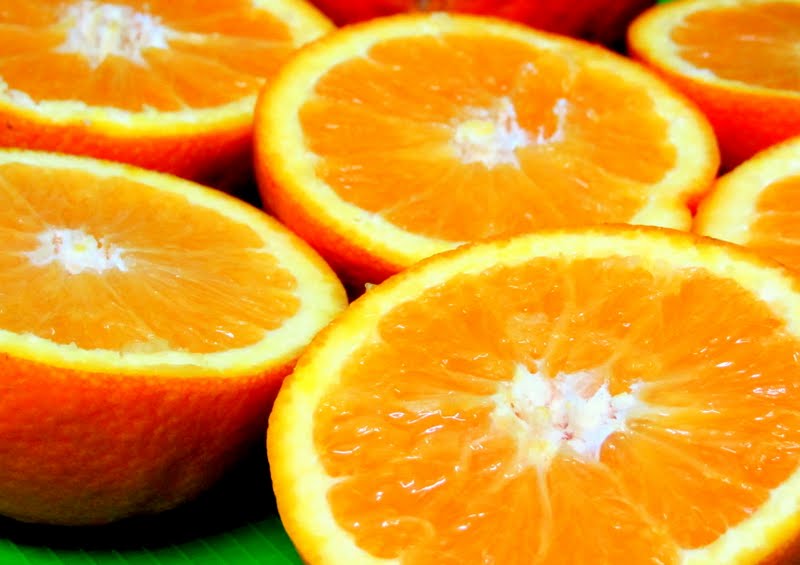
For a savory note, I just cut up one tomato and an avocado and placed them on a plate like a blooming flower. Sprinkle some lemon juice to stop avocado from turning brown/black. Salt and freshly cracked pepper and a little bit of feta cheese on tomato. Garnish with some cilantro. Keep it simple, keep it stylish!
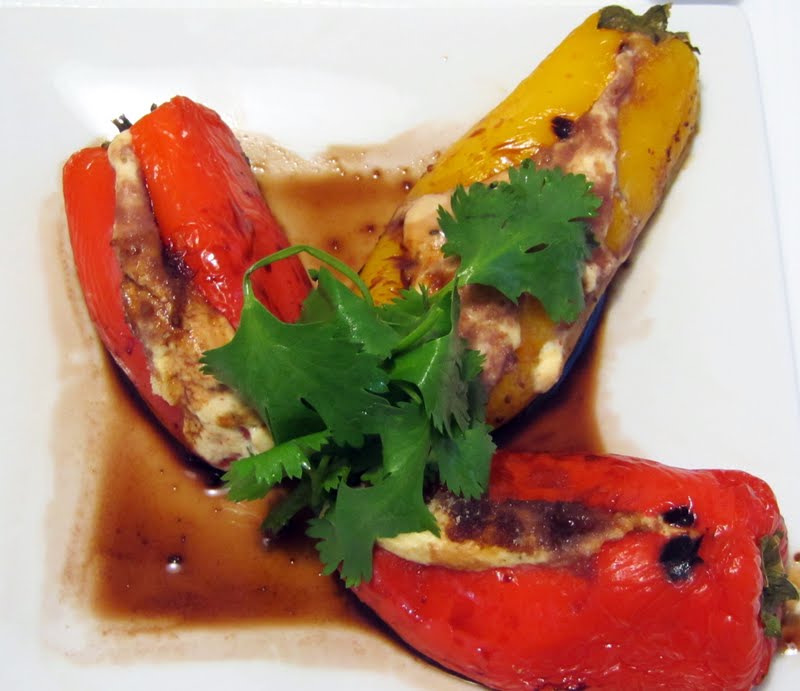 |
| Stuffed sweet peppers |
Stuffed Sweet Peppers
This dish was my take on a stuffed piquillo dish I had at a restaurant in Pismo Beach. Now it's not completely cooking free, but there is no 'cooking to death' involved either.
Season some low-fat cream cheese with Italian herbs, paprika and salt. Stuff this mixture into sweet peppers that are slit open on the top.
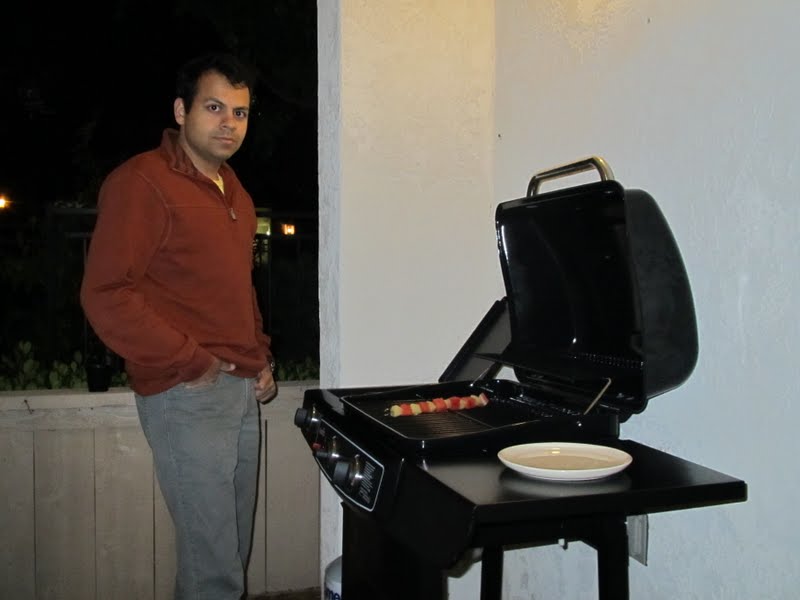
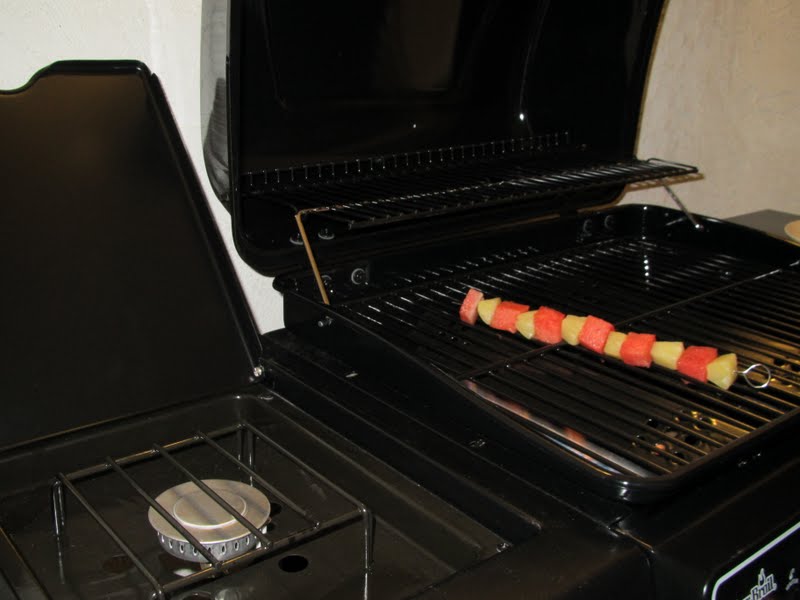
Grill the peppers just for a couple of minutes until they get grill marks.
Finish cooking these peppers in simmering red wine in a pan. Heat a flat pan, add wine and once it starts boiling place the peppers in the pan. Cover and cook for 2-3 minutes on medium-high.
*Use a sweet wine as it'll work well with the sweetness of the peppers. I used a Port.
The peppers will absorb some of the wine and the cream cheese will ooze out. When serving, place peppers in the dish and add the reduced wine to the dish.
 |