You don't realize how time gets away from you when there is a super active, and attention seeking 11 month old at home. I hardly get time to do anything once I'm home from work. I meant to post this recipe two weeks ago, but better late than never.
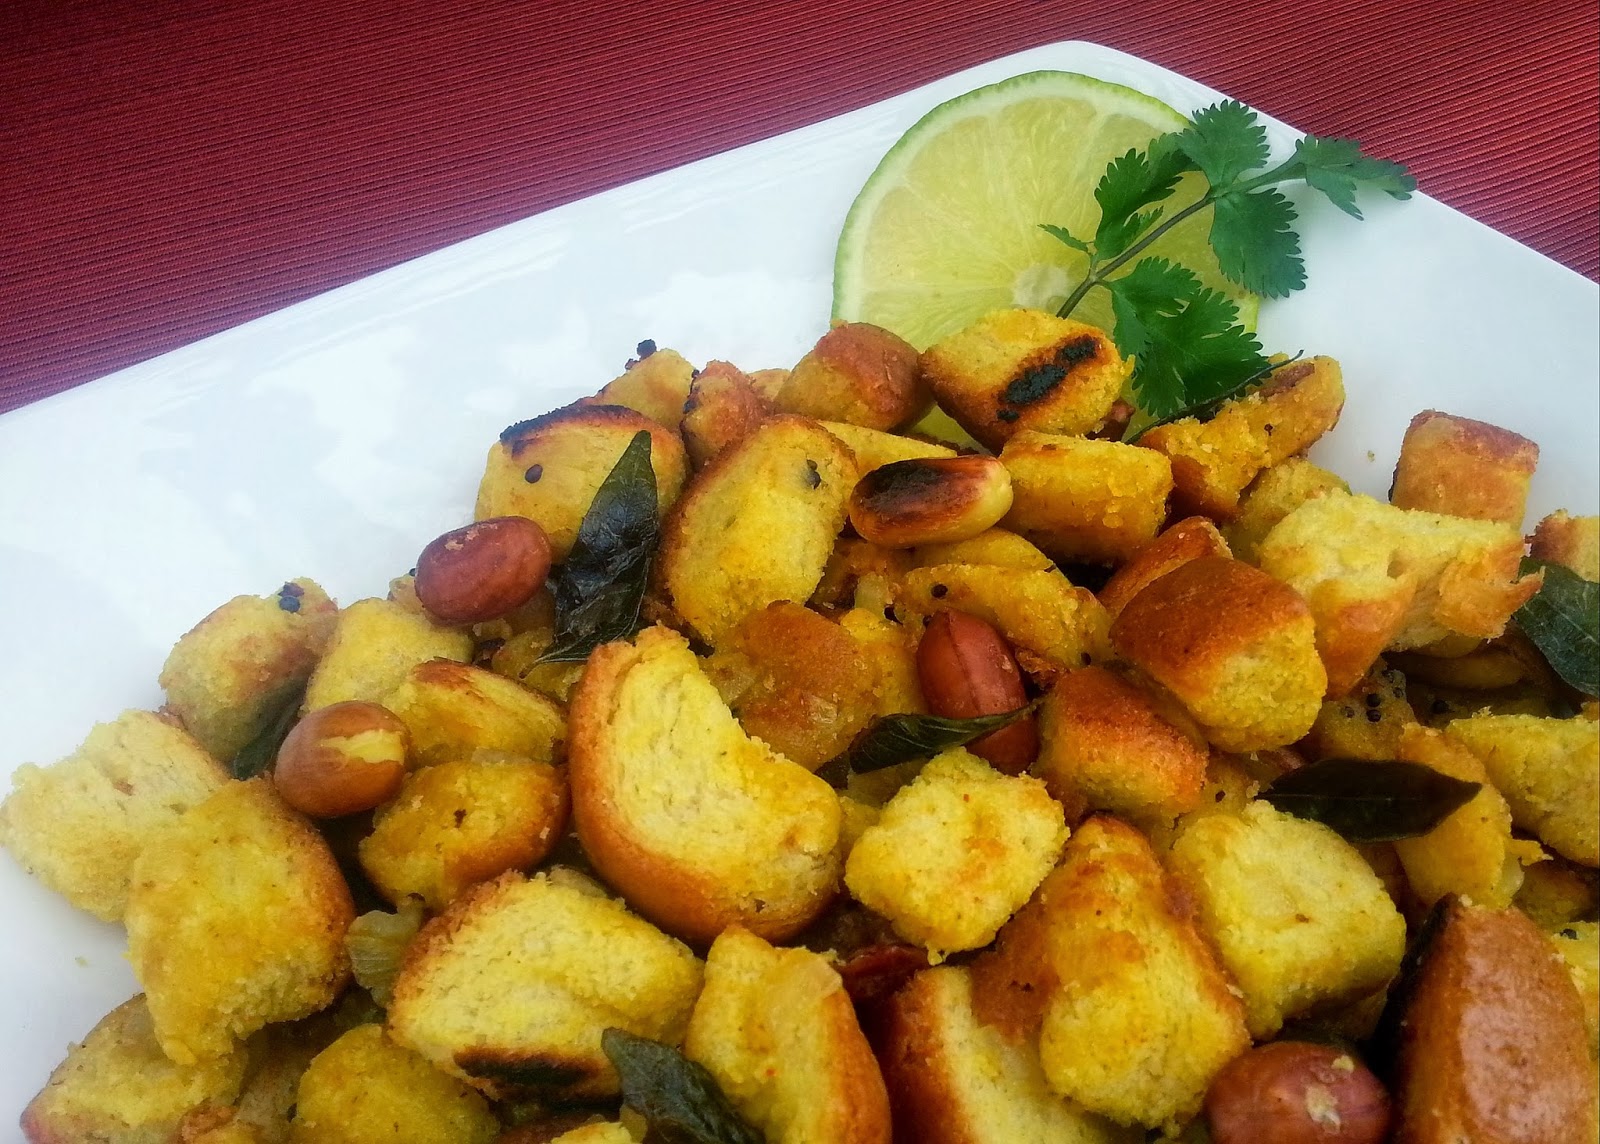
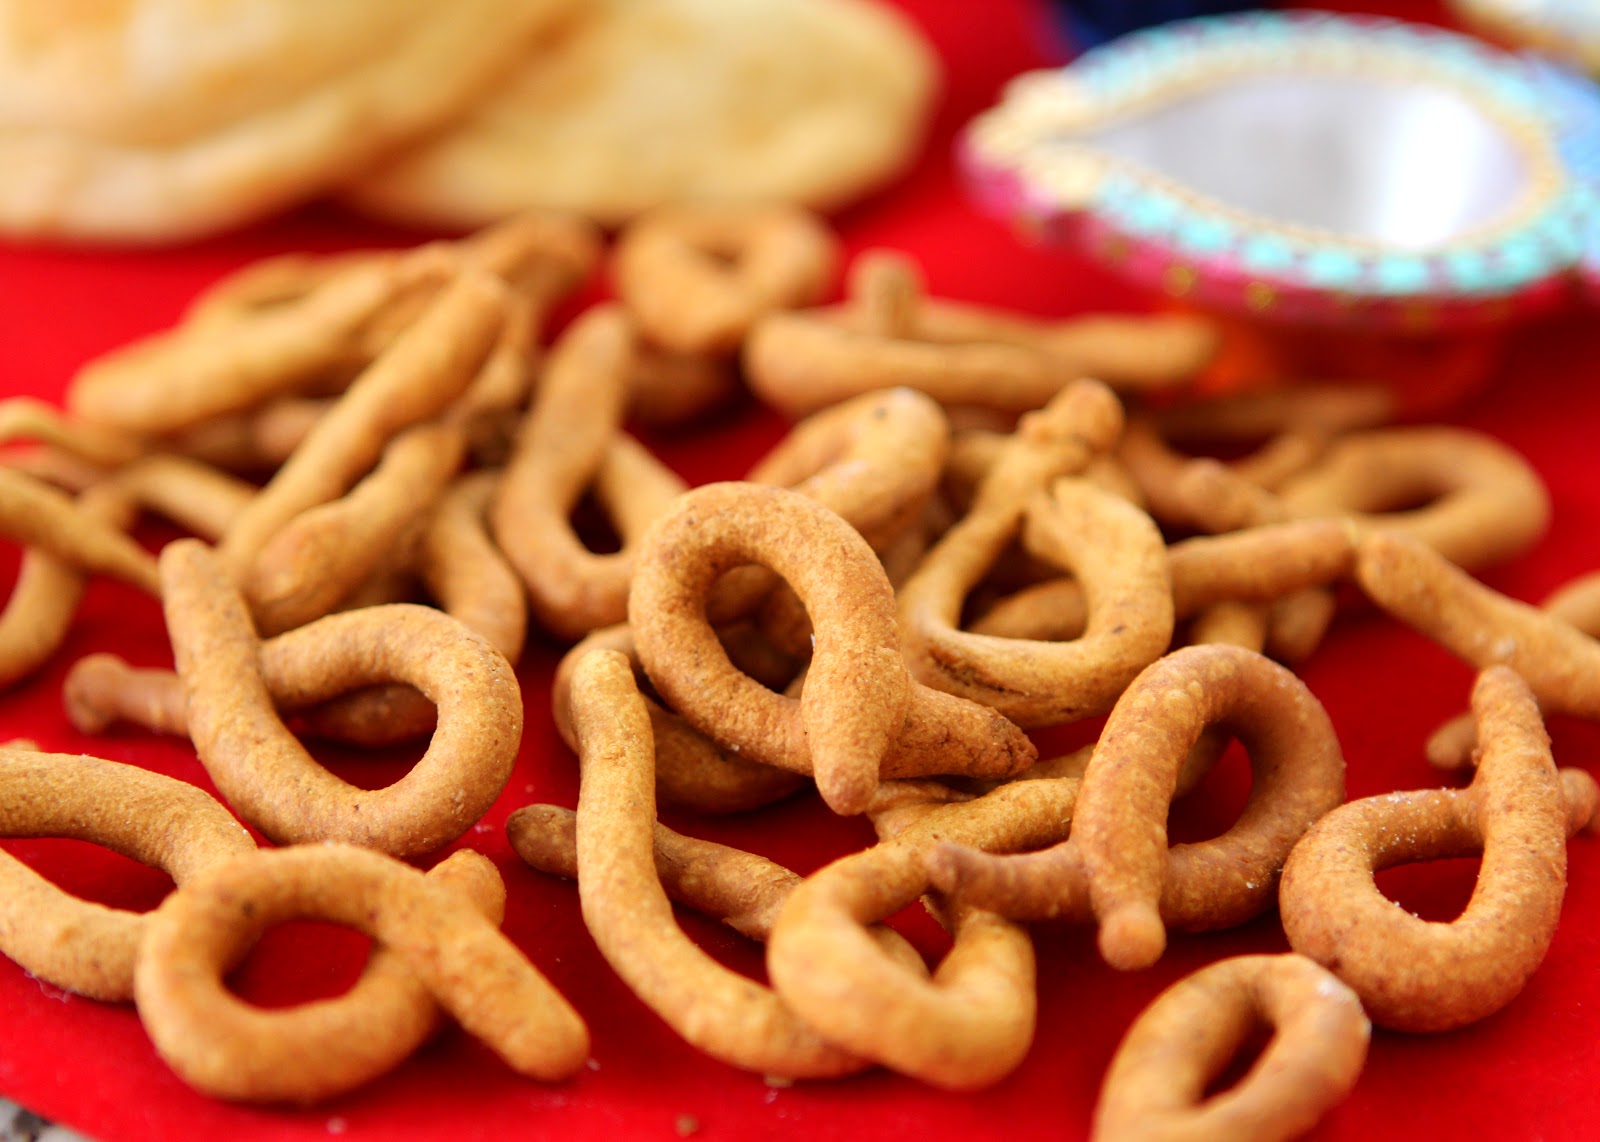
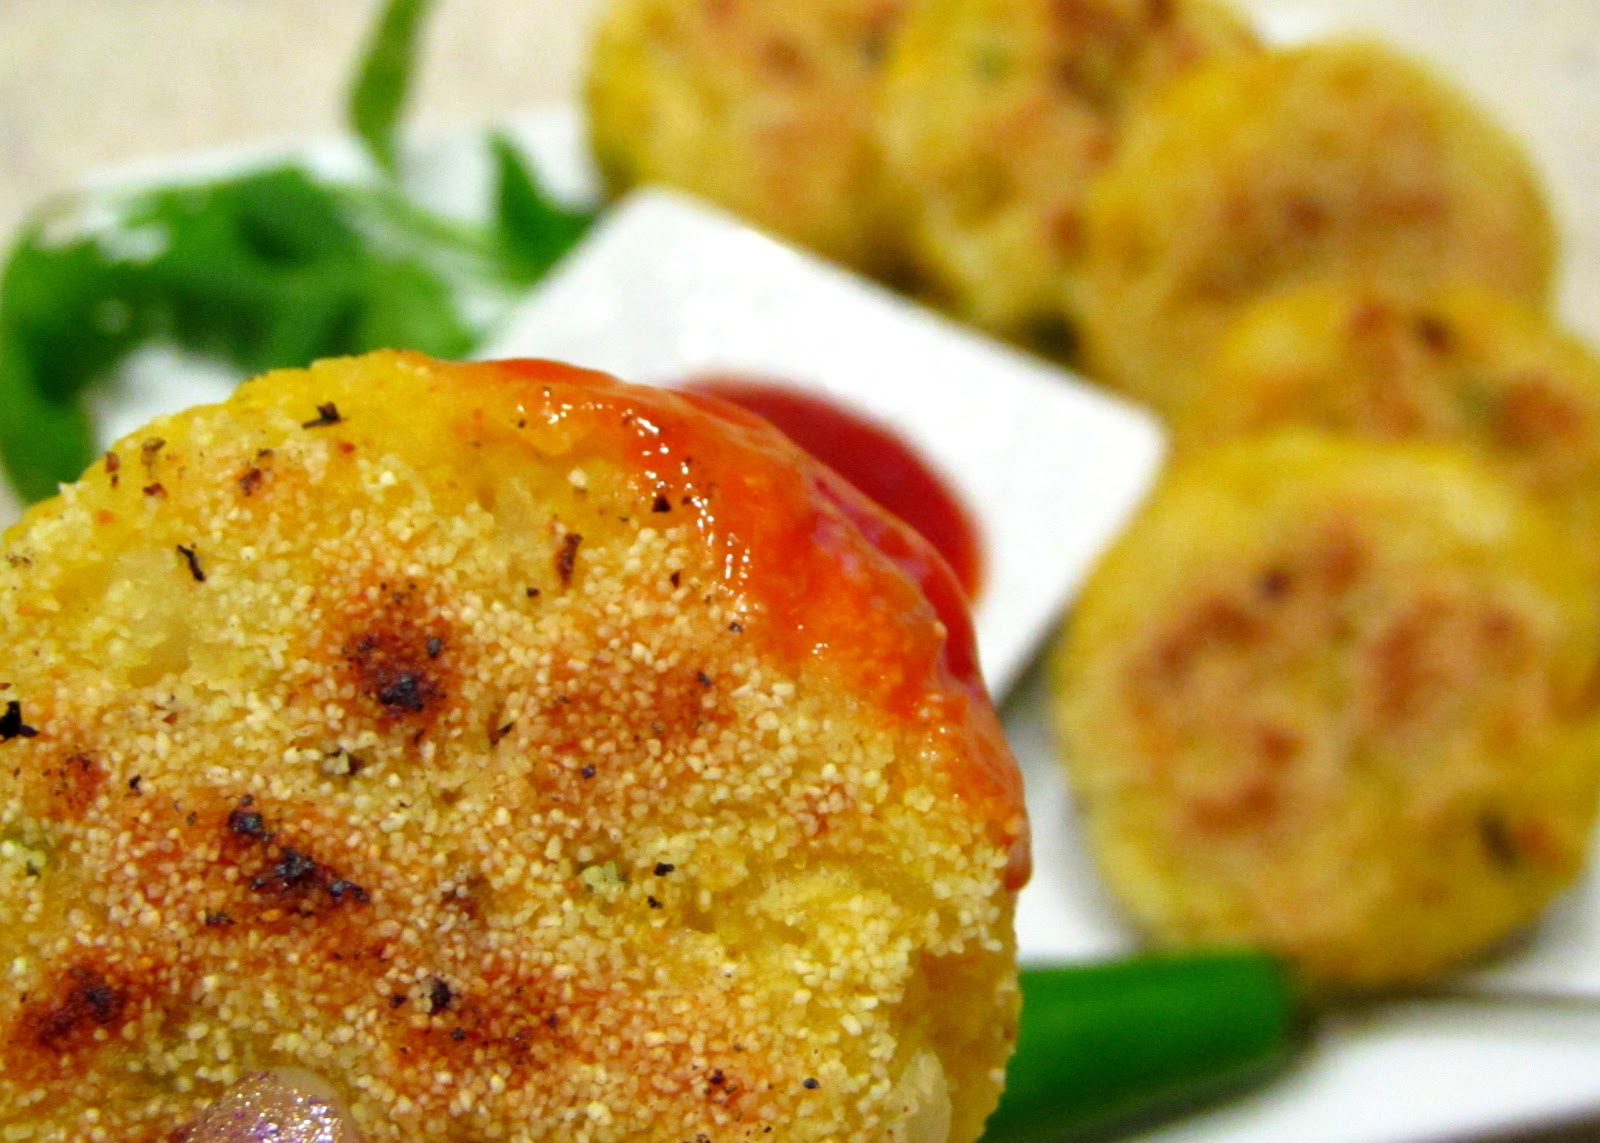
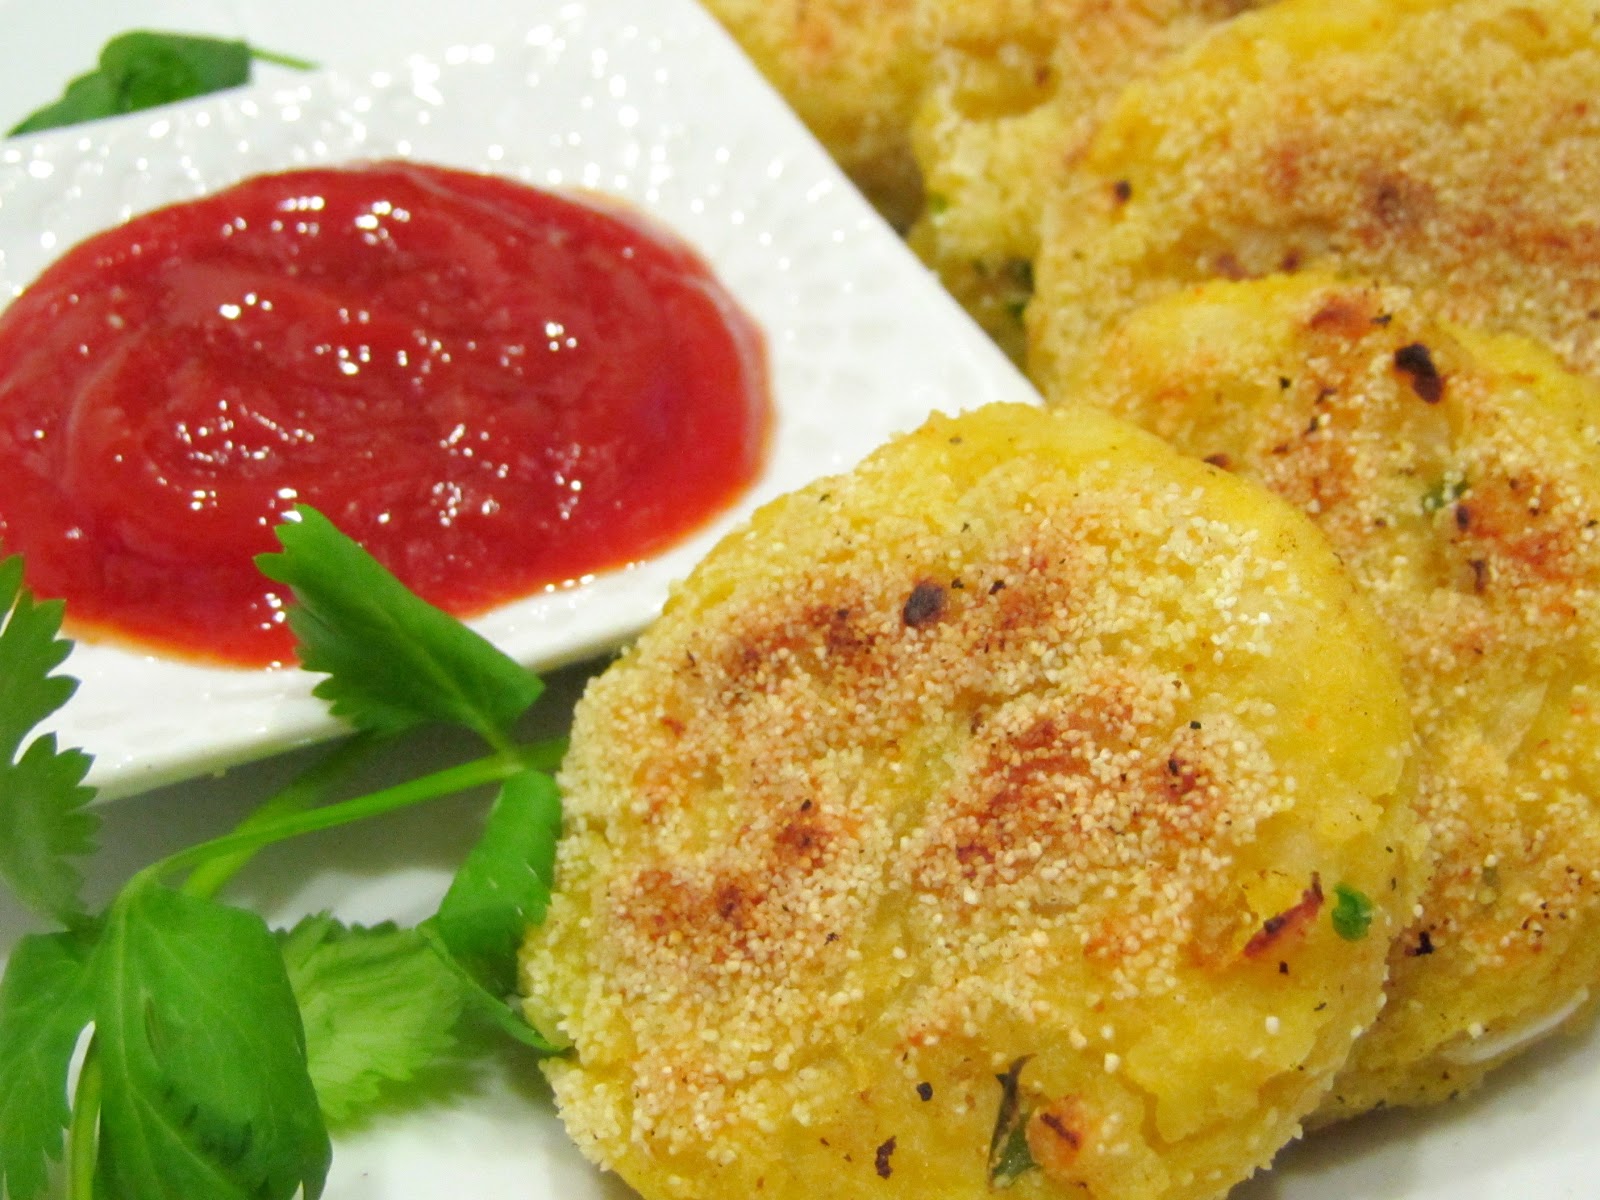
Our friends had invited us over for a Superbowl party. The host, despite suggesting to have a potluck, had graciously agreed to do all the cooking. Husband suggested taking some snack along. I didn't have much time to make anything fancy. We had just hosted our neighbors for an Indian brunch the day before, and my kitchen was somewhat of a mess. I browsed through the pantry for an idea, and decided to make Masala Peanuts - spicy peanut fritters. Masala peanuts are great to munch on while sipping on a cold beer. This is a popular 'chakana' (the vernacular term to describe all the snacks that go well with alcohol) item in India. Peanuts are coated in a spicy chickpea flour batter and deep fried until golden brown. They are spicy, crunchy, zesty, and just typing this makes me want to have some! I added a touch of garlic powder to the batter - why not? Garlic goes great with peanuts. The only problem was that the besan/chickpea flour I used was the coarse type. I would've preferred fine besan as it stick to peanuts better. Despite that, husband loved the preparation, and so did all the guests at the party.
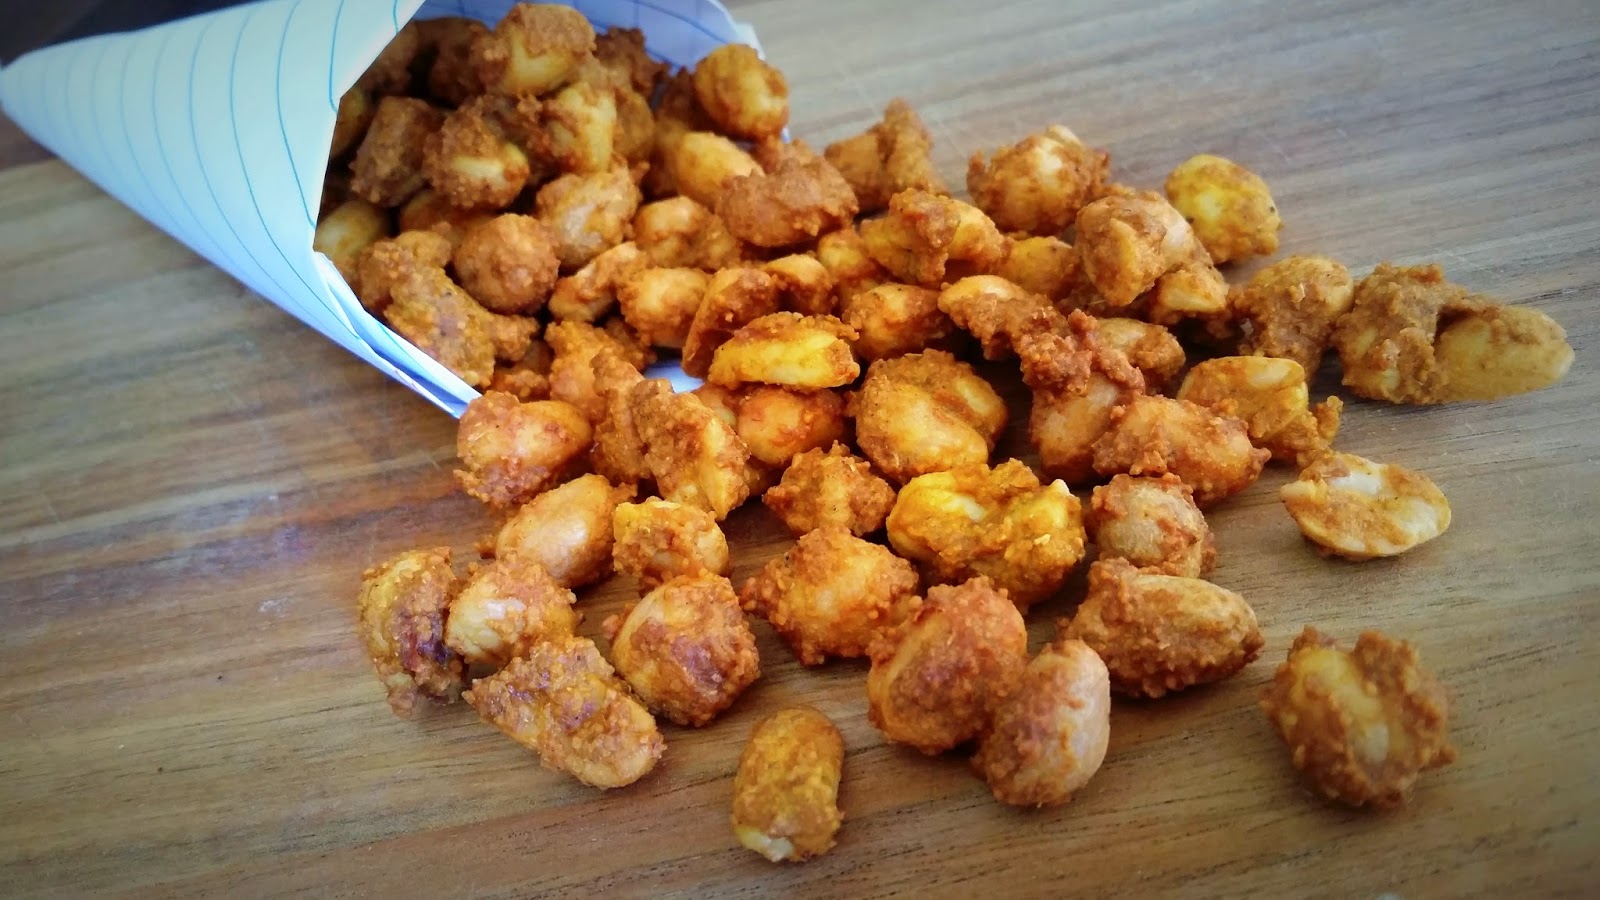
Garlicky Masala Peanuts
Ingredients:
1 Cup whole unroasted peanuts (with or without skin)
1/2 Cup besan/ chickpea flour
3 Tablespoons rice flour
2 Teaspoons red chili powder (adjust to your liking)
2 Teaspoons cumin-coriander powder
1/2 Teaspoon turmeric powder
1/2 Teaspoon amchur/ dried mango powder
2/3 Teaspoon garlic powder
Salt to taste
1/2 Cup water (or as needed)
Oil for frying
Serve with a cold beverage!
Our friends had invited us over for a Superbowl party. The host, despite suggesting to have a potluck, had graciously agreed to do all the cooking. Husband suggested taking some snack along. I didn't have much time to make anything fancy. We had just hosted our neighbors for an Indian brunch the day before, and my kitchen was somewhat of a mess. I browsed through the pantry for an idea, and decided to make Masala Peanuts - spicy peanut fritters. Masala peanuts are great to munch on while sipping on a cold beer. This is a popular 'chakana' (the vernacular term to describe all the snacks that go well with alcohol) item in India. Peanuts are coated in a spicy chickpea flour batter and deep fried until golden brown. They are spicy, crunchy, zesty, and just typing this makes me want to have some! I added a touch of garlic powder to the batter - why not? Garlic goes great with peanuts. The only problem was that the besan/chickpea flour I used was the coarse type. I would've preferred fine besan as it stick to peanuts better. Despite that, husband loved the preparation, and so did all the guests at the party.
Garlicky Masala Peanuts
Ingredients:
1 Cup whole unroasted peanuts (with or without skin)
1/2 Cup besan/ chickpea flour
3 Tablespoons rice flour
2 Teaspoons red chili powder (adjust to your liking)
2 Teaspoons cumin-coriander powder
1/2 Teaspoon turmeric powder
1/2 Teaspoon amchur/ dried mango powder
2/3 Teaspoon garlic powder
Salt to taste
1/2 Cup water (or as needed)
Oil for frying
- Mix besan, rice flour, and all the spices. Add water little by little to make a thick batter.
- Add in peanuts and mix until all of them are evenly coated.
- Heat oil in a frying pan. Add ~1 tablespoon hot oil to the battered peanuts. This hot oil added to the batter before frying is called 'mohan' and helps make the fritters light.
- Fry battered peanuts on medium heat until golden brown. If you add a bunch of peanuts together, they'll end up sticking together. Take some in your hand, and drop them from the side of the frying pan while separating them with your fingers. This will ensure they don't stick. Be careful with hot oil.
- Take them out of the frying pan and keep on a paper towel to absorb excess oil.
- The peanuts will be soft right out of the frying pan, but let them cool a bit and they'll be crunchy.
Serve with a cold beverage!