Wishing everyone a very happy Diwali!!! May the glow of the Diwali diyas brighten our lives and remove darkness and evil. Hope you all are enjoying the festivities with your near and dear ones, and stuffing yourselves with Diwali sweets and snacks! Let's remember the less fortunate ones this Diwali and help in any way we can.
There are lots of firsts for us this Diwali - our first time celebrating it together (since I left hubs by himself last year while I was celebrating with my family back in India), our first Diwali in the new house, my first Diwali in San Diego! Although I miss my family and friends staying far from me, I'm super excited about being 'home' with hubby this year. Yesterday, we cleaned and decorated the house together, got a bigger and better home for our pet betta fish and ended the day by making some delicious 'faraal' with friends (sweets and snacks prepared specially on Diwali are called faraal in Maharashtra). A perfect Saturday before Diwali!
Back in India, all the ladies (with enthusiastic kids like me tagged along) would go to each other's house to help out with faraal making. The faraal was made in large quantities as it was to be shared with a big number of family members, friends and neighbors. Over here, the faraal hardly gets consumed. Honestly, I was wondering if I should even bother making anything this year. But once my friend told me how she and her husband were craving faraal, I immediately asked her to come over so we could have a 'faraal making party' :D. So last night, we gorged on fresh Shankarpali, Karanji and Garlic Shev/Sev along with a dinner of daal-rice and amrakhand (talk about gluttony). I had a moment of 'oh, I love faraal no matter how averse I'm to fried foods' and realized it isn't Diwali until the waft of ghee fills up your house!
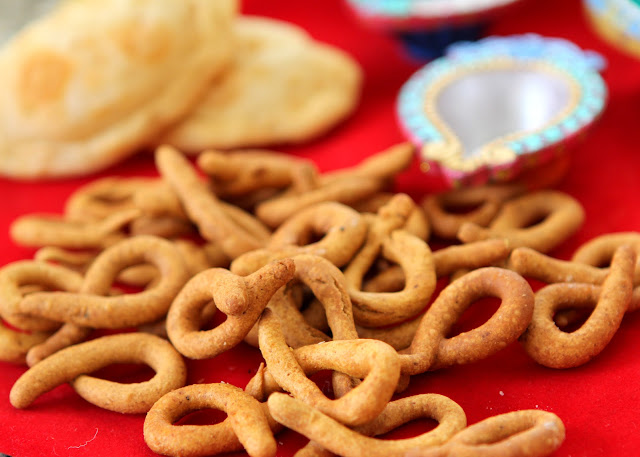
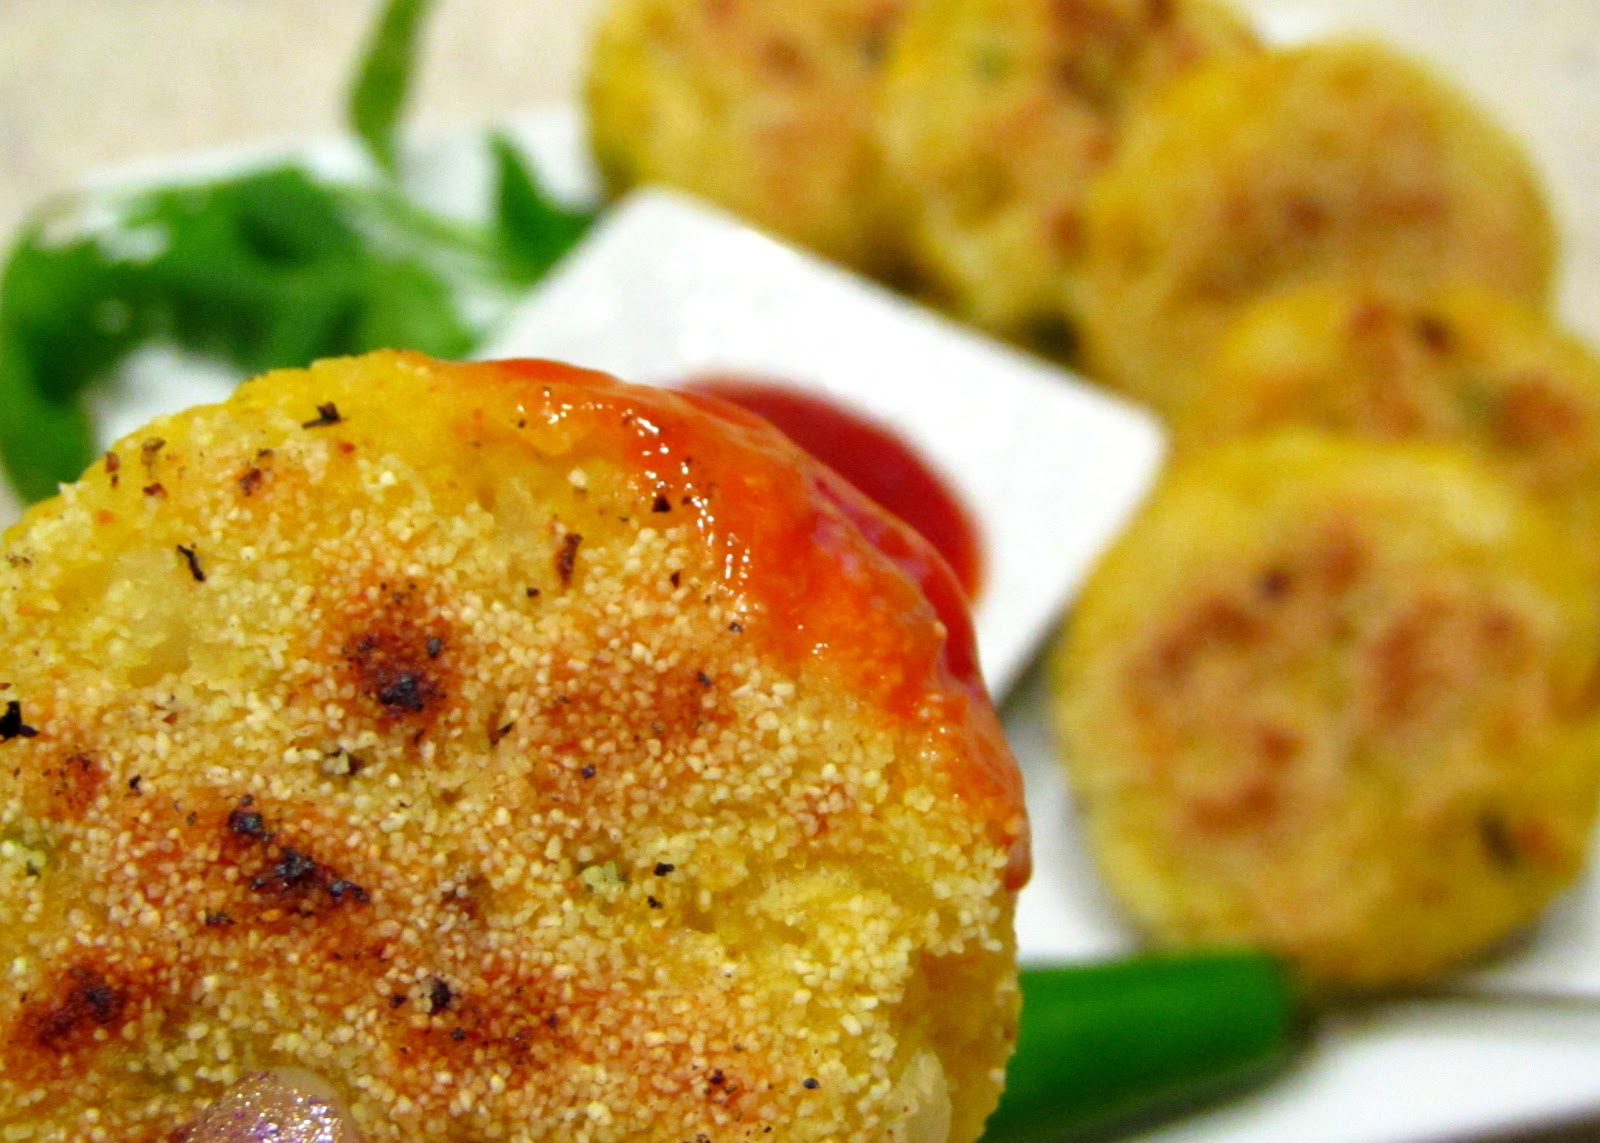
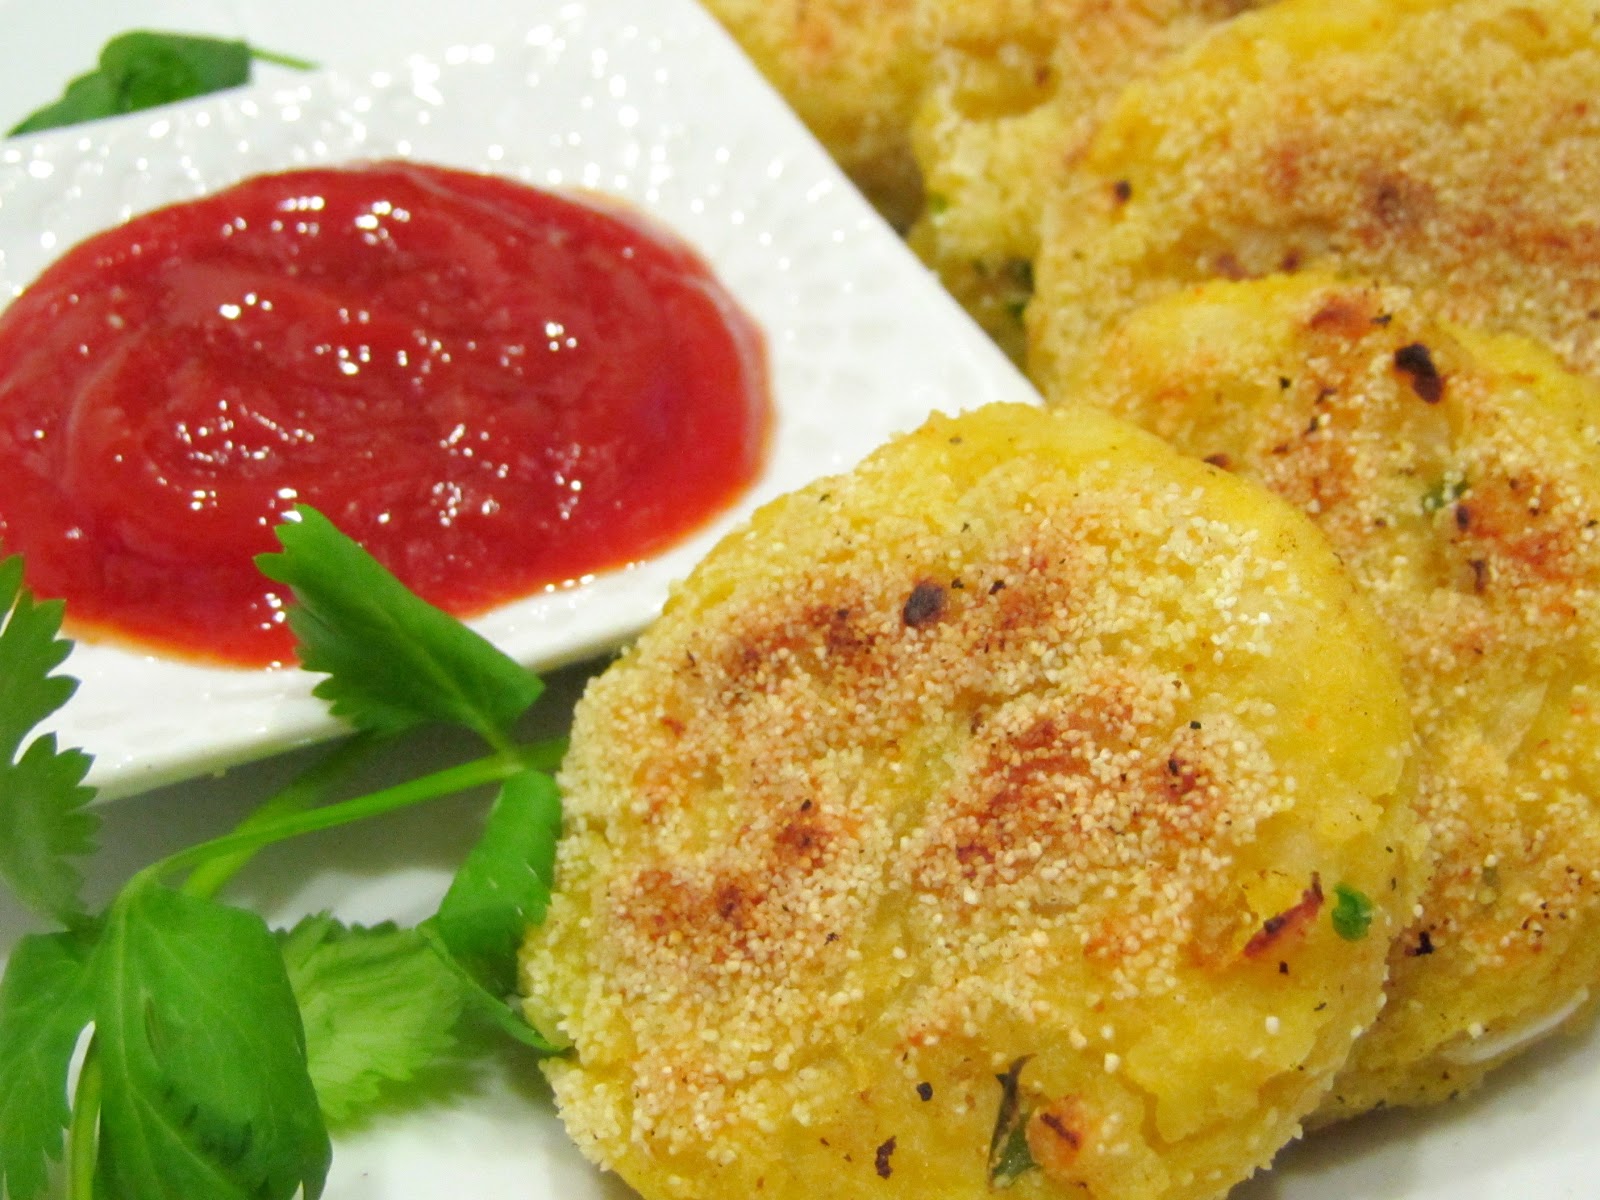
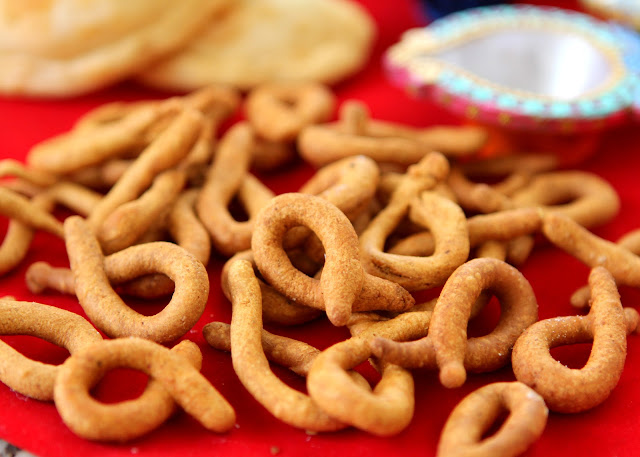
I'm sharing the recipe for Garlic Sev/Lasanachi Shev. My mom passed on this recipe from the recipe book every Marathi woman swears by - Kamalabai Ogale's Ruchira! I absolutely love this preparation. It's great to change your palate in between all the sweets. Sadly, I don't have a Sev patra (the press that you make sev with), so I shaped these like kadbole by hand. I only made a small quantity so it won't be lying around for days.
Garlic Sev/Lasanachi Shev
Ingredients:
1 Cup Besan (chickpea flour)
3 Tablespoons whole wheat flour
6-7 Large garlic cloves
1 1/2 Teaspoons red chili powder (adjust per your liking)
1 Teaspoon cumin-coriander powder
1/2 Teaspoon ajwain/ova seeds
2-3 Pinches baking soda
Salt to taste
Water as needed
Oil for frying
Enjoy the sinful, fried foods today, for tomorrow we may diet ;).
There are lots of firsts for us this Diwali - our first time celebrating it together (since I left hubs by himself last year while I was celebrating with my family back in India), our first Diwali in the new house, my first Diwali in San Diego! Although I miss my family and friends staying far from me, I'm super excited about being 'home' with hubby this year. Yesterday, we cleaned and decorated the house together, got a bigger and better home for our pet betta fish and ended the day by making some delicious 'faraal' with friends (sweets and snacks prepared specially on Diwali are called faraal in Maharashtra). A perfect Saturday before Diwali!
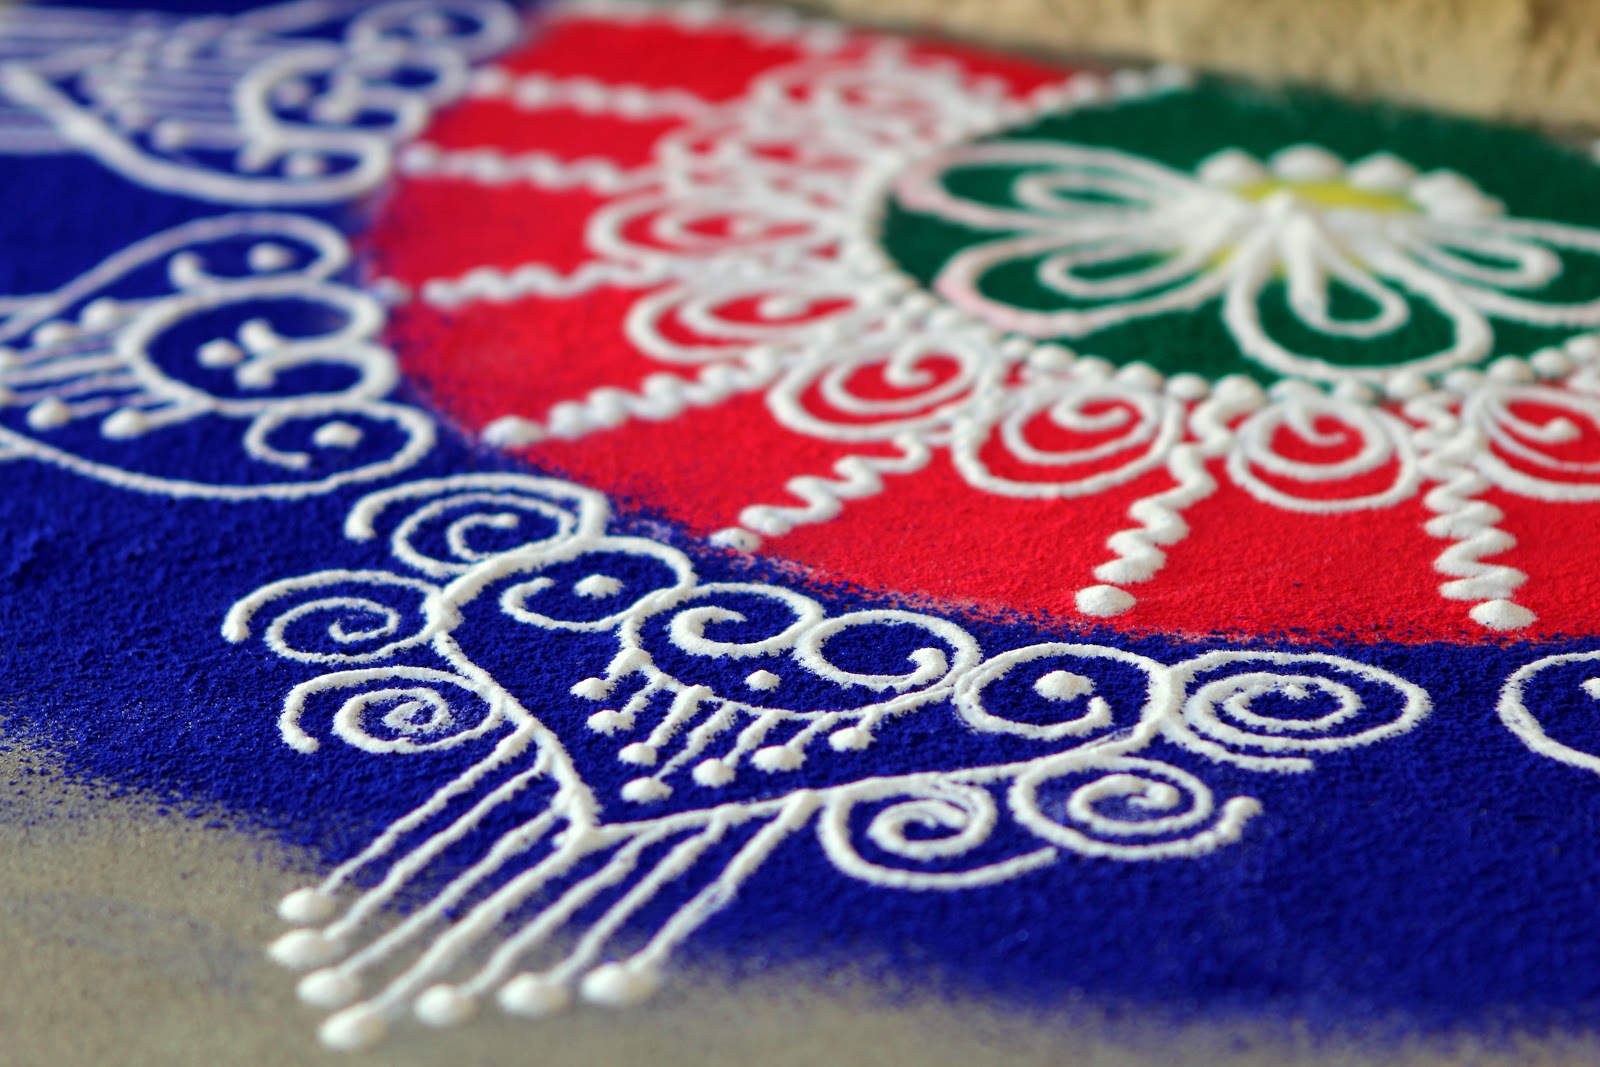 |
| Rangoli at the doorfront |


Garlic Sev/Lasanachi Shev
Ingredients:
1 Cup Besan (chickpea flour)
3 Tablespoons whole wheat flour
6-7 Large garlic cloves
1 1/2 Teaspoons red chili powder (adjust per your liking)
1 Teaspoon cumin-coriander powder
1/2 Teaspoon ajwain/ova seeds
2-3 Pinches baking soda
Salt to taste
Water as needed
Oil for frying
- Grind garlic cloves using morta-pestle or a small grinder. Add a little bit of water to it and strain it through a fine strainer. Squeeze all the water out of the garlic. You now have a garlic concentrate! You will use this concentrate to flavor the sev so that you don't end up biting into bits of garlic! Isn't that clever?
- Mix both the flours, red chili powder and cumin-coriander powder together.
- Bruise the ajwain lightly - just take it in your palm and rub it with your thumb. This brings out the oils.
- Mix the ajwain, garlic concentrate, baking soda and add salt to taste (add a little extra salt than usual - frying tones down the flavors).
- Add water little by little to form a soft, stiff dough. If you don't have a Sev press, make the dough stiff enough so you can shape it by hand.
- Heat oil in a kadhai. Once the oil is hot, drop sev in it through the press and fry until yellowish-brown. Keep the flame on low-medium heat. This way, the sev will cook from inside. Otherwise it ends up burning on the outside and the center remains uncooked.
- Without a press, you can make small bow-like shapes by rolling out the dough thinly between your palms and pressing two ends together like shown in the picture.
Enjoy the sinful, fried foods today, for tomorrow we may diet ;).