Thursday, April 28, 2011

Back To Basics

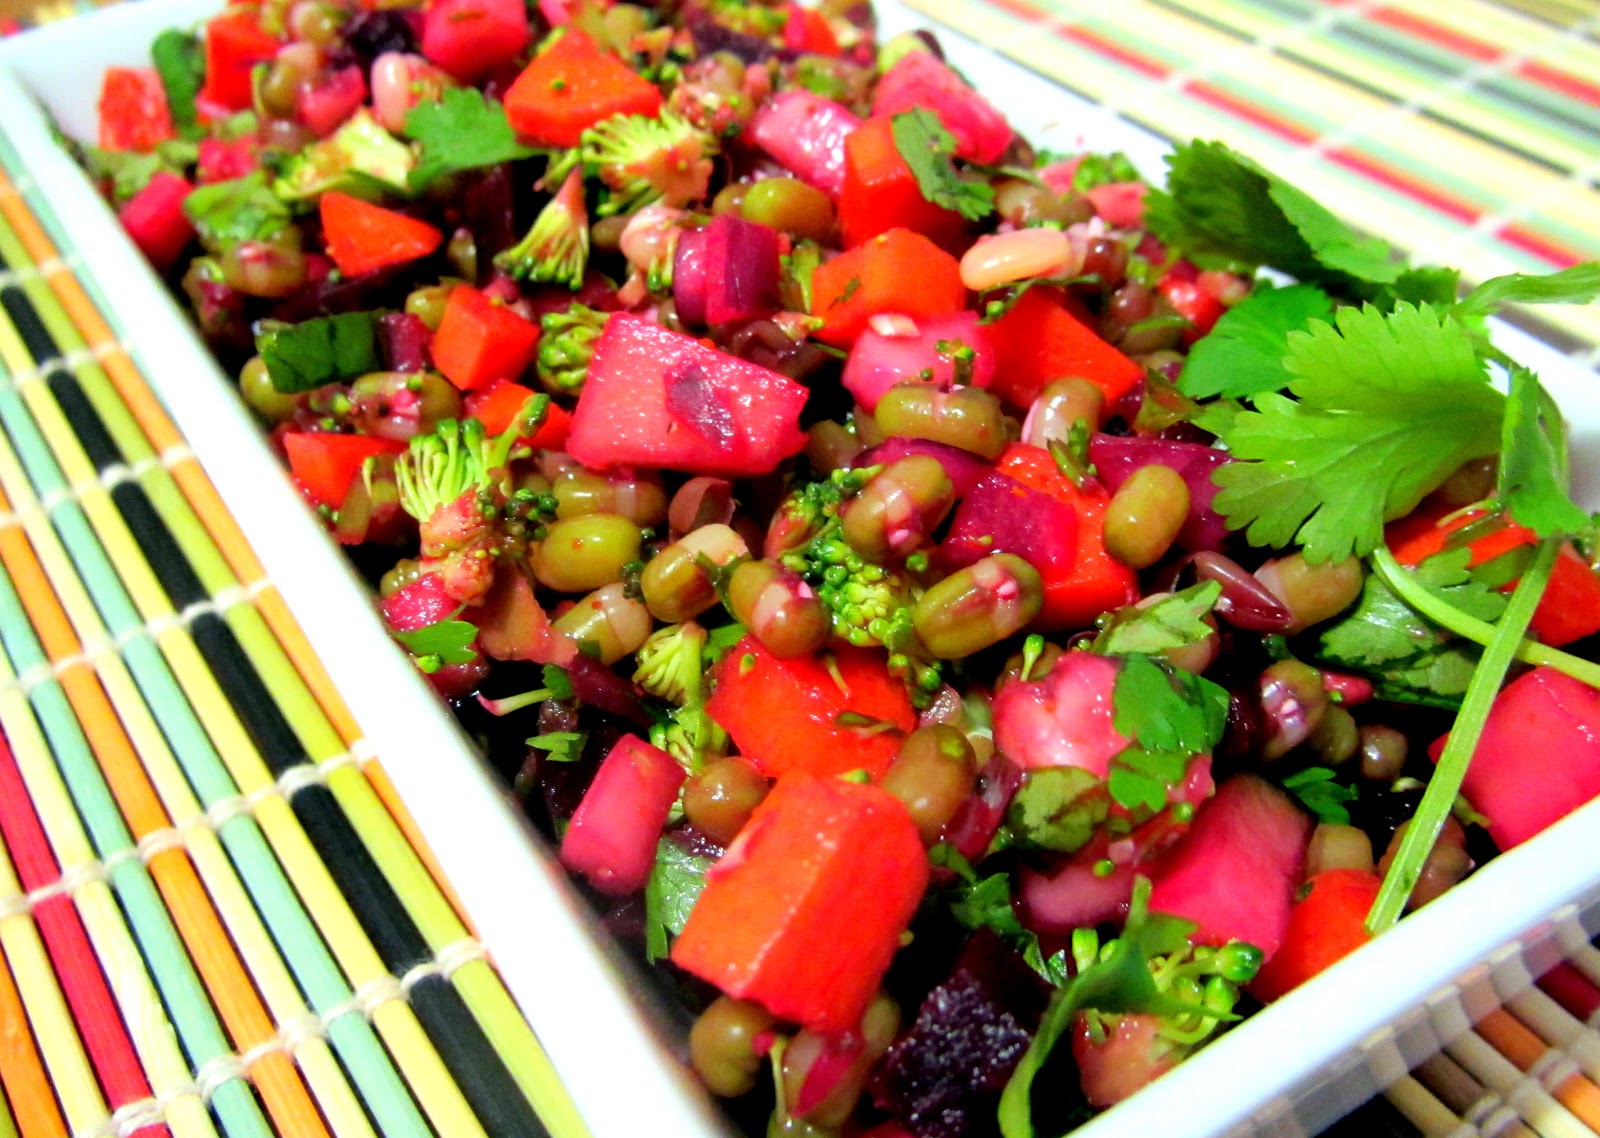
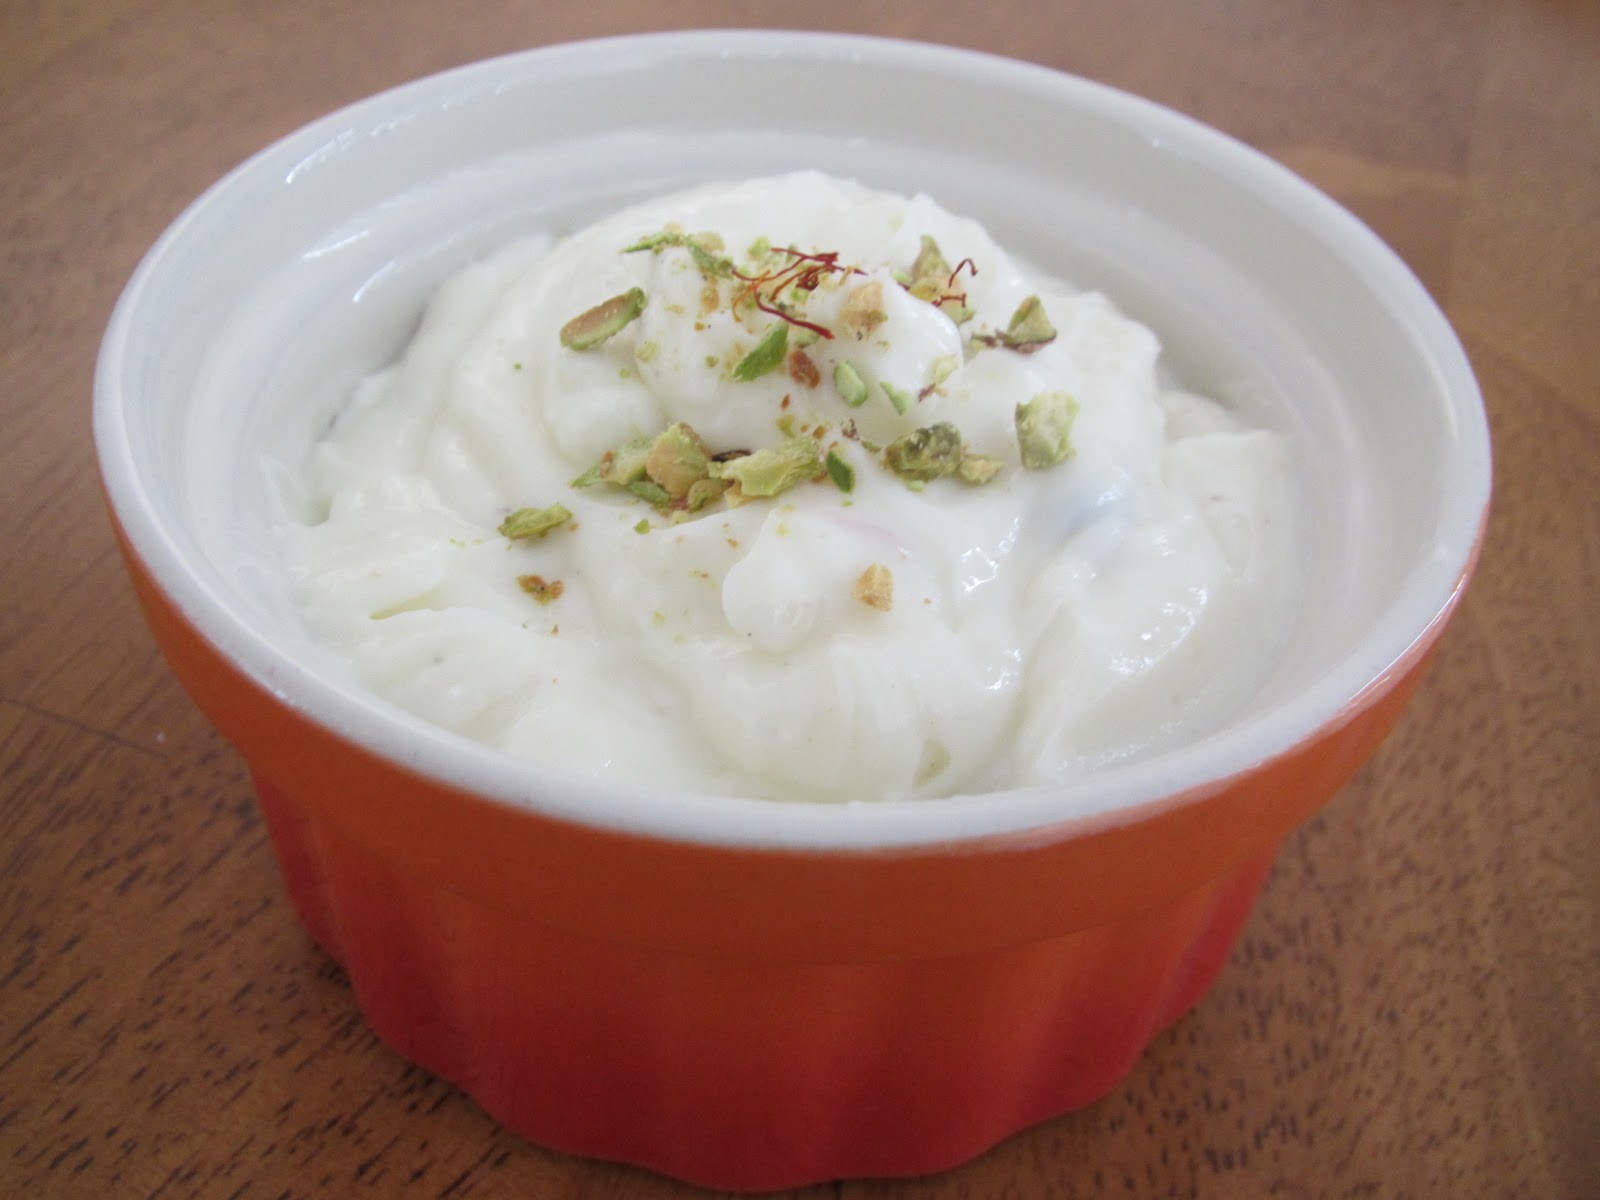
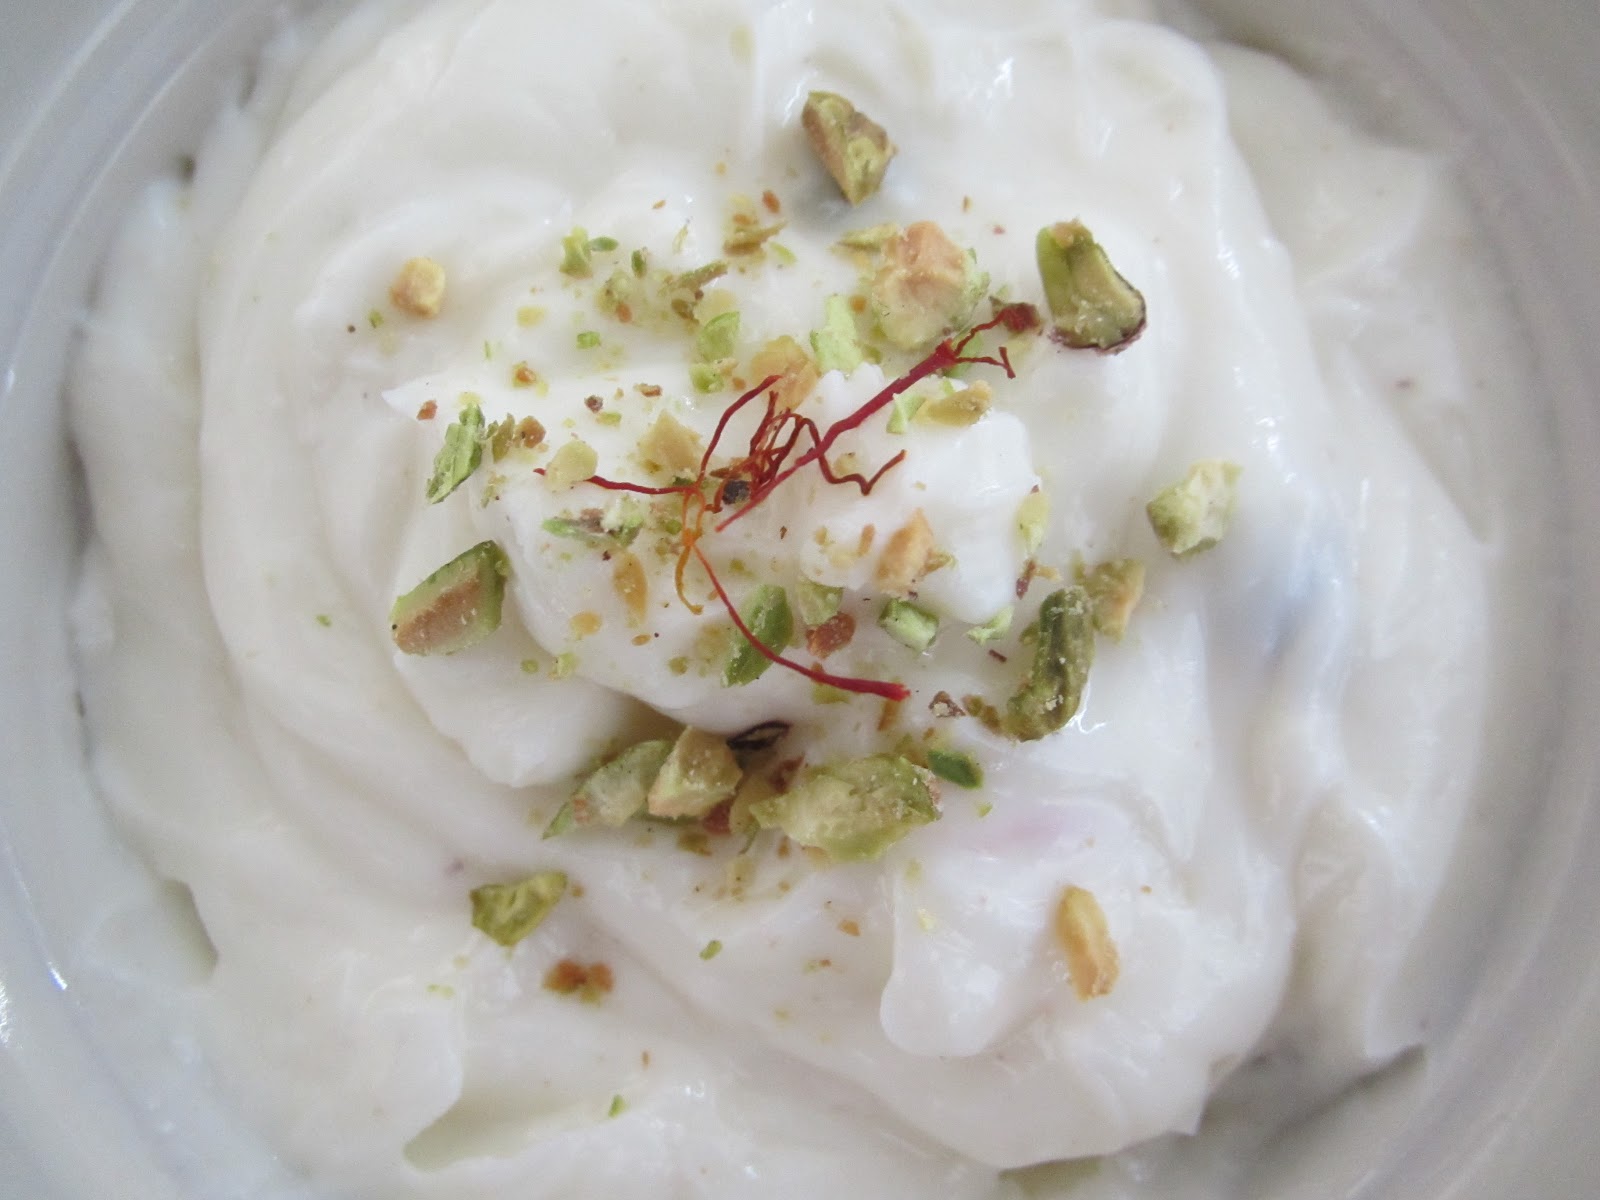
It took me a couple of days to catch up with work and house chores after the weekend trip to Seattle. Although Gods blessed us with an unusually sunny day in Seattle, we spent most of our time indoors eating at fabulous restaurants! The friends we were visiting are big foodies and took us to quite unique places. The most notable being Poppy, which serves fusion dishes in Indian Thali style! We had lightly spiced batata vada and eggplant fries for starters and I chose the vegetarian thali with beetroot-yogurt soup, seasoned fiddleheads, oyster mushroom risotto and other dishes creatively infused with Indian spices. The most amazing creation of Poppy was their Rum Curry drink - a delicious mojito style cocktail made with rum, coconut water and curry leaves! Who would've thought of that!! Well, someone clearly did..and that, my friends, was a winner.

The weekend food was a treat. But I was ready for some good ol' Marathi food after coming home. I made two traditional dishes last night - Bharli Vangi & Kothimbir Wadi. There couldn't have been anything else to make me feel more at home than these two dishes. Bharli Vangi (stuffed eggplants) is a very typical Maharashtrian sabji, more so in my home town Kolhapur, where we get the famous 'Krishna kathachi vangi' (eggplants grown on the Krishna river banks). Kothimbir wadi is a snack made with cilantro - lots of it! It's usually fried, but I always make a healthier non-fried version of it. 

Bharli Vangi
Bharli Vangi

Ingredients:
Stuffing:
4-5 Purple Indian/Thai eggplants
1 Small bunch cilantro - chopped
2 Tablespoons grated coconut
1 Tablespoon ground peanuts
2 Teaspoon red chili powder - or less
1 Teaspoon cumin-coriander powder
1 Teaspoon goda masala
Seasoning:
1 Tablespoon oil
1/2 Small onion - thinly sliced
1/2 Teaspoon mustard seeds
1/4 Teaspoon turmeric powder
1 Pinch asafoetida
1 Teaspoon jaggery powder/brown sugar
Salt to taste
Water as needed 
  • Wash the eggplants, leave just a little bit of the stem along with the green leaves where the stem starts. Make two slits on the top of the eggplants so that they open up like a flower with four petals. The eggplants will hold lots of stuffing. Keep the eggplants in water so they don't turn brown until you work on the rest of the stuff.
  • Combine ground peanuts, coconut, chopped cilantro, red chili powder, cumin-coriander powder and goda masala and mix well. Stuff this mixture into the eggplants and keep them aside for 15-20 minutes. You can adjust the spices in the cooking process if needed.
  • Heat oil in a wok/kadhai and add mustard seeds. I usually use very little oil for seasoning but this sabji tastes much better with a little extra oil so - a whole tablespoon!
  • Add onions, asafoetida and turmeric to the oil and saute for a minute or so. Place the stuffed eggplants in the wok and let them roast for a few minutes on all the sides.
  • Add some jaggery, salt to taste, adjust the spice if needed, about 3/4 cup water, cover and let the eggplants cook thoroughly until tender. 
  • Garnish with some more cilantro and fresh coconut and serve hot.


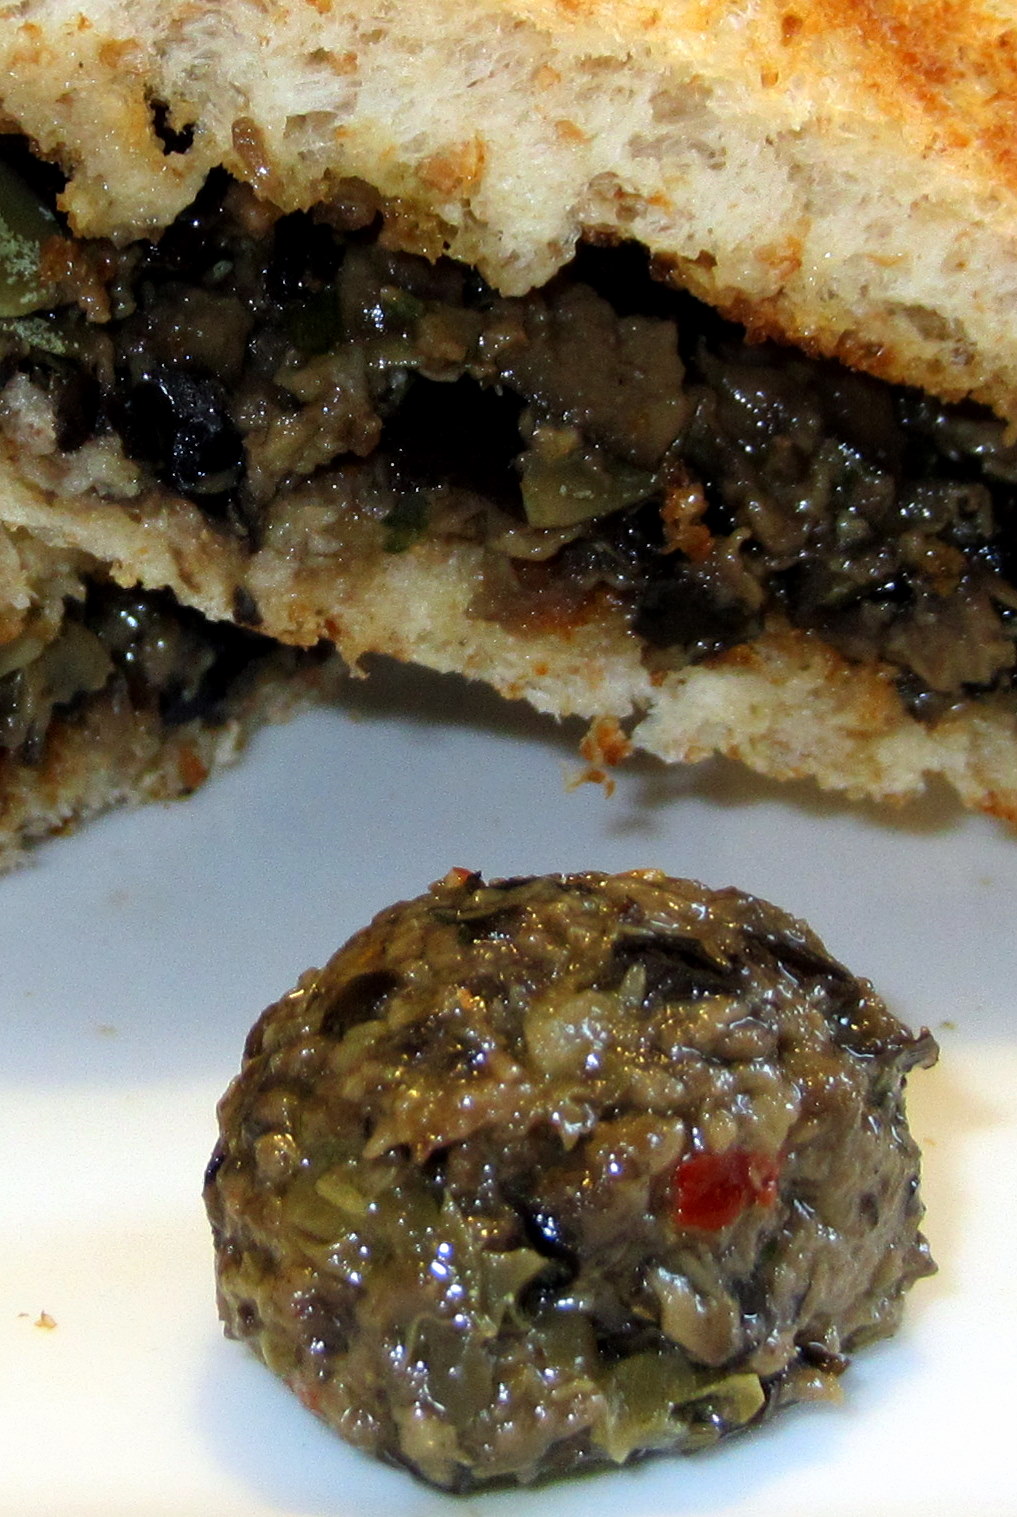
Un-fried kothimbir wadi :D

Kothimbir Wadi

Ingredients:
1 1/2 Cups chopped cilantro
3/4 Cup Besan/chickpea flour. I often add a little bit of rice flour for lightness. 2-3 tablespoons would do.
2 Teaspoons red chili powder - you can also use green chili paste alternatively
2 Teaspoons cumin-coriander powder
1/2 Teaspoon goda masala
1 1/2 Teaspoons tamarind concentrate
1 Tablespoon sesame seeds - toasted
Salt to taste
Water as needed
  • Combine all the ingredients except water. Add water little by little mixing well until you have a thick paste-like batter.
  • Grease a flat pan (the kind that goes into the pressure cooker, like a small round baking pan) and pour the batter into it. Don't fill more than 1.5-2 inches.
  • Steam the batter in pressure cooker (add some water to the cooker, keep the pan inside, close the lid without the whistle) or over a regular steamer for 25-30 minutes or until you can poke a knife and it comes out clean. Keep an eye during the steaming process so the water doesn't evaporate completely burning the wadi.
  • Let this cool and take the 'cake' out with the help of a knife. Slice them into medium sized pieces (I cut them triangular shapes but a square is just fine).
  • Heat a pan and brush it with a little bit of oil. Roast the pieces on both the sides until light brown. This is my healthy alternative to the fried version.  
  • Garnish with some more toasted sesame seeds, or add a tadka of sesame seeds and green chilis (like the tadka on dhokala).
Bharali vangi taste all the better with some bhakari, raw onion and lasun chutney. I, however, just enjoyed it with home-made rotis.


Wednesday, April 20, 2011

A Healthy Way To Treat Yourself

As I gear up for the upcoming bake sale, I am making a mental note of ingredients I want to use to give my baked goodies an Indian twist. Baking technique is not used in Indian cooking; at least not the kind known to people in the U.S. There is, however, one thing that popped up in my head while thinking hard about Indian baked items. My childhood favorite - Rava Cake! Ahh, I can still smell the wonderful aroma filled in the entire house when my mom treated us to this tasty snack. You may say 'healthy' and 'treats' just don't go together, but I can guarantee you, this cake doesn't have half the calories of the regular cake.

It's a simple recipe you will remember off the top of your head. I took it up a notch by adding a subtle yet exciting flavor to it - Gulkand (rose petals preserve)! This addition took the cake to a whole new level while maintaining the very essence of the cake - being completely Indian! This cake is not as fluffy as the all purpose flour cakes but is very moist and the texture of rava makes it interesting to eat.

Gulkand Rava Cake with edible rose buds

Gulkand Rava Cake/Rose Petal Preserve Semolina Cake 

Ingredients:
1 Cup Rava (Semolina)
1 Cup yogurt 
1 Cup Sugar
1/2 Cup Milk
1.5-2 Tablespoons gulkand
1/2 Teaspoon cardamom powder (as in any Indian sweets)
1/4 Teaspoon baking soda
Pinch of salt
  • Mix rava, yogurt, sugar, gulkand, cardamom powder, baking soda and salt. Add half of the milk and mix well. The batter should be runny like the usual cake batter. Add the remaining milk as needed. 
  • Keep the batter aside for 2-3 hours to soak. Rava will puff up slightly and become soft in this process. Make sure the gulkand is broken up and mixed well.
  • Pour the batter in a greased baking pan.
  • Preheat cake to 300F and bake the cake for 25-30 minute or until the sides turn brown. You should make sure the cake is baked by poking a knife. If it comes out clean, it's done. 
  • Let the cake cool, pull it from the sides using a knife and it should come out very easily if you flip it on a plate. Cut the cake in small pieces. I decorate the cake with edible petals and buds (completely edible - a friend gave them to me to flavor green tea). 
You can add dry fruits to the cake batter for a tasty surprise in a bite.

National Food Blogger Bake Sale 2011

It couldn't get more exciting than this! Just 4 months into my blogging endeavor, I'm going to be participating in the National Food Blogger Bake Sale on May 14, 2011! This bake sale will raise money for Share our Strength to fight childhood hunger. Not only am I thrilled about my first Bake Sale experience but am very happy to be doing my little share towards this noble cause.

Lots of great food bloggers from San Diego will be present with their baked goods. It'll be a great opportunity for me to meet the wonderful bloggers and learn from their experiences. I have three people to thank:

Gaby (What's Gaby Cooking) for organizing this event
Nupur (One Hot Stove) for introducing this event to me and
Marie (Meandering Eats) for hosting the San Diego event and giving me an opportunity to participate.


The San Diego event will be held at Great News! Discount Cookware and Cooking School on May 14 from 10am-2pm.

Pacific Plaza
1788 Garnet Avenue
San Diego, CA 92109
(858) 270-1582

Hope to have a great turn out and looking forward to the event!

Monday, April 18, 2011

Good Eats

It's so easy to eat healthy; I wonder why we succumb to the greasy, fatty, buttery, unhealthy foods (okay, don't answer that :P). I made a very healthy, energy packed salad today which frequented our dinner table when I was in school. My entire family had joined a course that promoted the 'raw food' (completely raw or very lightly steamed vegetables) philosophy along with other means of a healthy lifestyle. We religiously followed the raw food diet during the course and atleast 3-4 times a week later and the results were stunning. The course taught us some simple yet tasty recipes for eating food the right away. Some dishes were quite unique and creative - peanut drink, banana salad, raw carrot halwa. You'd never believe they were delicious until you tried them. The salad I made doesn't come close to the other items in terms of uniqueness, but it's just as delicious and full of all the good stuff! The star ingredient of this dish - moog beans - are best consumed sprouted as they are high in Vitamin C. Little to no cooking also helps retain their nutritionial value. This low-cal salad is a perfect way to dine in summer.

I love the simplicity of this recipe and how complete of a meal it is being a salad. I thought it would be a great recipe to submit for the MLLA event hosted by Preeti this month. This event is initiated by Susan and is hosted monthly by different bloggers. Isn't this a great way to connect with your fellow bloggers?

Moog/Mung bean salad with mixed veggies


Moog/Mung Bean Salad

Ingredients:
1 Cup green Moog beans
2 Cups chopped vegetables (carrots, onion, beet root, cucumber, broccoli)
1 Small bunch cilantro - chopped
1-1.5 Tablespoons lemon juice
Red chili powder to taste
Dash of lemon pepper
Salt to taste
  • Soak moog beans in warm water overnight. You can tie them in a cloth and let them sprout. I used the beans just as they started sprouting. The salad can be made with raw beans or slightly steamed. I steamed them just for 4-5 minutes to make them soft.
  • Dice all the veggies (I used boiled beetroot instead of raw) and toss them with the moog beans.
  • Add lemon juice, chopped cilantro, salt, lemon pepper(my addition) and red chili powder to taste and mix well. You can use salt & black pepper or any other seasoning you like. The salad is ready.
This salad can be changed up in a hundred different ways. You can add different colored bell peppers, jalapeno, zucchini, tomato, even avocado, or any vegetable you like really. A simple lemon juice-salt-chili powder seasoning is tasty and adds to the freshness of veggies. This is a complete meal with protein and plenty of vegetables and won't leave you hungry within 30 minutes.

Here's to healthy eats!

Saturday, April 16, 2011

I Smell Spring

As if the Spring Gods didn't appreciate my calling this spring 'lousy', they faught back with a GORGEOUS sunny day that made up for all the gray days we've had. And I'm not retaliating!

Saturday morning started with going to the gym early(for a weekend) in the morning. Having a warm day outside suddenly made me realize I needed to shed the layers...yeah, all of them! Just as I was feeling delighted about the early morning gym activity, my husband suggested visiting the Old Town Saturday Market. There couldn't have been a better way to spend the rest of the day!

Old Town is by far one of my most favorite places to take a stroll, window/otherwise shop, listen to live music and have authentic Mexican food with a big glass of margarita! It's the best cultural experience you can have around here. The Saturday Market is a buzzing gathering of artists and food vendors presenting various items such as hand blown glass, hand made candles, painted tiles, jewelry and home style food.

One of the many beautiful restaurants in Old Town 

The Market
We reached the market around noon after taking our own sweet time to get ready. Most people had retreated to one of the restaurants to cool off with a drink. We chose to have food from the vendors in the market - a very homely bean burrito and a refreshing fruit cup. I went for a mixed fruit cup including watermelon, cucumber, pineapple, jicama (very smiliar to the Kandamul we used to get during summers in India) and magoes and my hubby went for a mango cup. The fruits were absolutely fresh and juicy and were topped with pico de gallo seasoning and juice from a whole lime. YUM! 

Fresh fruit cups - fruits + pico de gallo seasoning + lime juice. To die for!
Some of the items being sold were too beautiful to pass and we ended up buying a beautifully hand painted wooden set of wine holders. The vendor was glad to finally meet 'Indians from India' and not from his home country or the U.S. and gave us a special discount :D.

Wooden hand painted wine holders with some mother of pearls embedded
After a great meal, we relaxed on cool grass watching the hustle and bustle, visited the small stores featuring some unique items, watched a live folk dance performance and made our last stop at Hot Licks . Rows and rows of hot sauce bottles and nothing else! They had every possible flavor in hot sauce imaginable. Pretty hot, huh? The owners/helpers were very informative and gave us some good suggestions.

The largest selection of hot sauces in San Diego!
This was a great find as I was looking for some interesting chili flavors for an upcoming Hot Chili & Salsa Cookoff at work. I ended up buying quite a few varieties of peppers and hot sauces including Cayenne, De Arbol, Ancho, Chipotle, Serrano, Jalapeno and Habanero-Mango!

My hot purchases!
I tried each powder and sauce carefully to know the flavors. I was very very careful  while tasting of course as I've made the mistake of getting burnt by habanero once. With all the excitement about these sauces and powders, I fished for something to make using atleast one of them. There were some carrots in the fridge which were perfect to make one of my favorite summer pickles. This pickle is super simple and very zesty and refreshing. My mom used to make these simple pickles with cool summer veggies such as carrots and cucumbers. I gave them a slightly different taste by using non-Indian peppers and hot sauce. This is a great condiment and can be stored in the fridge for upto 2 weeks.


Carrot pickle

Gajarache Lonache/Gajar Achar/Carrot Pickle

Ingredients:
4-5 Fresh carrots
1 Teaspoon mustard seeds - coarsely ground
De Arbol chili powder (Dave's Gourmet brand) - go by your tolerance
Chipotle-Habanero pepper sauce (Arizona Gunslinger brand) - again, go by your tolerance
1/4 Teaspoon turmeric powder
Pinch of asafoetida
1 Lime juice
1 Teaspoon vinegar - I used Chili vinegar
2-3 Tablespoons olive oil - you can use vegetable or mustard oil
1.5-2 Tablespoons Salt
  • Cut carrots into small strips about 2" long.
  • Mix all the ingredients together and keep the pickle in sunlight for a day. The heat helps soften the carrots and takes away the moisture. The de arbol chili powder added heat while the chipotle-habanero was more smokey than just hot.
  • Keep covered overnight and it's ready to eat. Don't you love when it's so simple!
Some notes on this:
  • Use enough oil to coat the carrots.
  • This is a pickle, so don't get scared by the amount of salt needed. Salt will act as a preservative.
  • The traditional pickle is made with Indian red chili powder. The two chilies I used worked really well!
  • The pickle I made is still marinating, but this whole day process gets all those flavors into the carrots which taste great the next day.
  • And lastly, you can always adjust the amounts of each ingredient per your liking. I like vinegar taste, but you can skip it completely. You can try different peppers for heat.
Happy Spring (finally)!

Friday, April 15, 2011

Hors d'Ĺ“uvre

My healthy eating habits have taken a back seat since getting married. Both of us tend to binge on food since my hubby has a personal chef now and I, a personal guinea pig ;). A can of pitted black olives, meant for healthy sandwiches and salads, had been sitting in a corner in my pantry and it was about time I gave it a happy ending. And happy it sure was. I had fallen in love with tapenade after trying it at a local beach-side restaurant. The beautiful view of the ocean may have added to the taste, but this salty-savory hors d'oeuvre holds its own. Tapenade is a Mediterranean condiment/spread with crushed olives, capers and olive oil. The dish I tried was a sandwich which used tapenade just as a spead, but I made a sandwich using just that. This is a great spread for garlic bread, wheat crackers or even pizzas!

Tapenade Sandwich
Olive shaped tapenade

Black Olive Tapenade

Ingredients
1 6oz. Can pitted black olives
2-3 Teaspoons capers
1 Clove garlic
2 Teaspoons dried parsley - use fresh if you have it
1/2 - 1 Teaspoons red chili flakes
1 Tablespoon Olive Oil
  • Wash and drain the olives
  • Toss the olives, capers, garlic, parsley and red chili flakes in the mortar and crush/pound well adding a little bit of olive oil in between. The olives start secreting oil as you crush them so I went easy on OO. Crush it as fine as you like.
  • Capers are salty so I didn't find any need to add salt.
  • I used white sandwich bread to make a tapenade sandwich and grilled it, choose your favorite.
  • You can make this in the food processor as well, but I personally like the taste developed by getting all the oils out in the mortar.
This dish can be made with all sorts of olives. You can get creative and add your favorite herbs. This made for a tasty evening snack!

Wednesday, April 13, 2011

Spring Sprouts

Yes, it's supposed to be spring and it's time your plants start sprouting. But it's been a pretty lousy spring with cloudy skies and chilly weather :(. My poor plants do get their share of sunlight but I know they are craving warmth.Yet I was feeling 'spring' yesterday after getting an awesome much needed new spring hairstyle and stopping by the farmer's market on my way home. The farmer's market visit was unplanned and I only managed to buy a basket of tasty strawberries and brussel sprouts with the little cash I was carrying. Time for some sprouts =).

Past week has been quite hectic with work and social activities and I haven't made my run to the grocery store. My fridge and pantry were pretty empty and the brussel sprouts came to dinner rescue. I used whatever was lurking around and turned the brussel sprouts into a tasty dinner with some spring notes.


Roasted Brussel Sprouts with Potatoes 

Ingredients:
10-12 Brussel Sprouts
2 White potatoes
2 Cloves garlic
1 Tbsp EVOO
1 Tbsp lime juice
1 Spring fresh oregano - from my garden :)
1-2 Teaspoons dried parsley
Dash of paprika
Salt & fresh ground pepper for seasoning

Basic Prep: Preheat oven to 350F.

  • Wash the brussel sprouts and cut in halves. Peel the potatoes and cut them in 3/4 inch cubes. I used white potatoes which were a great choice, but small red potatoes will taste just as good. 
  • Crush the garlic cloves and give them a rough chop. Take the oregano leaves and chop them as well.
  • In a casserole, mix EVOO, lime juice, garlic, oregano, parsley, paprika (don't OD the paprika else it'll take away the beautiful green color away), salt and pepper. Whisk it all together.
  • Add the veggies and toss them well. 
  • Put the casserole in the oven and bake for approximately 30 minutes or until the potatoes cook and brussel sprouts turn golden brown, tossing half way in.
My kitchen was filled with wonderful lime and herb aroma just as I mixed the ingredients. It smelled heavenly once the dish was done which made it taste all the better =).
*I used oregano since that's what I planted this year. Thyme will make an excellent choice as it goes well with lime. 

Monday, April 4, 2011

Starting The New Year On A Sweet Note

Gudhi Padwa wishes to all! Today's the first day of the Marathi calendar month Chaitra - the beginning of a new year. Gudhi Padwa is celebrated with great enthusiasm in Maharashtra by hoisting Gudhis in the front yard early in the morning. The Gudhi (aka Brahma-Dhwaja = Brahma's flag) symbolizes Brahma's (the creator) flag as it's believed that he created the universe on this day. Colorful Gudhi is made of a piece of cloth with beautiful brocade work, neem and mango leaves, flower (usually marigold) garland and a garland made out of sugar discs called Battasa.

The traditional menu for Gudhi Padwa includes Shrikhand (a creamy sweet made from yogurt) and puri (fried whole wheat bread). Following the tradition, I made some Shrikhand today :). This is my grandma's specialty and I follow her recipe strictly. She had a small business of making Shrikhand and it was quite a hit! Making Shrikhand just takes a little bit of planning; other than that, it's a very simple recipe to follow. 

Straining yogurt by hanging
Wrapped the yogurt containing cloth in a towel and kept a heavy weight pan & lentil box

Removing lumps in the Chakka by straining through a metal strainer 

Yum!

Garnished with saffron and pistachios
Gudhi in my house :)
 Shrikhand

Ingredients:
2 lbs Whole Milk yogurt
Sugar
2-3 Pinches of Nutmeg
Cardamom powder from 2-3 cardamom pods
4-5 Saffron strands
Pistachio/Charoli for garnishing - you can also use almonds
1 Tbsp Milk
  • The first step to making Shrikhand is making Chakka (thick creamy yogurt resulting from straining the yogurt in a cloth). You want to get as much water content out of the yogurt as possible. This is the most crucial step in making thick, rich and creamy shrikhand that will stay in the fridge for upto 2 weeks! 
  • Take a muslin/cotton cloth and pour the yogurt in it. Tie the cloth tight and hang it over the sink, or any place where you can let the water drain, overnight. I kept a bowl under to collect water. The weight of yogurt and gravity work together to strain water from the yogurt. 
  • To make sure you have most of the water content out, wrap the muslin cloth containing yogurt in a big towel or in newspapers and keep some weight over it for an hour or so. The towel/paper will absorb any remaining water from the yogurt. What remains is thick Chakka which doesn't stick to the cloth. 
  • To get any lumps out, use a metal strainer and press Chakka through it. The Chakka becomes velvety smooth in this process. You can also use food mill or porous cheese cloth to strain chakka. Try avoiding a hand mixer as it will make the shrikhand too thin. 
  • Add sugar to the Chakka. For 1 part Chakka, use 0.9 parts sugar (1: .9 ratio - you will end up with ~1.9 parts shrikhand). You can eyeball this proportion. My grandma has tried different amounts of sugar and this gives the perfect slightly sour and just enough sweet taste! 
  • Add a hint of nutmeg and cardamom powder. The fragrance of nutmeg should not be ovewhelming.
  • Mix the saffron in a little bit of milk to get the color out. Add this to the shrikhand and mix well. 
  • Whisk everything together until the sugar is completely dissolved. 
  • Garnish with some pistachios, charoli or almonds. 
This will make decent sized servings for 2. By making the Chakka as thick as possible, you increase its 'fridge life'. You can store it in the fridge for upto 2 weeks. Any time you want some, take it out, add a little bit of milk for moisture and make it the consistency you like. This recipe is tried and tested and tasted by many and is simply Creamilicious! 

Saturday, April 2, 2011

Cricket Fever

It's been a while since I stopped following cricket. Not that I was an avid fan, but you just can not escape the unofficial national sport of India growing up there. Kids play cricket in every 'galli-bol' (the smallest streets and lanes) breaking windows or hitting by-passers, people stop work and gather around a TV on a street shop to watch India's games, offices declare holidays on India-Pakistan matches, everyone talks about Sachin's batting as if they taught him how to play, and now India bleeds blue! Although I didn't keep myself updated of the latest happenings in the cricket world, India's World Cup matches send a surge of patriotism through me.
Being married to a sports fanatic, I'm catching up on all those lost years. We got the World Cup dish network package and I rediscovered my love for a good game of cricket. Our house turned into a 'Cricket Adda' (struggling with the translation here - a corner, a hub) during the WC series with friends lying on the living room floor all night cheering for the home team. And boy, did the home team play! We made it to the finals winning the semis against Pakistan, the biggest cricket rival of India.
India's entry into the finals definitely called for a celebration. Last night, as India took on Sri Lanka in Mumbai's Wankhede stadium, turned into a party in my house. The cricket fever really got to me and the outcome was something like this: food display of a cricket field and Tiranga rice to root for the Indian team.
The appetizers mainly consisted of Mediterranean items and the dinner had simple Indian dishes.

Hummus ground, cilantro grass, falafel balls, cucumber bat and Turkish cream cheese 'Cigarettes' stumps

Tiranga Rice - India's flag colors

The idea of having a cricket theme came from the super bowl game time recipes. It's interesting how people incorporate everything 'football' in their food. I was looking for some 'cricket match' recipes and apparently this is the only occasion Indians haven't come up with a feast for! I gave a little nudge to my creative side and started listing items that could make a cricket field. An appetizer I learned from my Turkish friend in college long ago gave me a start. Since I started off with a Mediterranean dish, I went along with the theme to create my cricket field. I made jalapeno hummus to create the field. You can use this recipe and use jalapeno for flavoring instead. The bat was made out of fresh cucumbers. I used store bought falafel mix to make the balls and used cilantro as the grass.
Apart from the cricket display, I made two additional appetizers. I'm sharing three recipes here.

Borek is a Turkish pastry made with phyllo dough with various cheeses, vegetables or meat fillings. The different shaped pastries have apt names based on what they resemble. The particular kind my friend taught us on a girls cookoff night is called Sigara Borek for its uncanny resemblance to Cigars. This appetizer, apart from being delicious, was perfect to be the stumps! It's a simple recipe that will definitely get you addicted =).

Sigara Borek

Sigara Borek

Ingredients:
Phyllo Dough - 1 square per Borek approximately 8'x8'
1 Cup cream cheese - I used low fat
3-4 Springs of fresh dill
Clarified Butter/Ghee
Salt for seasoning
Olive oil
  • Mix cream cheese, chopped fresh dill and salt for seasoning. I personally love dill but you can substitute it with parsley. Feta cheese also works well but cream cheese gives a nice contrast to the crispy outside. This is the filling.
  • Separate the phyllo dough sheets and keep them covered in damp towel so they don't dry up.
  • Take one square sheet, fold it in a triangle and close the edges using clarified butter (you don't need to use a whole lot). Take a spoonful of the cream cheese filling and place it along the longest edge of the triangle. Tuck in the two ends and roll into the shape of a cigar. Close the loose end with some clarified butter.
  • These cigars can be deep fried but I chose to cook them in a saute pan using some olive oil. Heat a pan on medium and brush it with some olive oil. Place the cigars and let them brown. Turn and cook them from the other side. The cooking process hardly takes any time so keep an eye on them.
  • Once the pastries are crispy and golden brown, take them out in a plate, garnish with some dill and serve.  
I made another Mediterranean style pastry. I had some extra phyllo dough...so why not! This is a classic puff pastry with an Indian touch. The pastry was puffy and was gobbled up in minutes...pufff!

Spinach-Feta cheese pastry

Spinach-Feta Cheese Puff Pastry

Ingredients:
1 Bunch fresh spinach - chopped
3/4 Cup feta cheese - crumbled
1/2 Teaspoon cumin-coriander powder
1/2 Teaspoon red chili powder
1 Tablespoon olive oil
Salt for seasoning

Basic prep: Preheat oven to 300F.
  • Heat oil in a pan. Add chopped spinach, spices, salt and saute for a few minutes until spinach is cooked. Turn the heat off Do not overcook as you'll bake the pastries later.
  • Add crumbled feta cheese to the spinach and mix well.
  • Fold the phyllo sheet lengthwise to create a strip of ~ 4inches wide. Place a couple of spoons of the filling on one end of the pastry and keep folding the sheet in triangles. Close the loose end with clarified butter. Brush some more butter on each side of the pastry. You can get creative and make any shape you like of the pastries - a square, rectangle, small pouches opening on top, bowl shapes open on top, anything you can think of really.
  • Place these pastries on a baking sheet and bake them for about 5 minutes or until golden brown. I didn't have to turn the pastries at all. 
Serve the pastries just out of the oven. They can get soggy from the spinach and cheese if you keep them for a long time. You can make the pastries in advance, wrap them in a damp towel and bake them just before eating!

The third appetizer I made was an experiment in my kitchen a year back. It reappeared after being successful. Among all the other items on the menu, this was the healthiest.

Beetroot Cutlets

Beet Cutlets

Ingredients:
2 Beet roots
2 Tablespoons all purpose flour
2 Teaspoons cumin-coriander powder
1 Teaspoon garam masala
2 Teaspoons red chili powder/Green chili paste - I used green chili paste the last time I made this. I preferred green chili over red.
Salt for seasoning
Bread crumbs
Vegetable oil
  • Cook the beet roots in boiling water for 4-5 minutes (only till they get tender - don't overcook). I simply put them in the microwave.
  • Peel the beets and shred them.
  • Add spices and salt to the shredded beet. Add all purpose flour (rice flour works well too) to slightly bind the beet. You don't need to add too much.
  • Make small patties/cutlets and pat them with bread crumbs on each side.
  • Heat a saute pan, cover the bottom with some oil (just so the cutlets don't stick) and cook the patties on each side till deep brown (~3-4 minutes on each side on medium heat). The outer layer will become slightly crunchy.
  • Serve hot with some ketchup.  
The beet cutlets were well received and devoured even by those who didn't like beet.

Phew! :D

LinkWithin

Related Posts Plugin for WordPress, Blogger...