Thursday, February 28, 2013

Which Wich - Tasty Sandwich Rolls

My new found love seems to be bread-making. The freshly made, warm, non-chemical infiltrated bread can't be beat. And who doesn't love the yeasty-toasty aroma the kitchen fills up with while baking? I've been enjoying trying out different recipes and practicing my techniques. Bread making is deeply therapeutic and satisfying. If you have any pent up frustration from work or whatever other things life throws at you, take it out on the dough and knead it out! After the first couple of failed attempts, I've got it down pretty well now. The most important thing to bread making are finding the right balance of flours, kneading the dough really well and giving it time! Yes, I used to get very impatient earlier and not let the dough rise enough or slice the bread too fast after baking - both of which will result in dense, sticky loaves. Once you get past that, you'll realize that the basic technique to making bread is pretty much the same - activate/proof the yeast, add flour, knead, let rise, knead again and bake. 


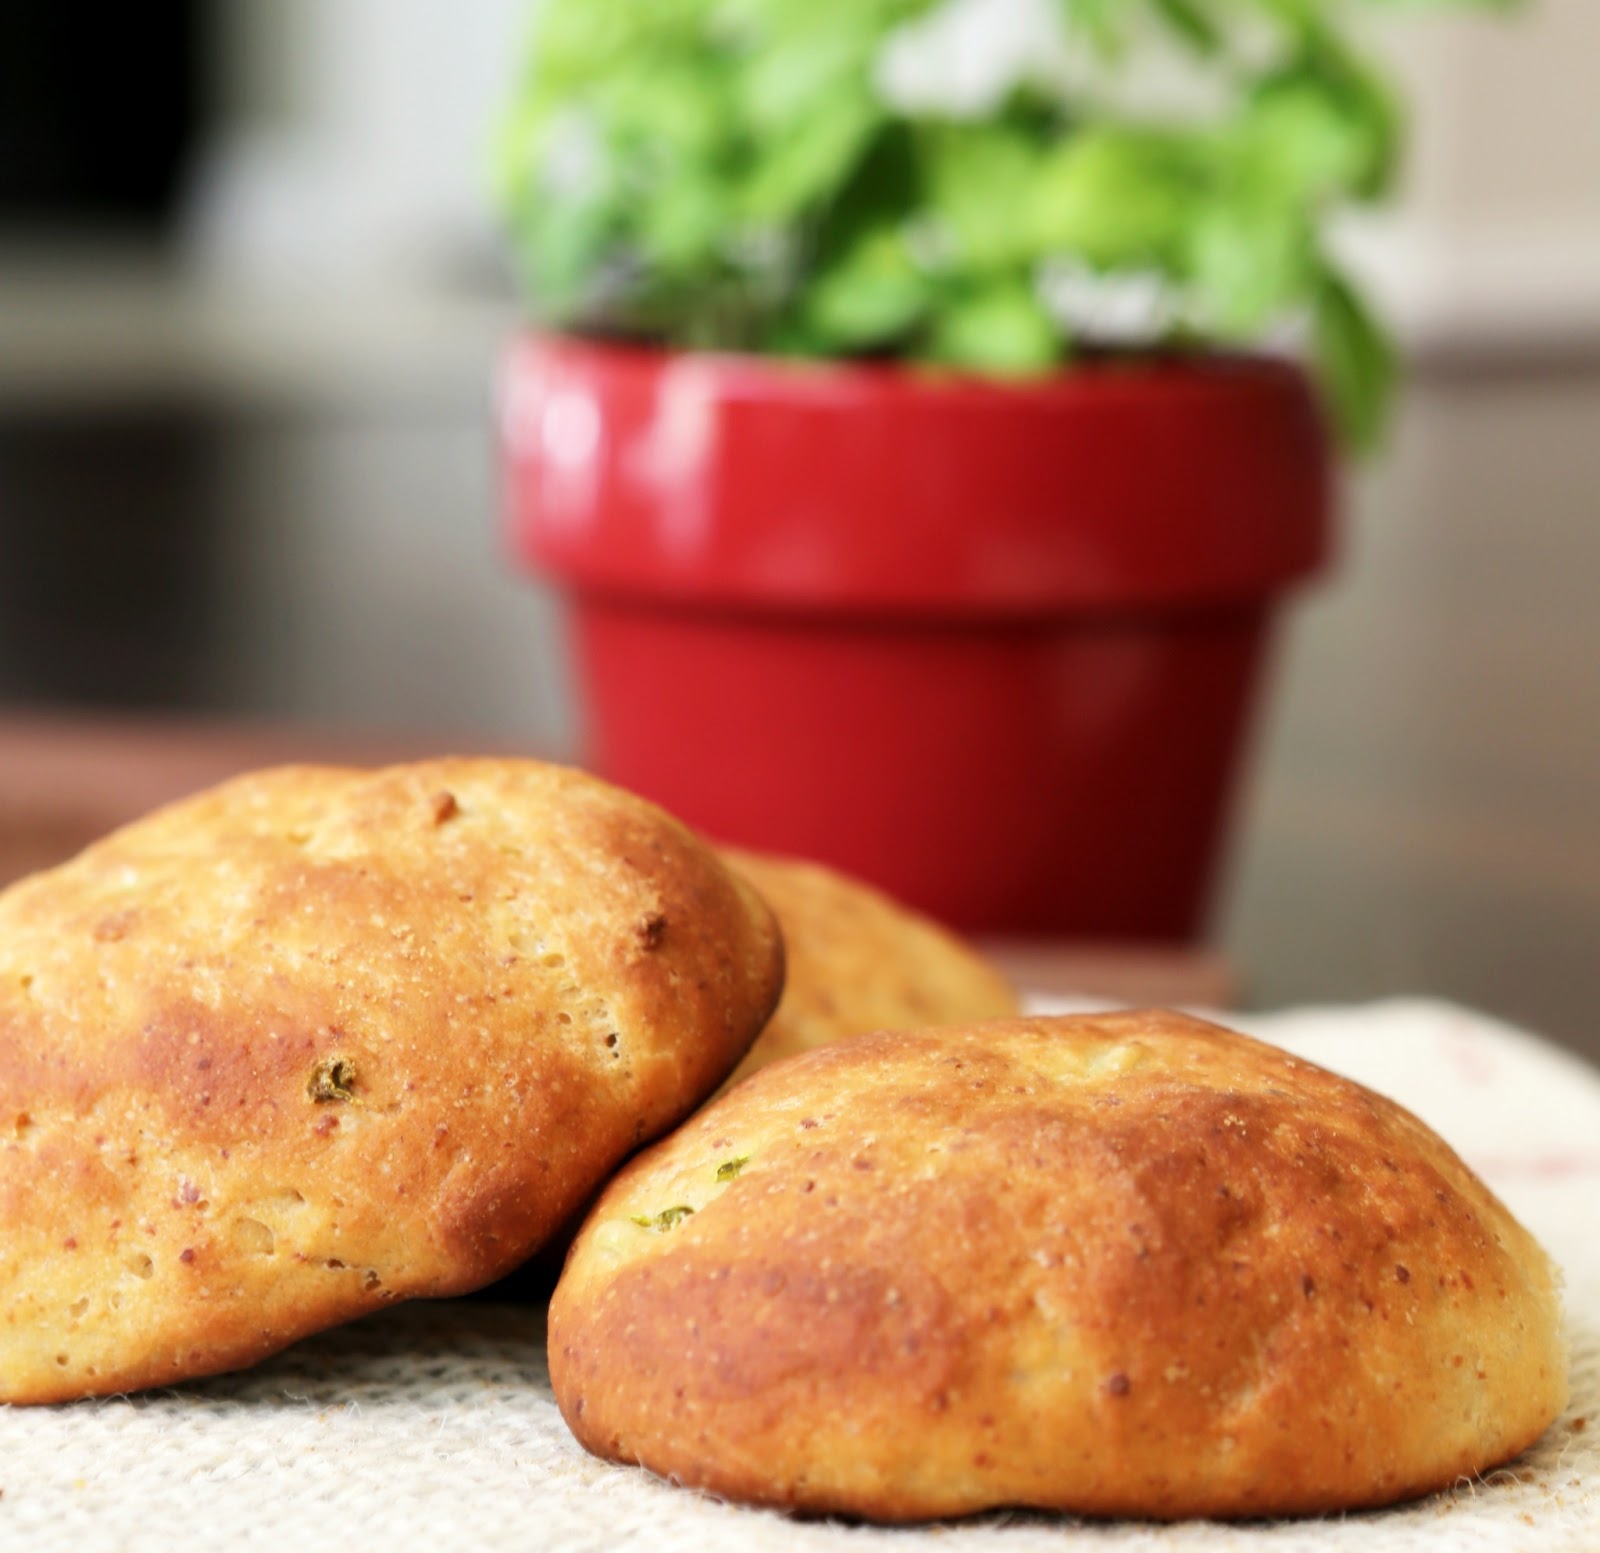
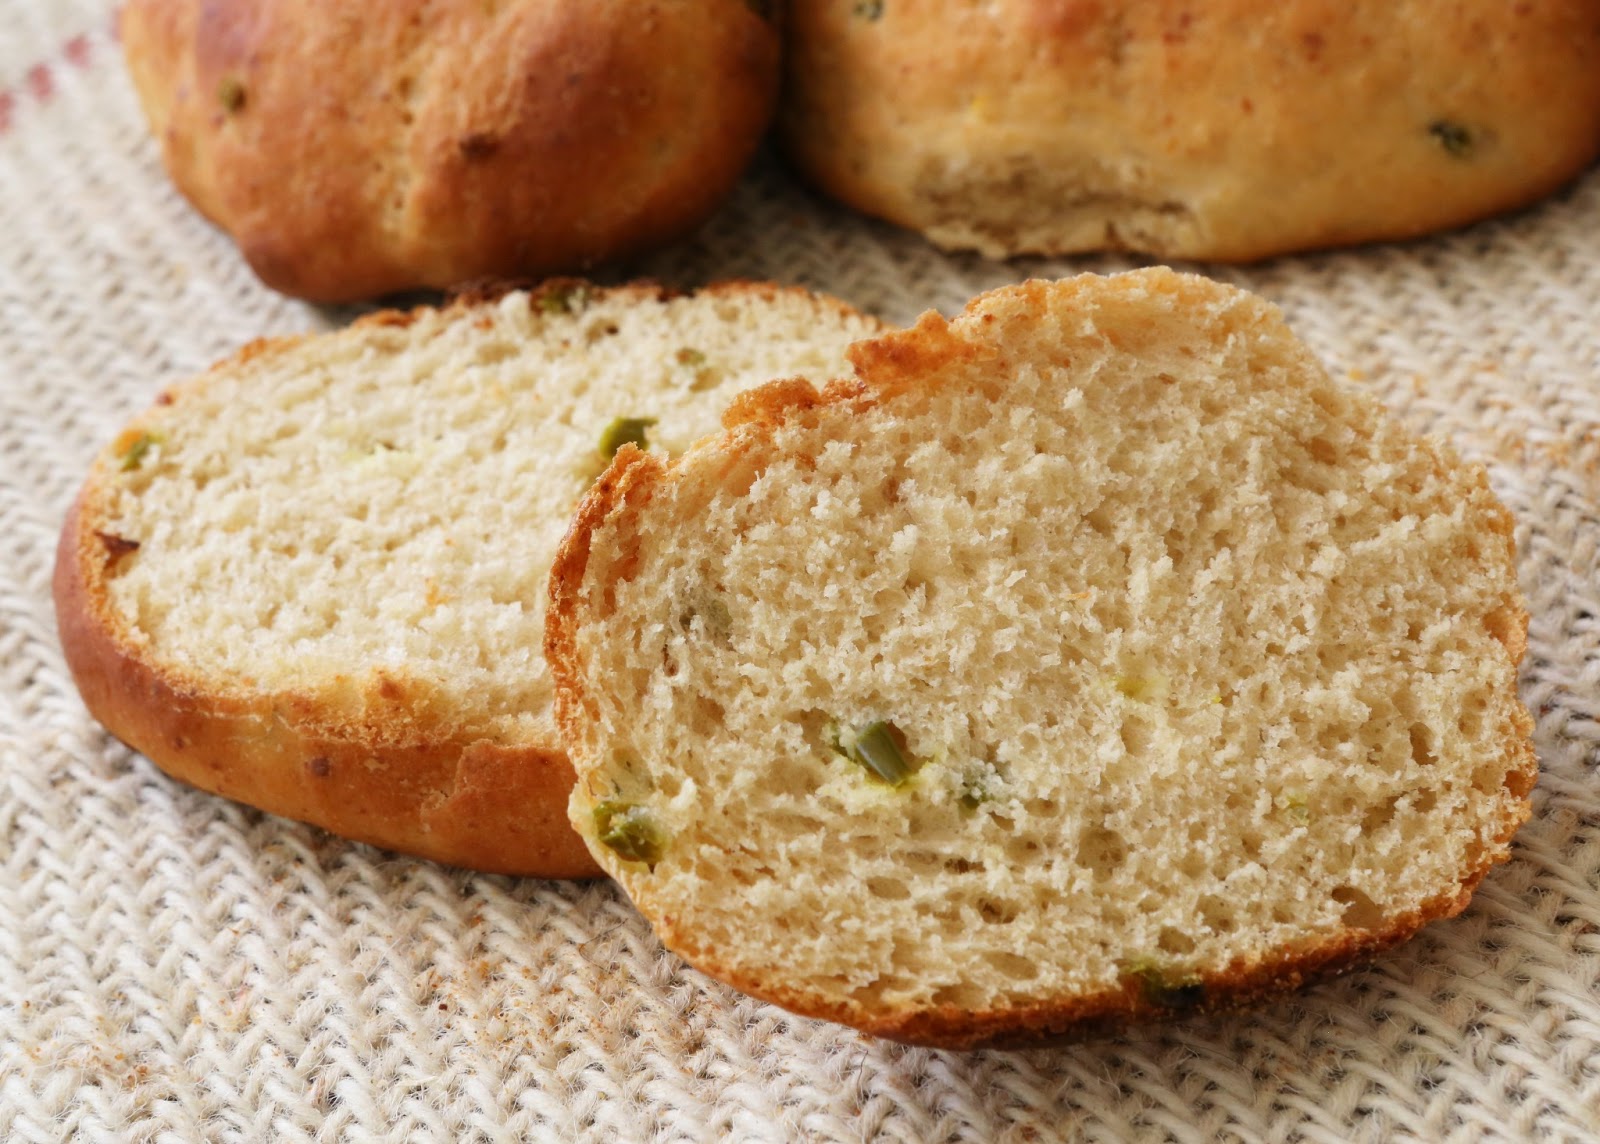
I had bought a copy of Homemade Bread - Popular Kitchen Series a few months back. It's a great little magazine that explains bread making techniques in detail and has some great recipes anyone can try at home. I've tried a few now, some with my variations, and they worked out great. A few days back, I took a recipe for a basic loaf and made smaller sandwich rolls with some oomph. Jalapeno-parmesan rolls were great to make quick sandwiches - especially for lunchbox. Husband likes them because sandwiches are are easy to eat at work. With a fried egg in between, they make for a great brunch. There's lots of flavor in the bread itself, so anything you stuff in between will taste great. The recipe is very adaptable - you can add a myriad of things to the dough, like olives, onions, sun-dried or regular tomatoes, zucchini, garlic, herbs, any other cheeses you like. Let your creativity go wild. 


Jalapeno-Parmesan Sandwich Rolls

Ingredients:
1 Cup warm water
1 Packet active dry yeast
2 Teaspoons sugar
1 Teaspoon salt
2 Tablespoons olive oil
1 1/2 Cups all purpose flour (APF)
1 + 1/4 Cups Whole Wheat Flour
1/4 Cup grated parmesan cheese
3-4 Tablespoons chopped pickled jalapeno - adjust depending on your preference
Olive oil for greasing
Corn flour for dusting
  • Add active dry yeast and sugar to warm water and set aside for 10 minutes or until the mixture is fully frothy. Don't heat the water too much else the yeast will just die.
  • Once frothy, add salt, olive oil, APF, 1 cup of whole wheat flour, cheese and chopped jalapeno and start kneading. Add whole wheat flour little by little if the dough is too sticky. Only add enough so the dough doesn't stick. You want a soft, pliable dough ball. 
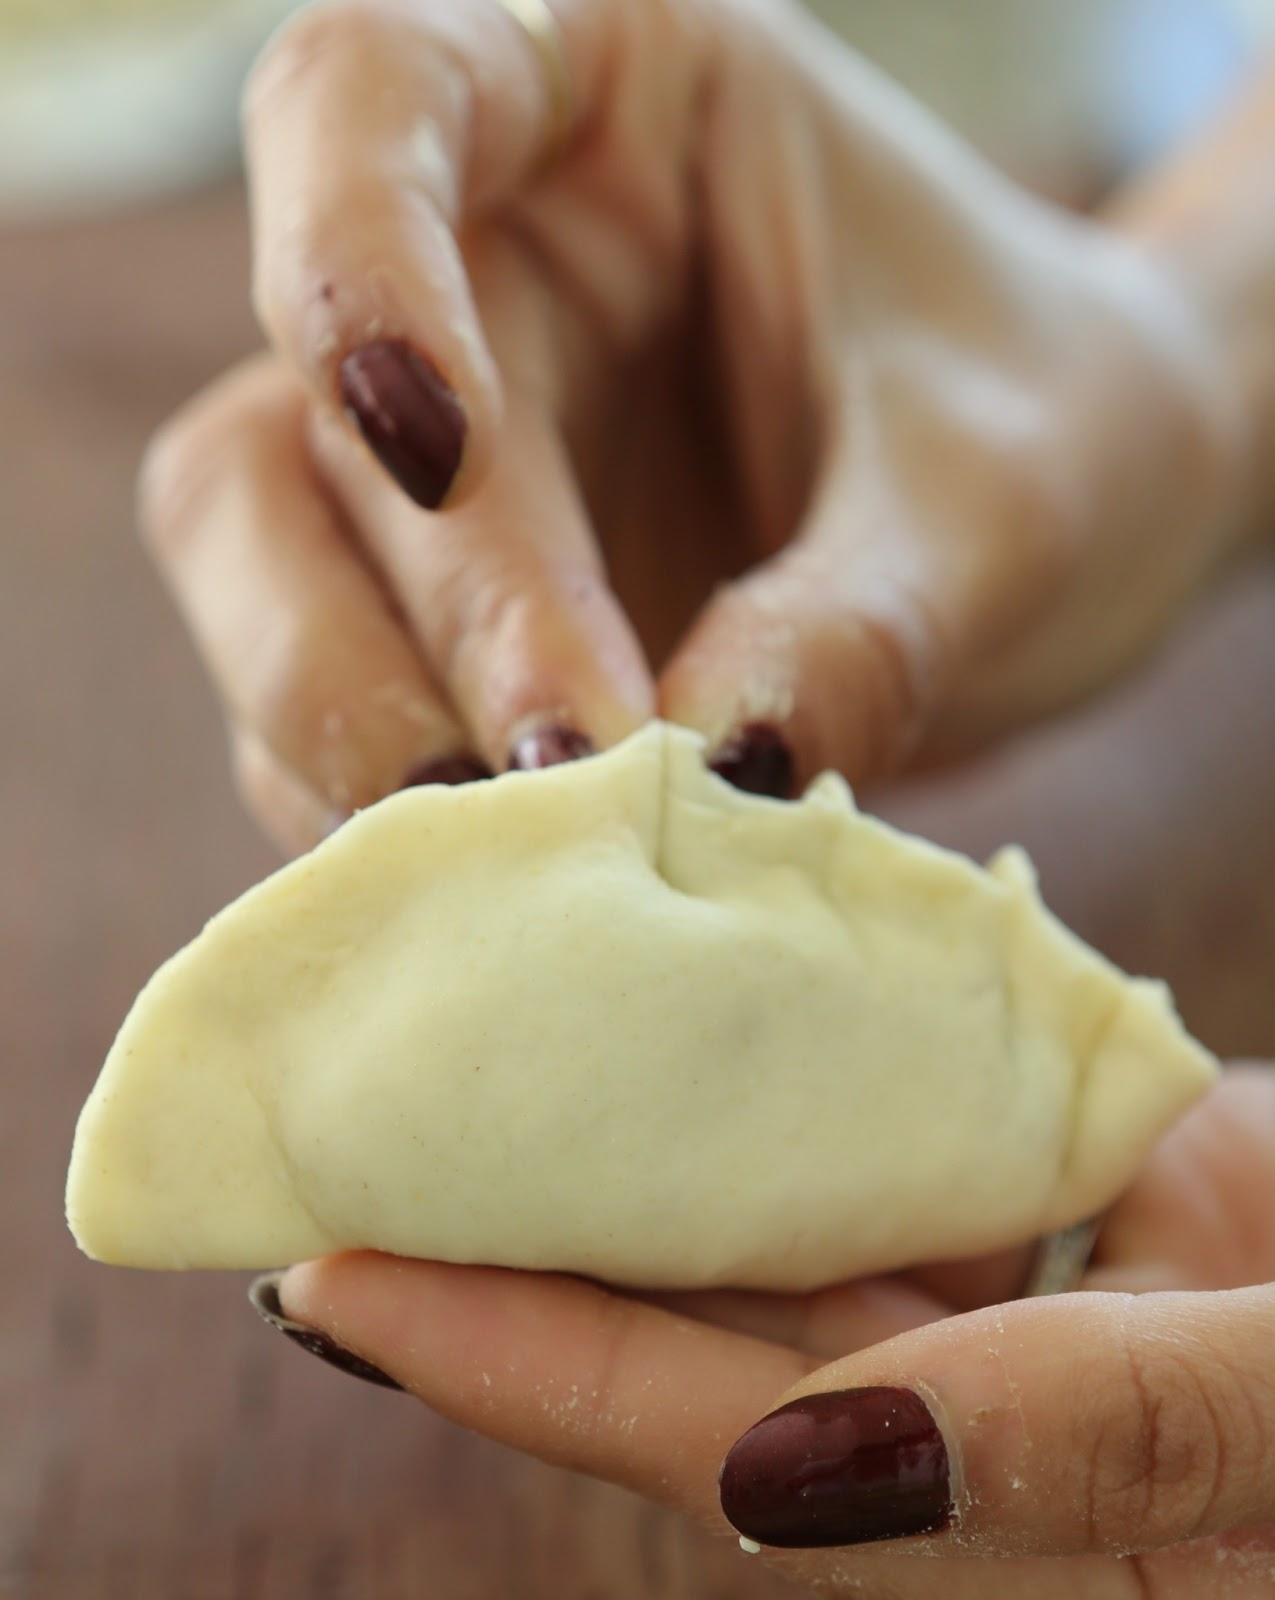
  • To really get the gluten working, stretch the dough with the heel of your palm and fold it back. Knead so for 10 mins. Then cover the dough and let it sit for an hour or so or until the dough doubles in size. 
  • Punch the risen dough and knead again for another 10 mins. Make 6 equal portions of the dough and roll them round or slightly oval. 
  • I prefer using my giant dutch oven for bread baking, but use any thick bottom pan you have. Grease the bottom with some olive oil and dust with a little bit of corn flour. Place the dough balls with some space in between and brush them with oil. Cover and keep aside for another hour. They should rise.
  • Preheat oven at 425F and bake the bread for 35-40 mins or until golden brown. 
Let the bread cool completely before cutting it.


Tuesday, February 26, 2013

My Favorite Kitchen Tool

When it comes to kitchen gadgets and tools, I find one-function use items quite cluttering. My kitchen is stocked with tools that get used more or less on a regular basis - a George Foreman grill, my beloved Ronald food processor and mixer, a small ice-cream maker for the hubs, and a not-so-techy stone mortar-pestle set. The last one being my ultimate favorite - as I mentioned herehere and here. If the world of technology were ever to crumble down, I would survive just fine in my kitchen with the use of my mortar and pestle (and that's about it :D).

Our ancestors have used mortar-pestles to grind and crush plant roots, leaves etc since the Vedic ages. But even with the passage of time and technological advances, we continue using them. I remember using/seeing various stone tools such as Pata-varvanta (batan) and Jaata (grain grinder) as a kid. While those are pretty obsolete now, mortar and pestle (called Khal-batta in Marathi) still get used every day to grind spices, ginger-garlic or green chilies-cilantro in my kitchen. All the women in my house wholeheartedly believe that anything ground in the mortar tastes different (and by that, I mean way better). It is true, because the pounding gets the oils in your food out in a way a mixy just can't. So even though it takes a little time and some muscle work, I prefer my good old mortar-pestle for certain things. Especially when it comes making chutneys! I love the rustic, un-even coarseness and the complete marriage of flavors mortar-pestle can achieve.

I made one of my most favorite (yes, I say that about a lot of things) chutneys the other day to go with savory Ghavan - Maharashtrian Shengdana chutney (peanut chutney). Now, there are several versions of this chutney - with or without garlic, coconut or sesame seeds. My favorite version is garlicky, slightly moist with very lightly roasted peanuts. This chutney reminds me of some of the funnest memories from childhood - mom would pack me a sandwich with generous spread of fresh butter and chutney, or roll parathas sprinkled with it, or mix some rice-batata bhaji-daal-chutney, as filling and easy to eat lunches. Shengdana chutney is extremely versatile and tastes great when mixed with some yogurt to go with roti or rice. Oh, there's nothing more comforting!


Shengdana Chutney - Maharashtrian Peanut Chutney

Ingredients:
1 Cup peanuts
3 Garlic cloves
1 Teaspoon tamarind concentrate/pulp
2 Teaspoons red chili powder (adjust according to taste)
Sugar to taste (I used ~ 1 1/2 teaspoons)
Salt to taste

  • Lightly roast peanuts in a pan on low heat. I roast them just enough to get the skin off. Let them cool and peel the skin. I find taking a handful of peanuts and rubbing them between palms the easiest way to remove the skin. Then simply fan the skin lightly to separate the nuts from the peels. 
  • Grind garlic cloves in mortar-pestle first so you don't end up with big chunks of it. 
  • Add peanuts, tamarind pulp, red chili powder and grind coarsely. 
  • Add sugar and salt and find the perfect combination of spicy-salty-tangy-sweet for you and grind slightly to mix everything well. 
The chutney will store in the fridge for 2-3 weeks.

What is your favorite kitchen tool and how do you use it?

Monday, February 25, 2013

Dumpling Party

The San Diego Food Bloggers (SDFB) community meet ups are always something to look forward to. Our leader Marie of Meandering Eats is popular for coming up with great themes for the get-togethers. A few of us SDFB ladies got together for a fun dumpling party at Marie's place this Saturday. We gobbled up a variety of dumplings, which, apart from the usual savory Asian kinds, included sweet blueberry dumplings - yum!

Veg Momos - steamed and pan-fried on one side (the other side ;)
When Marie first announced the event, I immediately thought of making Modak - my ultimate favorite dumplings. But then, modaks get made quite often in my house, thanks to my husband who will eat them any day. I could use a change and try something new. The next thing that came to mind was Nepali vegetable Momo - a savory dumpling very similar to its other Asian siblings but with some familiar spices to my Indian palate. Momos are native to Nepal and other Himalayan states/countries. I assume they were borrowed from the Chinese cuisine  Momos were a favorite thing to eat at my usual dine-out place in Utah - the Himalayan Kitchen. That's where I had momos for the first time and have been a fan ever since.


I found a whole lot of recipes online with some Tibetan or Bhutani variations. These dumplings have a simple covering of all purpose flour dough with filling of all sorts. The vegetarian dumplings have a variety of finely chopped vegetables sauteed with onion, ginger, garlic and some other spices. A few ingredients that struck me as unique were fenugreek seeds, and cumin and coriander powder. These are not the spices you would expect to find in a traditional Asian dumpling. And momos don't typically have soy sauce. This creates a unique dish that combines far east Asian and south Asian flavors. Momos can be simply steamed or pan-fried after steaming for some smokiness and sear, which is how I like them. They are traditionally served with a tangy tomato chutney, or 'tomato achaar'. I went for a quick combination of oil and Sriracha sauce. The shapes of momos are fun. You can shape them literally like modak. I attempted the half-moon shape with some degree of success.


Notes:
  • The APF dough seizes while rolling so it's a little tedious work. But that's the maximum difficulty level!
  • If you plan on making momos, steam them just before serving. As I realized, they start to dry out if kept for too long. 

Nepali Veg Momo

Ingredients:
Dough:
1 Cup all-purpose flour
Water as needed
A pinch of salt

Filling:
2 Cups finely chopped vegetables - (Cabbage, carrots, mushrooms, spring onions, red & green bell peppers, spinach). Add more of cabbage and carrots than other veggies
2 Large garlic cloves - finely chopped (~1 tablespoon)
1/2 Inch piece of ginger - grated
1/4 Medium onion - finely chopped
Spices - ground fenugreek, cumin and coriander seeds, 1/2 teaspoon each
Handful of cilantro - finely chopped
Red chili powder to taste
Salt to taste
2 Teaspoons sesame oil
Vegetable oil for pan-frying
  • Form a stiff dough of APF with water and a pinch of salt. Some add a pinch of baking soda to the dough. I left it out. Cover and let it sit. 
  • Heat sesame oil in a pan and add onion, ginger, garlic. Saute until onion is translucent. 
  • Add the ground spice mix, red chili powder, all the veggies and cilantro and saute for a min or so just until the vegetables are tender. Do not overcook them. 
  • Turn off heat and add salt at the very end so that the vegetables don't become watery. You want the filling to be dry. If it gets too watery, you can add a spoonful of APF mixed with a little bit of water to the filling and cook for a few seconds. That will hold the filling together. Let it cool before making the momos.
  • To shape the momos, roll out the dough into a thin roti/sheet - thin enough to be able to see light from the other side but thick enough that it won't rip while shaping. 
  • Cut out small rounds with either a katori or a cookie cutter (as shown in picture above). Place a spoonful of the filling at the center and press close both ends by folding the round in the center. 
  • To give them that characteristic dumpling look, pinch the excess flour to make petal-like shapes where you closed the dumpling. If you have too much flour at the end, just cut it with a knife before pinching. 
  • Steam these dumplings in a steamer for 5-6 mins. I don't have the bamboo steamer, so I just put them in a greased pressure cooker vessel and steamed them in the pressure cooker without the whistle. 
  • You can serve them just like that or pan-fry them in a little bit of oil on one side only until lightly browned. 
All the goodies at the Dumpling party!


Saturday, February 23, 2013

Back To The Kitchen

It's been 50 days to be specific since this blog saw the light of day; and my cooking has been more intermittent than ever all this while. What have I been up to? Mostly been buried under piles of work and other commitments. But things are starting to taper off (for now =/) and I'm back in the kitchen cooking hearty meals every night. Ah, it feels so good to be eating fresh meals and experimenting with different foods again!

One of the things I like to try is substituting ingredients in traditional Indian recipes with the groceries available here. We have a steady supply of zucchinis all year around and I try to use it in as many ways as I can - in parathas, cutlets (the Indian kind ;), or sambar. Zucchini lends itself to any flavor combination since it doesn't have any strong taste on its own. Yesterday, I used zucchini in a recipe that calls for cucumber - savory Ghavan. Ghavan is a Maharashtrian style instant Dosa commonly prepared in the coastal region of Konkan. It's a popular breakfast/brunch item that can be made sweet or savory. My mom always made both varieties at the same time since I preferred the sweet version while my sister liked the savory kind. But the savory ghavans are much quicker to make. They are simple crepes made with a basic batter of rice flour and yogurt/buttermilk. My grandma used to add grated cucumber for some body and texture in the savory ghavans. Zucchini seemed like a logical choice to replace cucumbers and they worked out perfectly. Plus a dose of nutritional veggies never hurts!


Zucchini Ghavan (Maharashtrian Style Instant Dosa)

Ingredients:
3/4 Cup grated zucchini
1 1/2 Cups rice flour
1 Cup buttermilk or 1/2 cup yogurt thinned with water
1 Large green chili (or more if you like) - chopped
Handful of cilantro - chopped
Salt to taste
Oil for greasing the pan

  • Combine rice flour and buttermilk well until all the lumps dissolve.
  • Add zucchini, chopped chili, chopped cilantro and salt to taste and mix well. The batter should not be too runny or too thick - somewhat like dosa batter. You can add some water to get the right consistency. Let the batter sit for 15-20 mins. 
  • Heat a pan on medium-high flame. Drizzle a little bit of oil, pour a ladleful of batter and spread in a circular motion to make a crepe slightly thicker than dosa. 
  • Cover the pan and let the ghavan cook on one side for a couple of mins until golden brown. Remove cover and cook the ghavan on the other side the same way. 


I made my favorite peanut-garlic chutney to go with these (recipe will be up soon) yummy ghavans. But a simple coconut chutney or cilantro chutney is perfect.

LinkWithin

Related Posts Plugin for WordPress, Blogger...