Wednesday, March 23, 2011

A Bithday Celebration

While going to the moon and plucking stars from the sky remain bollywood movie favorites, I haven't found a better way to make someone feel special in real life than cooking for them! What's more special than having a whole meal cooked with some love? It was my husband's birthday last week and I decided to go for a surprise dinner that was quick to make and fit for a celebration. It was a work day and I wanted to be able to cook, plate and be ready before my hubby arrived from work. Having visited a few really great tapas places recently landing on the decision was pretty easy. Although originally meaning appetizers from Spanish cuisine, tapas has become synonymous to small plates or snacks. Some fun tapas along with a few drinks to keep us going through a long night of board games was the plan. That's the way you  to do it into the thirties! 

*The recipes being quite simple do not have any specific measurements. Use your own judgement*

Cheese plates are quite standard in tapas restaurants. This was my attempt at recreating the cheese and fruit plate from a restaurant in Pismo Beach, CA. 

Cheese 'n' Fruit

Ingredients:
Brie cheese - your favorite brand
Green apple
Almonds - you can experiment with other dry fruits
Honey - I used apple honey
Crackers
Sugar 
Water
  • Make simple syrup using sugar and water
  • Glaze the almonds with syrup
  • Slice the apple thinly and cut a couple of wedges of the Brie. 
  • Plate the cheese, apple slices and glazed almonds and drizzle some honey. 
For the perfect bite, spread cheese on a cracker, add some honey and top it with an apple slice. Take a bite and eat an almond. Brie is my favorite cheese and the combination of it with honey and fruits makes me say 'cheese' :).


Next up, Mini Pizza Thins. I saw the recipe for these in some commercial. Amazing where we can learn cooking!
Mini Pizza Thins


Ingredients:
Onion-chive cream cheese
Sun-dried tomatoes
Whole Wheat thins
Brown mushrooms – sliced
Garlic – finely chopped
Italian herbs
Olive oil
Salt for seasoning

Preheat oven to 300F. 
  • Finely chop the sun-dried tomatoes. You can use your knife skills, but I chose to chop them in the mixer.
  • Mix the cream cheese and the sun-dried tomatoes. This will be the spread for the pizzas.
  • Heat a couple of spoons of olive oil in a sauté pan and add garlic to it.
  • Add sliced mushrooms to the pan, sprinkle some Italian herbs mix and salt to taste and sauté for a few minutes until the mushrooms are tender. I cut the mushroom in small pieces since the wheat thins are quite small.
  • To get the pizzas ready, spread some cream cheese prepared earlier on the wheat thins and top off with mushrooms. Put them in the oven for a 4-5 minutes and the mini pizzas are ready to serve!

The next recipe was inspired by Flautas I had at a Mexican restuarant. Flautas are corn tortillas filled with some kind of meat or cheese and crisp fried. I decided to go healthier and grill them instead. My alternative to cheese - creamy avocados. 
Flautas with Cilantro-Lime Aioli 


Ingredients:
White corn tortilla
Cilantro
Low fat Mayonnaise
Jalapeño
Lime zest of one lime
Lime juice
1 Large avocado
Sweet corn
Salt
  • Grind cilantro, jalapeno in the mixer.
  • Combine mayonnaise, cilantro-jalapeño paste, lime zest and some lime juice for extra punch and salt and mix well. The aioli is ready.
  • Mash the avocado as you like it. I like it a bit chunky instead of extremely mushy. I use a traditional mortar –pestle to mash the avocados.  Anything pounded/mashed in mortar-pestle always tastes much better :).
  • Add the corn, finely chopped jalapeño(remember, there’s some jalapeno in the aioli so don’t OD it), salt and lime juice to the avocado. This is the filling.
  • Roast the corn tortilla on one side using a regular flat pan. On the roasted side, spread some aioli and add the avocado-corn filling in the center. Roll the tortilla and grill it well until the tortilla is roasted on the outside. You roast the tortilla on the inner side so that it’s done well on both sides and you don’t bite into a tortilla that’s crispy on one side and not done on the other.
  • Cut the flauta in half with a slanted cut in the center. Serve the flautas with some more aioli on the side.
The corn kernels plum up after roasting the flauta and are fun to bite into. Along with the lime juice, they cut the heat of jalapeños. Yummy!

The last course, a semi-dessert. I had made this at a BBQ party a couple of years ago and has become a favorite since. 
Grilled Balsamic Glazed Nectarines


Ingredients:
Balsamic Vinegar
Nectarines
  • Reduce the balsamic vinegar over medium heat until it thickens up like maple syrup.
  • Glaze the nectarines/peaches with the BV reduction and let them marinate for 15-20 minutes.
  • Grill the fruit for a couple of minutes on each side.
A sweet ending to the meal!

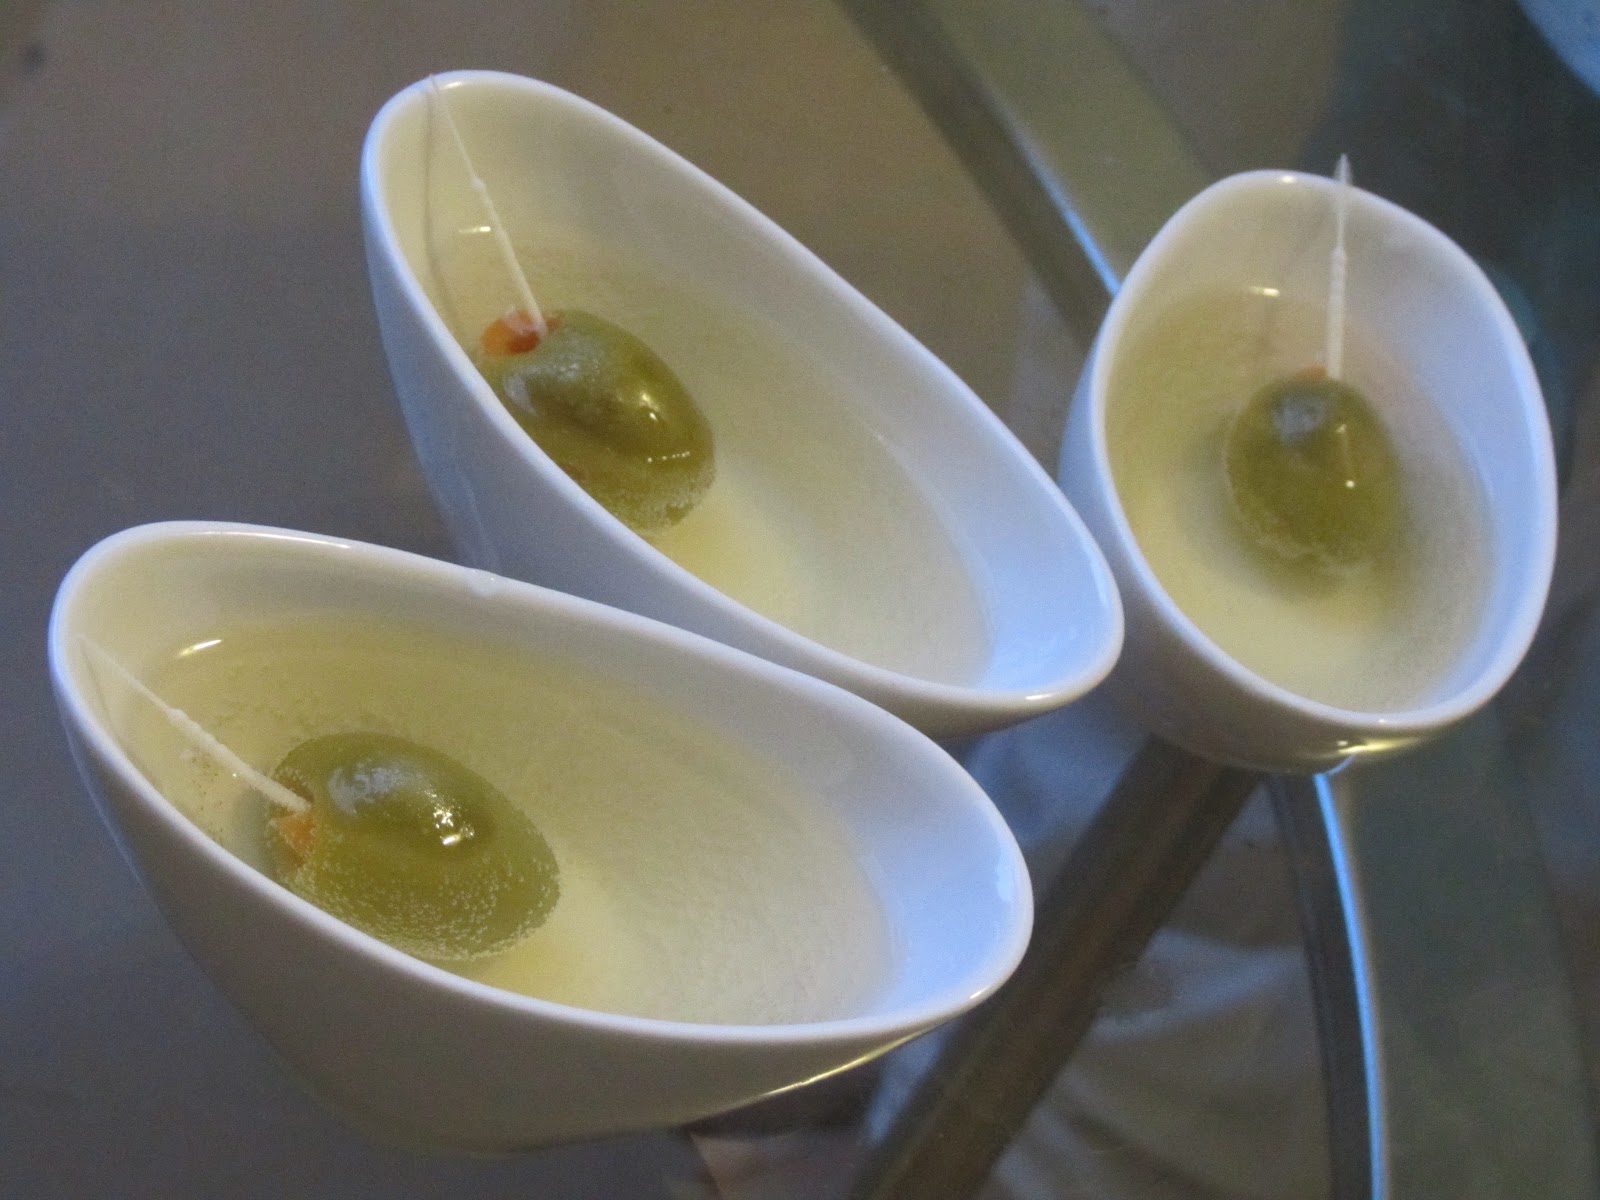
We enjoyed the tapas with some yummy drinks. Below, gin and olives stuffed with habanero concocted by my husband! Mmm...mmm...good!!! 


Sunday, March 20, 2011

What's In Your Pantry?


Into the oven

Ready to eat!

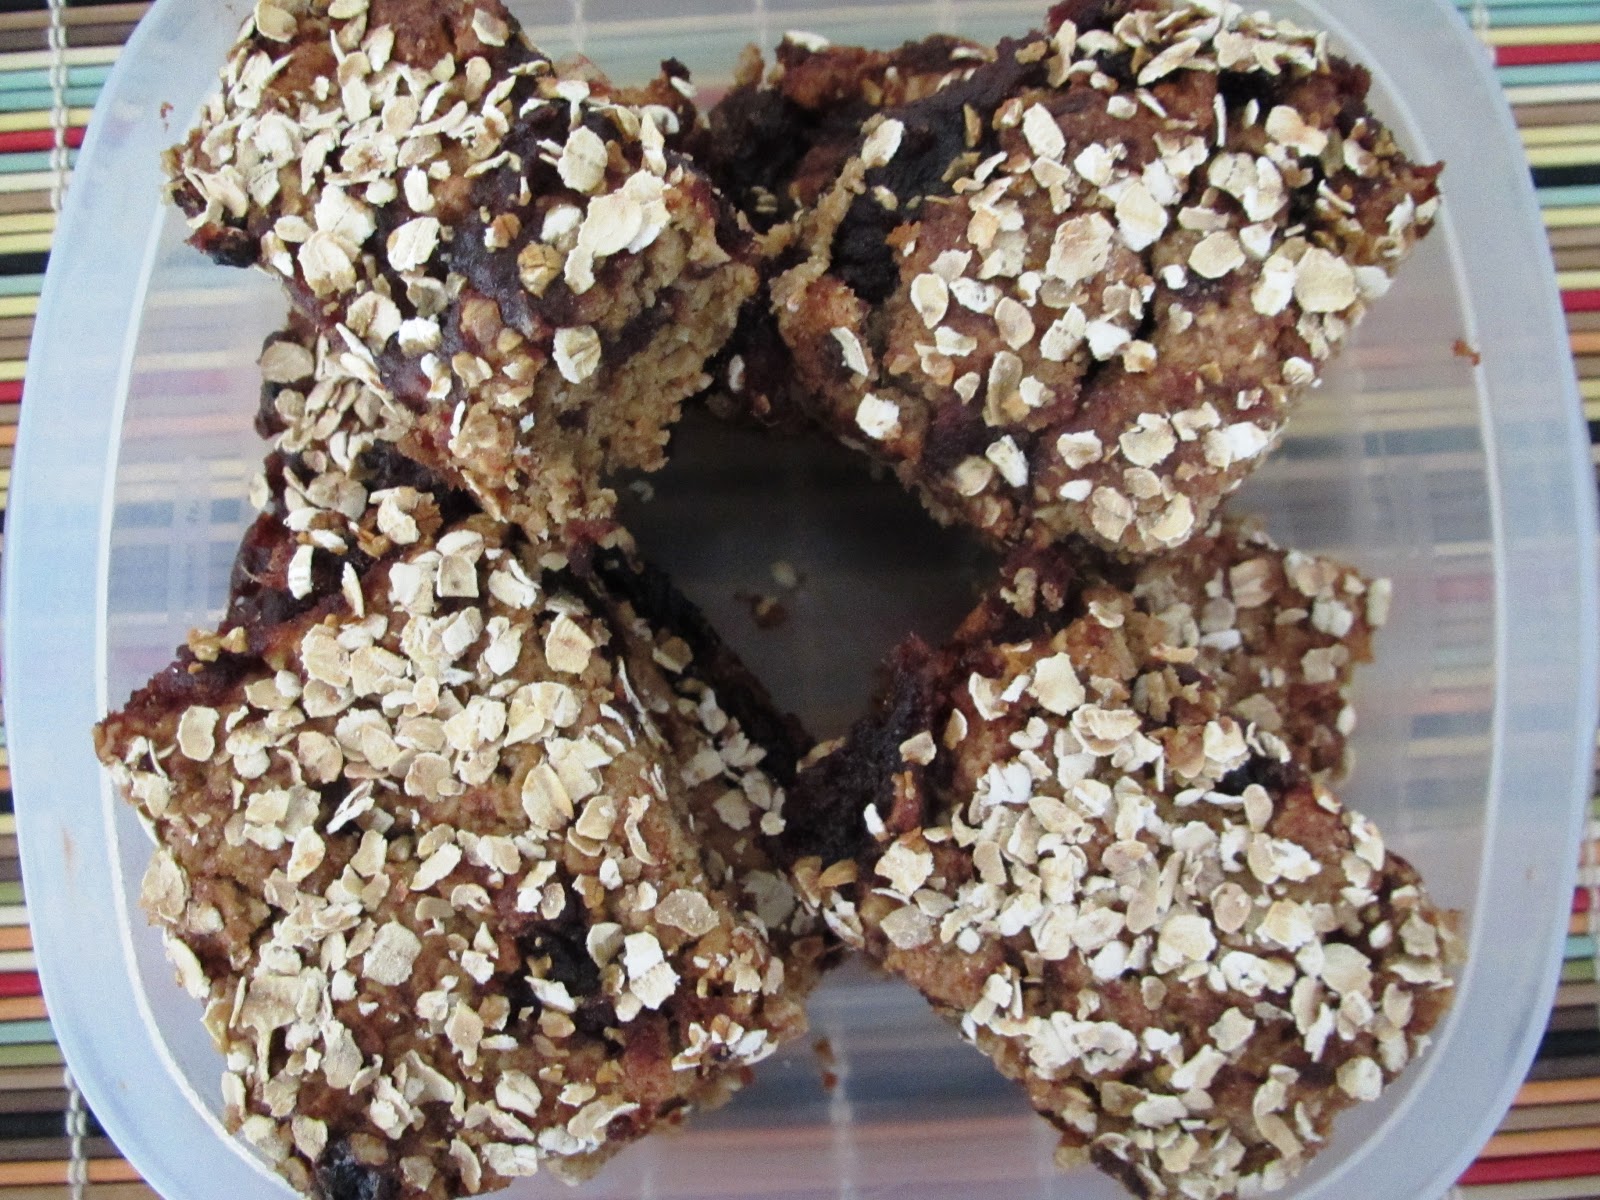
Wonderfully chewy date bars!
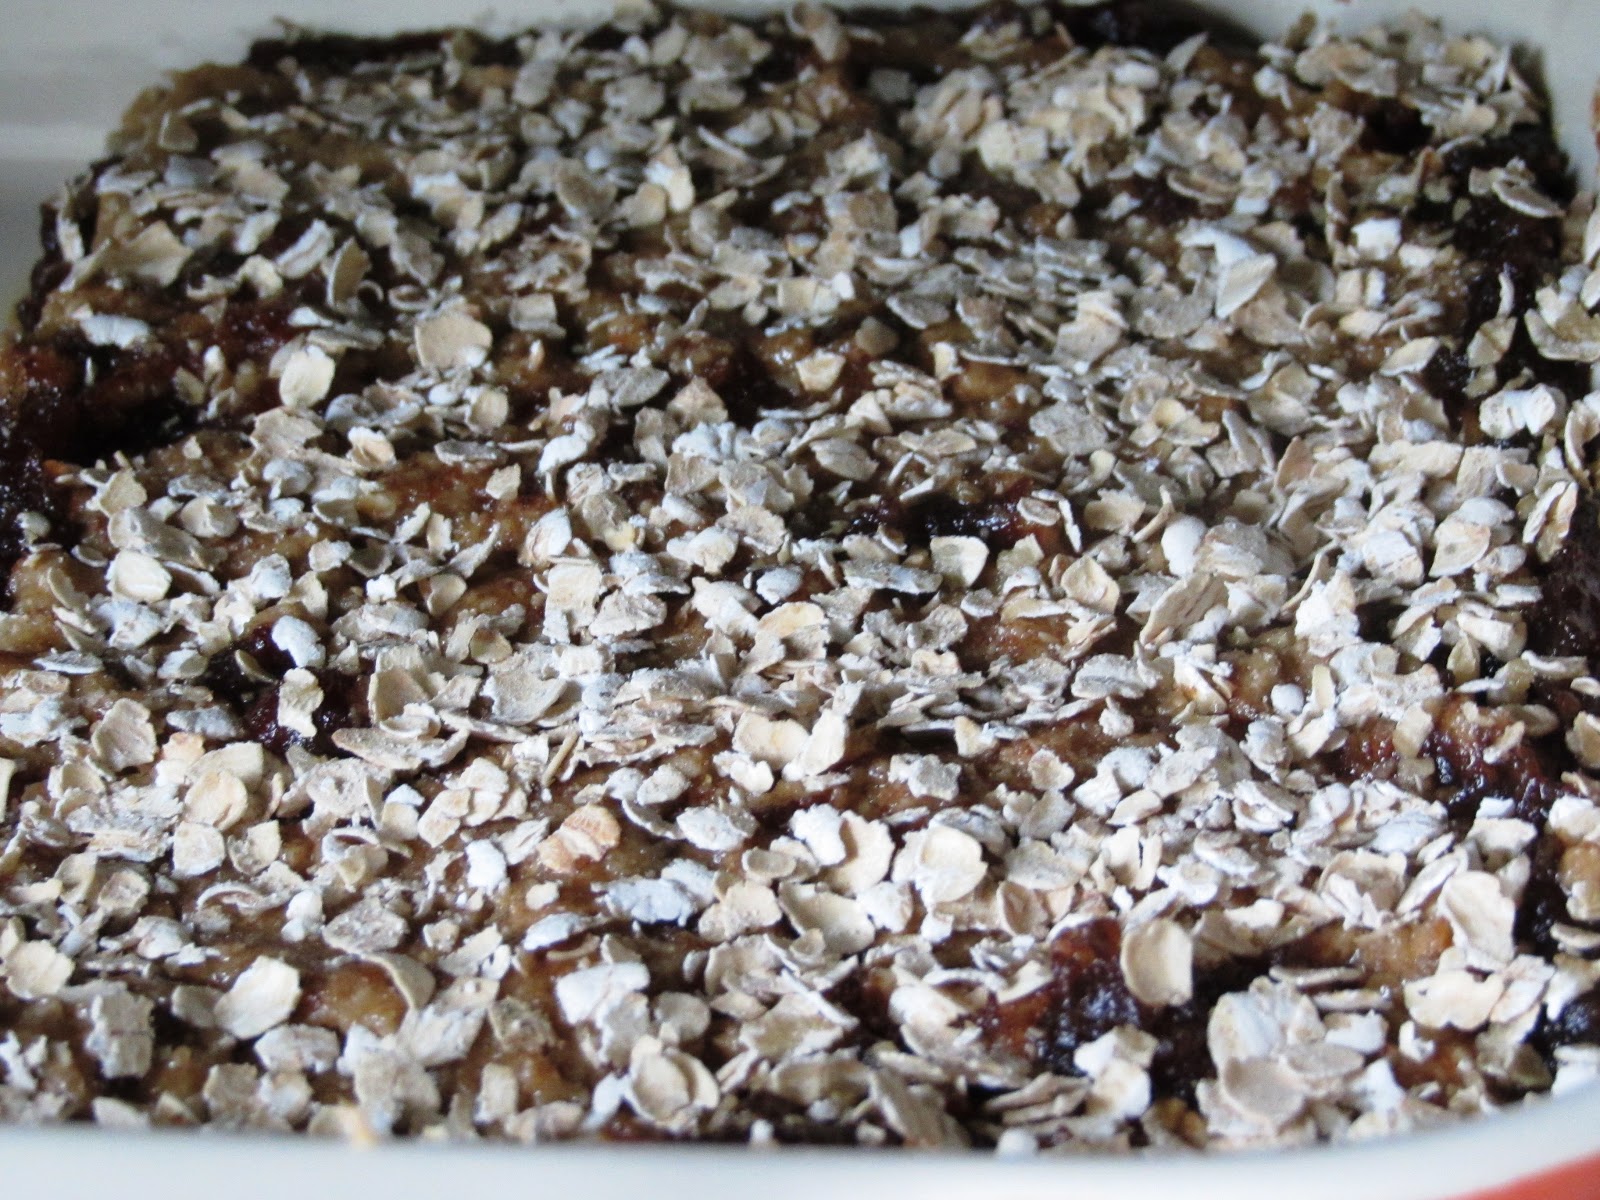
While organizing my pantry today (finally after 3 weeks of moving into the apt), I found an unopened packet of chopped dates my hubby had bought and never touched! Not using it soon enough would mean it would end up in the garbage (ouch!). I’ve used dates in Indian sweet dishes with other dry fruits, but using up a whole packet meant I needed to make dates the main ingredient. I'm quite a fan of date bars and cookies and other chewy delicacies of the Arab land. I looked up some recipes I had to pass as I was missing some important ingredients. Buying something else to use up the dates would’ve completely defeated the purpose of finishing ingredients from the pantry. After looking up a few recipes I found this that seemed delicious and modifiable using what I had in the kitchen. Here's my modified version. 
 
Oatmeal Date Bars

Ingredients:
1 Cup chopped dates – the dates I used had a little bit of sugar sprinkled
¾ Cup water
3 Tbsp honey
¾ Cup all purpose flour
2 Packets Quaker's maple brown-sugar oatmeal
2 Tbsp powdered jaggery – you can also use brown sugar
1 Tbsp ghee (clarified butter)
1 Tbsp oil
Milk as necessary – I used low fat milk

*I do not own a measuring cup - I used a ramekin which is about the same size*
  • Combine the dates, honey and water in a saucepan and cook until it has jam like consistency. Keep aside to cool. 
  • Preheat oven to 400 degrees Fahrenheit.  
  • Beat ghee, oil and powdered jaggery with a mixer. I used half oil half ghee but you can choose to use all butter, all ghee, all oil (whatever you have/like).
  • Mix all purpose flour, oatmeal, baking soda and salt and stir into the jaggery mixture. Add a few tablespoons of milk-just enough to bind it together into thick dough. It should not be too loose else the bars will be too mushy to cut. Using milk, I got away with only 2 tablespoons of oil/ghee together instead of using ½ cup of butter.
  • Grease a baking pan and pat down ½ of the batter forming approximately ¼ inch layer. Spread the date jam and another layer of the flour. You should be careful not to press down the top layer else the date jam will ooze out. You may want to press the remaining dough in between your palms and then put it on top and press down gently.
  • Sprinkle some more oatmeal to create a crunchy top. Bake for about 20 minutes.
  • Remove the baking pan from the oven, let it cool down and cut the bars. I cut them into 12 pieces.
Home run! Even after modifying the original recipe quite a bit, I got perfectly thick and crunchy from the outside and chewy on the inside bars. A great snack for afternoon hunger pangs or a grab-n-go breakfast.

Friday, March 18, 2011

Reminiscing

I prefer buying whole mushrooms and slicing them myself instead of getting the sliced ones - fresher!

Yum yum...

I spent three years of single-hood in Utah. Being in a small place had its perks - I made great friends and spent most weekends with them eating good food. My close friend (also my neighbor) and I often started the weekend celebration with a dinner date on Friday night. It was our way of pampering ourselves by either going to a nice restaurant or cooking some great restaurant style food at home. The calorie count was out the door when we needed something comforting after a long tiring week. Needless to say, there was lots of gossiping(the good kind) during dinner, occasionally followed by long walks to feel 'less guilty' about the gluttony :D. 
I don't get so much of 'cooking together and chatting' any more, but I decided to pamper myself last Friday just like the old days. I cooked a rich yet easy dinner while my husband sat in the kitchen listening to my blabber and loud singing! On the menu: Mushroom Masala with brown basmati rice. I tried to mimic a dish from one of my favorite Indian restaurants. Every person may have a different preference on the amount of spices/garlic used. Change it up your way.

Mushroom Masala


Ingredients:
2 Cups sliced brown mushrooms
1/2 Medium onion finely chopped
1-2 Garlic cloves finely chopped
2 TablespoonsTomato paste
1/4 Teaspoon turmeric powder
Pinch of asafoetida
1 Bay leaf
1/2 Inch cinnamon stick
2-3 Cardamom pods
1 Teaspoons cumin-coriander powder
1 Teaspoon Garam Masala
Red chili powder - per taste
1/2 Cup heavy cream
Cilantro for garnishing
2 Tablespoons oil
Salt
Water


  • Heat oil and add the bay leaf, cinnamon stick, cardamom pods and let the flavors infuse. Make sure the stove is on low-medium flame so the whole spices don't burn. 
  • Add onion, garlic, turmeric powder and asafoetida and saute until the onions tun golden and you can smell the wonderful garlic. 
  • Add tomato paste, cumin-coriander powder, garam masala and the redi chili paste and saute the mixture on low-medium heat for 5-6 minutes until you see oil separating and the masala pulling away from the pot. The majority of cooking time will be in sauteing the paste.
  • Once you have the paste masala ready, add the mushrooms and a little bit of water to mix everything well. 
  • Let the mushrooms cook for 3-4 minutes until the water starts boiling and then add heavy cream. 
  • Bring this to a boil and turn the heat off. 
  • Garnish with some cilantro, lemon juice if you like it and serve with roti or rice. 


A toast to the good ol' days!

Thursday, March 10, 2011

The Joy of Cooking!

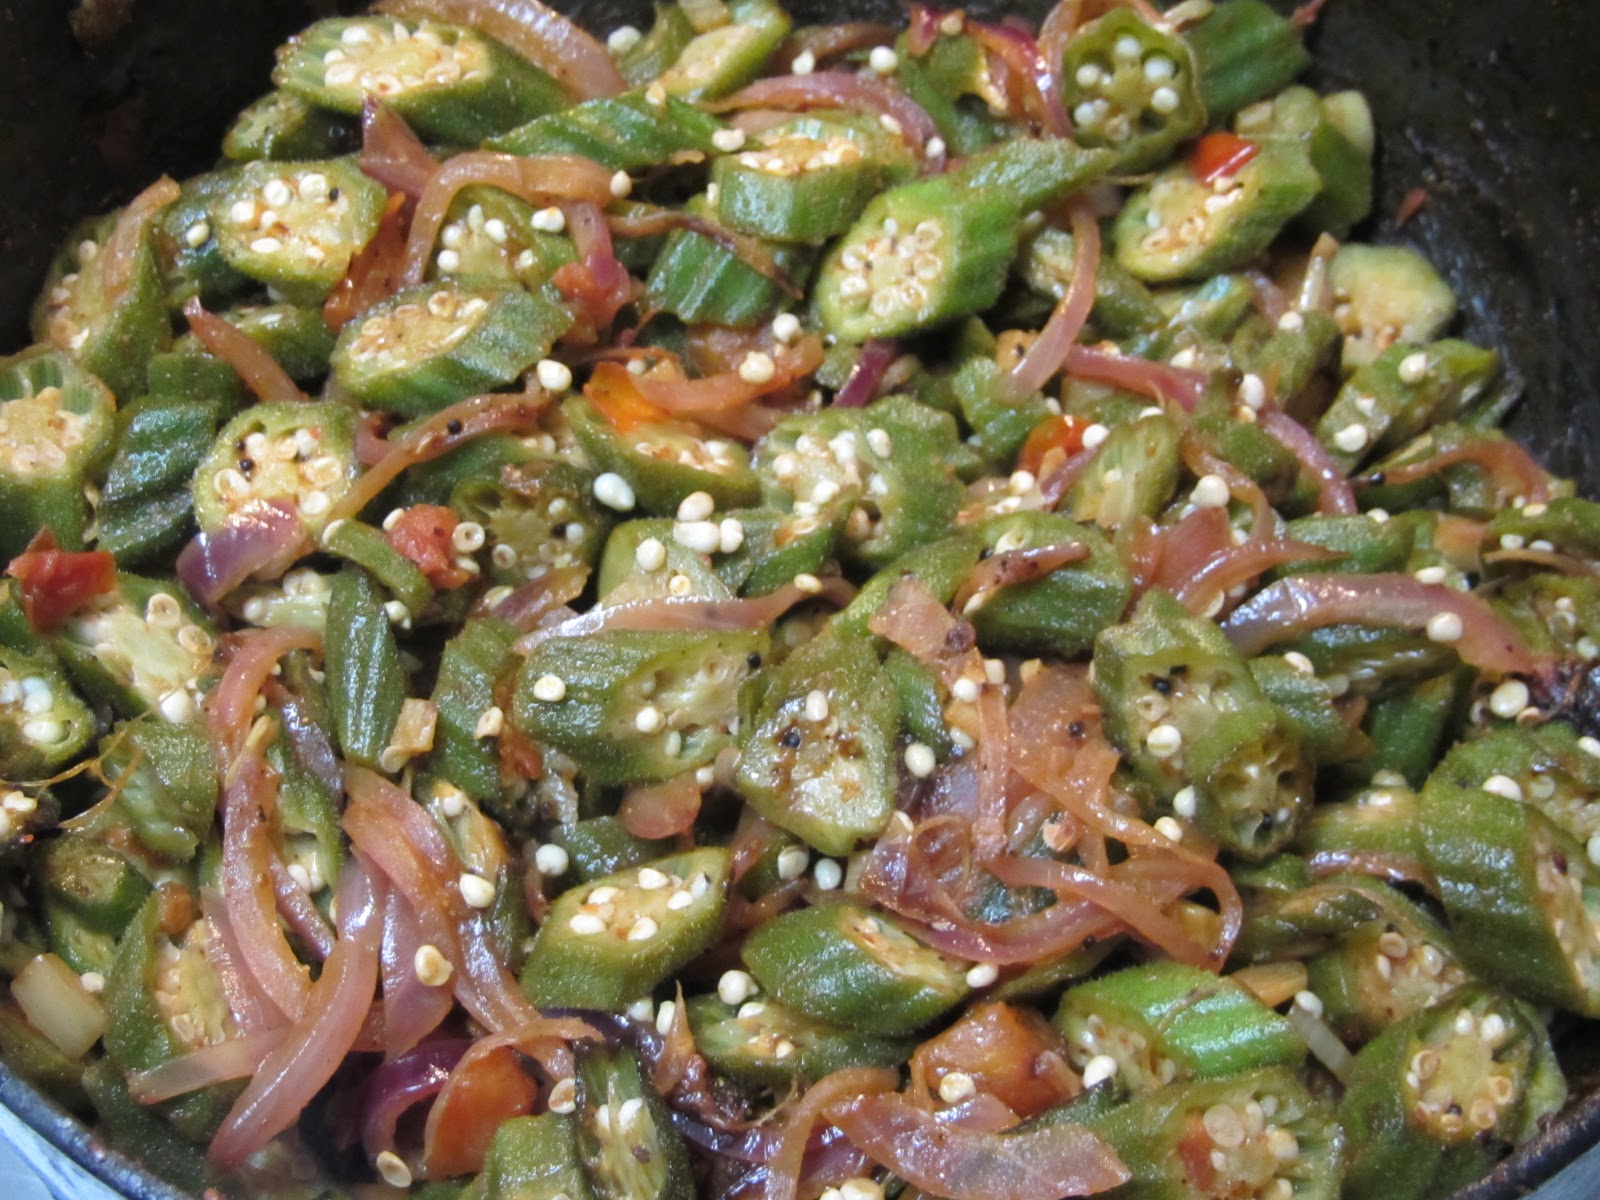
Bhendichi bhaji - in the process of cooking.

I've been deprived of cooking for the past week or so. As much as I enjoy eating out, one week away from the kitchen was enough for me to start craving some home cooked food. The good part is, I have a new bigger and better kitchen to play around! We just moved into a new apartment and I'm loving my kitchen with an attached patio opening to the garden. A perfect place to make some snacks and enjoy them with a cup of tea sitting in the patio listening to the birds chirping.
The Indian grocery store is just minutes away from my new place which means easy access to the otherwise hard to find vegetables! One of the rare vegetables in the US is Bhendi or Okra. This was going to be the first vegetable to be cooked in my new apt when I found fresh okra in the store yesterday. I hope this sets the trend and ensues good cooking in the new house :). The most important part of making a good okra sabji is finding fresh okra. How do you know if it's good? Always look for the dark green okra as opposed to the pale green color, small in size and supple. If it's hard, it'll most likely be very chewy and tough once cooked. It should not break easily/pop if you try to press.
There are a number of recipes for making okra sabji. I went for a simple recipe I learned from my mom.

Bhendichi Bhaji/Okra Sabji

Ingredients:
2 Cups of cut fresh okra
1/2 Medium onion
1 Small tomato OR 1/2 medium tomato
3 Cloves garlic
3/4 Teaspoon tamarind paste
1 small cube of jaggery/couple of teaspoons of sugar
1/2 Teaspoon mustard seeds,
Pinch of asafoetida
1/2 Teaspoon turmeric powder
2 Teaspoons cumin-coriander powder
Red chili powder
1 Tablespoon oil
Salt 

  • Cut the okra in small pieces about 1/2 inch thick. I cut them slanted holding the knife diagonal to okra to make it look pretty.
  • Slice the onion thinly, chop the tomato and chop the garlic.
  • Heat oil in a pan and add the mustard seeds. 
  • Once the mustard seeds splutter, add asafoetida, turmeric, garlic and onion. Stir until the onion is tender. 
  • Add the tomato, tamarind paste (the tamarind paste enhances the tangy taste of tomato - alliteration, ha!), jaggery/sugar and stir for a couple of minutes. 
  • Add okra, cumin-coriander powder, red chili powder, salt to taste and mix well. Cook on medium-high heat for 7-8 minutes until the okra is tender and cooked thoroughly, stirring occasionally. The okra will be slimy initially, but it starts to separate as it cooks. Don't add any water as the moisture from the okra is enough to cook it. 
  • I keep the heat on high for a couple of minutes towards the end to let the okra get charred a little. This is my favorite part of the dish! Once cooked, it's ready to serve. 
Eat the sabji with some roti. I know many people hate okra for the sliminess, but when cooked right it's absolutely delicious! 

Tuesday, February 22, 2011

Weeknight Oven Dinner


As a working professional, I’m always looking for weekday quick fix dinners. There are times you get so wrapped up in work that making a fancy meal at night is just not feasible. Of course, eating out weighs pretty heavy on the wallet, not to mention the scale! I still want to have something exciting on the table to accompany exciting dinner chats. ‘Pop it in the oven’ dinners are great for weeknights as they require little work or time. Here are two recipes that get to the table in no time!

Basic preparation: Preheat the oven to 400 degrees. 

Spicy Roasted Potatoes

Ingredients:
10-15 Small red potatoes 
Hot sauce - I used Tapatio
Paprika
2-3 Garlic cloves
Olive Oil
Salt 

  • Wash the potatoes and cut them in halves leaving the skin on.
  • Drizzle some olive oil, a few dashes of hot sauce (go by your tolerance for heat), sprinkle some paprika and salt for seasoning. Toss it well and transfer to a baking sheet/pan.
  • Crush a couple of garlic cloves and add to the potatoes. The garlic smells great after roasting. 
  • Pop it in the oven for 15-20 minutes or until tender. 

Stuffed Portobello Mushroom

Ingredients:
2 Large Portobello  mushrooms
½ Medium onion
1 garlic clove
4-5 Sundried tomato halves
Parmesan Reggiano
Salt & Pepper
Italian herb mix
Olive Oil
Cilantro

  • Clean the mushrooms with a wet towel and take out the stems (don’t throw them away!). You can choose to leave the gills on but I usually scrape them off.
  • Chop the onion, mushroom stems, garlic and sundried tomatoes.
  • Heat a pan over medium to high heat, drizzle some olive oil and roast the mushrooms on each side for a couple of minutes. Remove and keep aside.
  • In the same pan, give the veggies a quick stir and season with some Italian herbs and salt & pepper.
  • Stuff this filling into the mushroom, top it off with some cheese and pop in the oven in a greased pan.
  • Remove from the oven when the cheese melts and gets golden brown on top (about 5-10 minutes).
  • Garnish with some chopped cilantro and serve.
This is a great meal as you can work on both the dishes simultaneously and they'll be ready at the same time. Get the veggies cut and ready, get the potatoes in the oven and work on the mushrooms since they require less oven time. One simple tasty dinner!

Tuesday, February 15, 2011

Flowers And Chocolates...


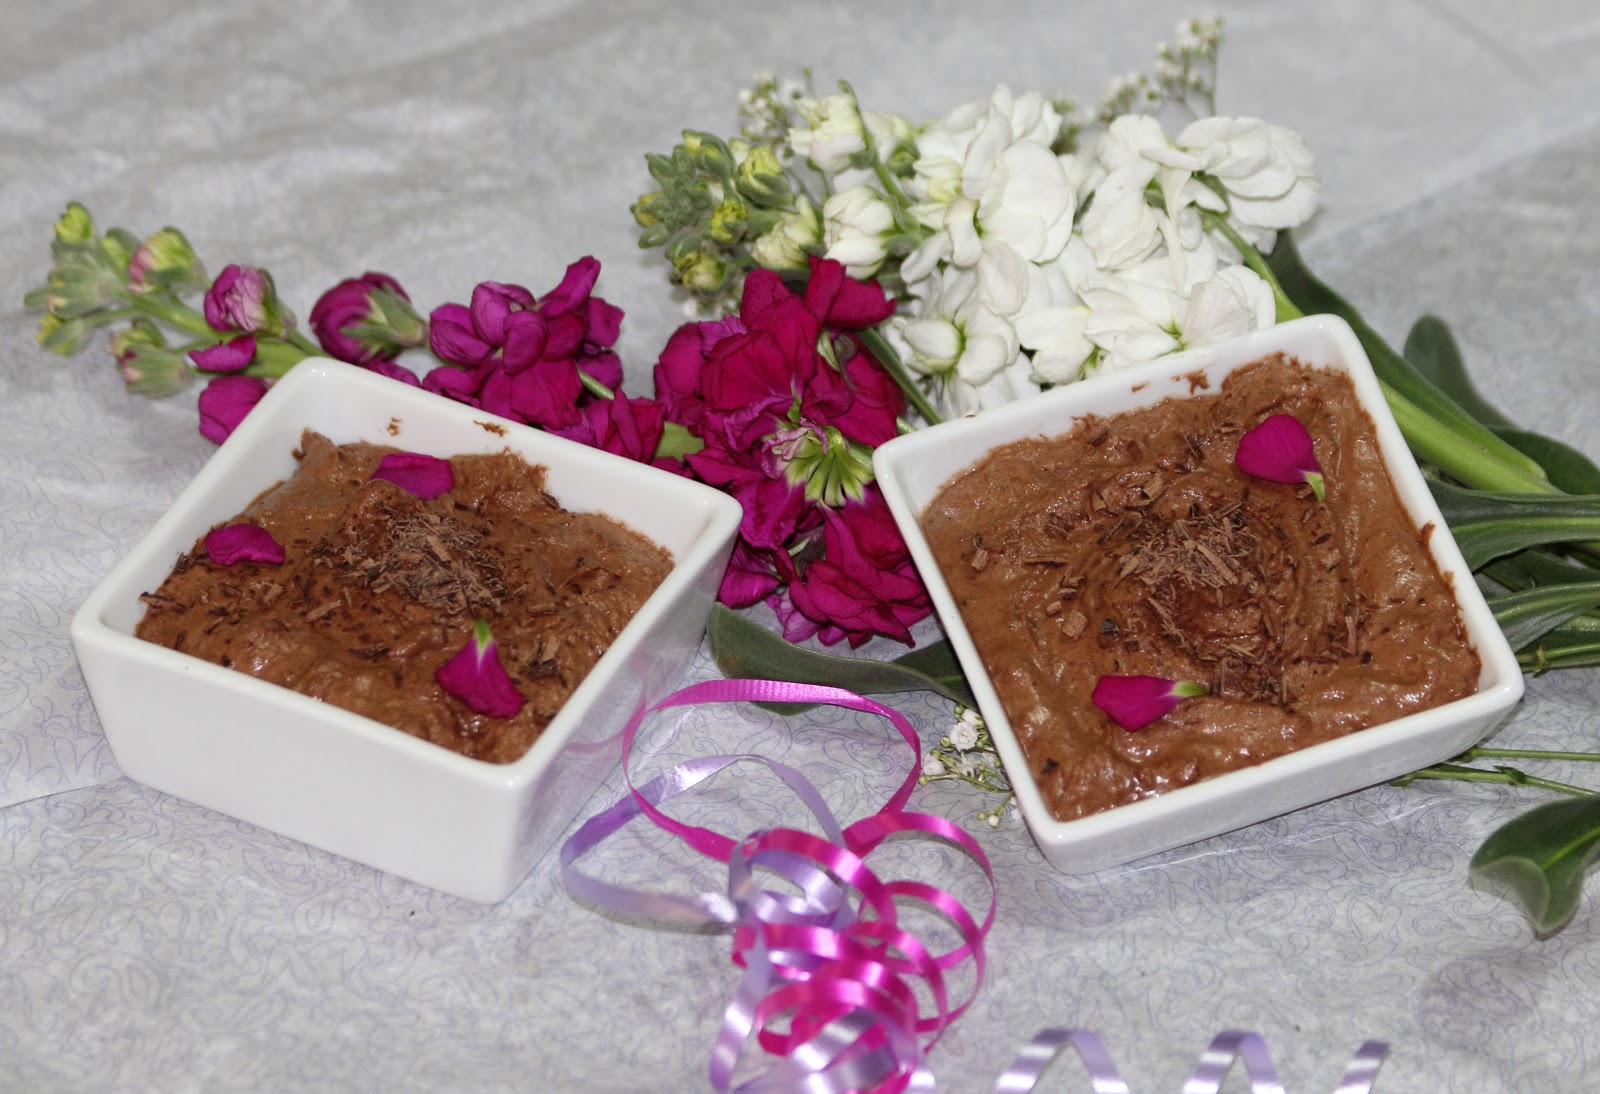
Some say Valentine's Day is highly over-rated and commercialized; but what's so wrong in taking some time out of our busy lives to do something special for our loved ones? My husband and I celebrated our first Valentine's Day together this year and I wanted to surprise him by making something he would love. If there is one thing he loves next to ice-cream, it's dark chocolate. My sister had made a delicious semi-sweet chocolate mousse (no sugar added!) once and I wanted to give it a shot. She couldn't find the original recipe so I used my own judgement and made this mousse based on the method she told me. However clichéd, there is nothing better than flowers and chocolates to say 'I love you' and this chocolate mousse is just perfect to go with those flowers :).

Chocolate Mousse


Ingredients:

2 Oz. semi-sweet baking chocolate - I used Baker's Semi-sweet Chocolate Squares(2 squares)
1 Egg white
¾  Cup heavy cream
½ Teaspoon vanilla essence
1 Teaspoon orange liqueur

  • Whip the heavy cream until soft peaks start forming. Keep the whipped cream in the fridge until you work on the other ingredients.
  • Melt the chocolate in the microwave. This is extremely simple – no melting over boiling water! Keep the chocolate in the microwave on HIGH for about 30 seconds. Remove and stir. Pop it in the oven for another 20 seconds, take out and stir again. Do this until the chocolate melts completely. It takes about 1.5 minutes or so. Keep aside.
  • Separate the white of one egg. Beat the egg until it is foamy and starts forming a shape.
  • The chocolate should be slightly cooled off by the time you get your egg ready. It should be just warm enough to stay gooey. Fold in a third of the egg white and the vanilla essence and orange lequeur in the melted chocolate. It is safer to add the liqueur with the egg whites so that it doesn't harden the chocolate.
  • Fold in the remaining egg white by thirds. Fold in the whipped heavy cream spoon by spoon. Make sure you handle it very gently because keeping the mousse soft and fluffy is the idea. Pop the mousse in the fridge for 15-20 minutes and it’s ready to serve.
  • Serve the mousse with some shaved chocolate, whipped cream, raspberries, strawberries or whatever rocks your boat. I just used some shaved chocolate and bright colored flower petals for decoration =).
This was very easy to make compared to some other recipes I saw online. You can add any kind of flavoring such as espresso, amaretto liqueur etc. The above recipe makes decent sized portions for two.

Friday, February 4, 2011

Cup-A-Soup


My hubby was down with really bad tooth pain last week (do you see how my cooking revolves around him? :D). I couldn't look at his sad puppy face and wanted to cheer him up by making dinner he didn't have to chew! And what's better than a bowl of soup? I had a butternut squash sitting in the kitchen for about a week which was a perfect ingredient. I've always just roasted butternut squash, which by the way tastes amazing, until now. Soup out of roasted squash seemed like a good idea, but I wanted to give it some more flavor. I did some crazy thinking and thought of giving one of my mom's recipes a twist (the effect of watching Iron Chef a little too much) - pumpkin sabji turned into butternut squash soup! Pumpkin sabji may not sound too exciting but oddly my friends used to love it too. I decided to use all the ingredients from the sabji in the soup and did it taste good! This experiment made me a little nervous thinking the spices I used would overpower the squash, but it was just perfecto!

Roasted Butternut Squash Soup

Ingredients:
2 teaspoons grated coconut
Half medium onion chopped
1 whole red chili
1 dried bay leaf
1 big garlic clove
½ Teaspoon fenugreek seeds 
Salt
Black pepper
Yogurt
Water/vegetable broth
Butter
Couple of pinches of Brown sugar
  • Chop the onions and mix with the shredded coconut. Use fresh coconut instead of the dried one.
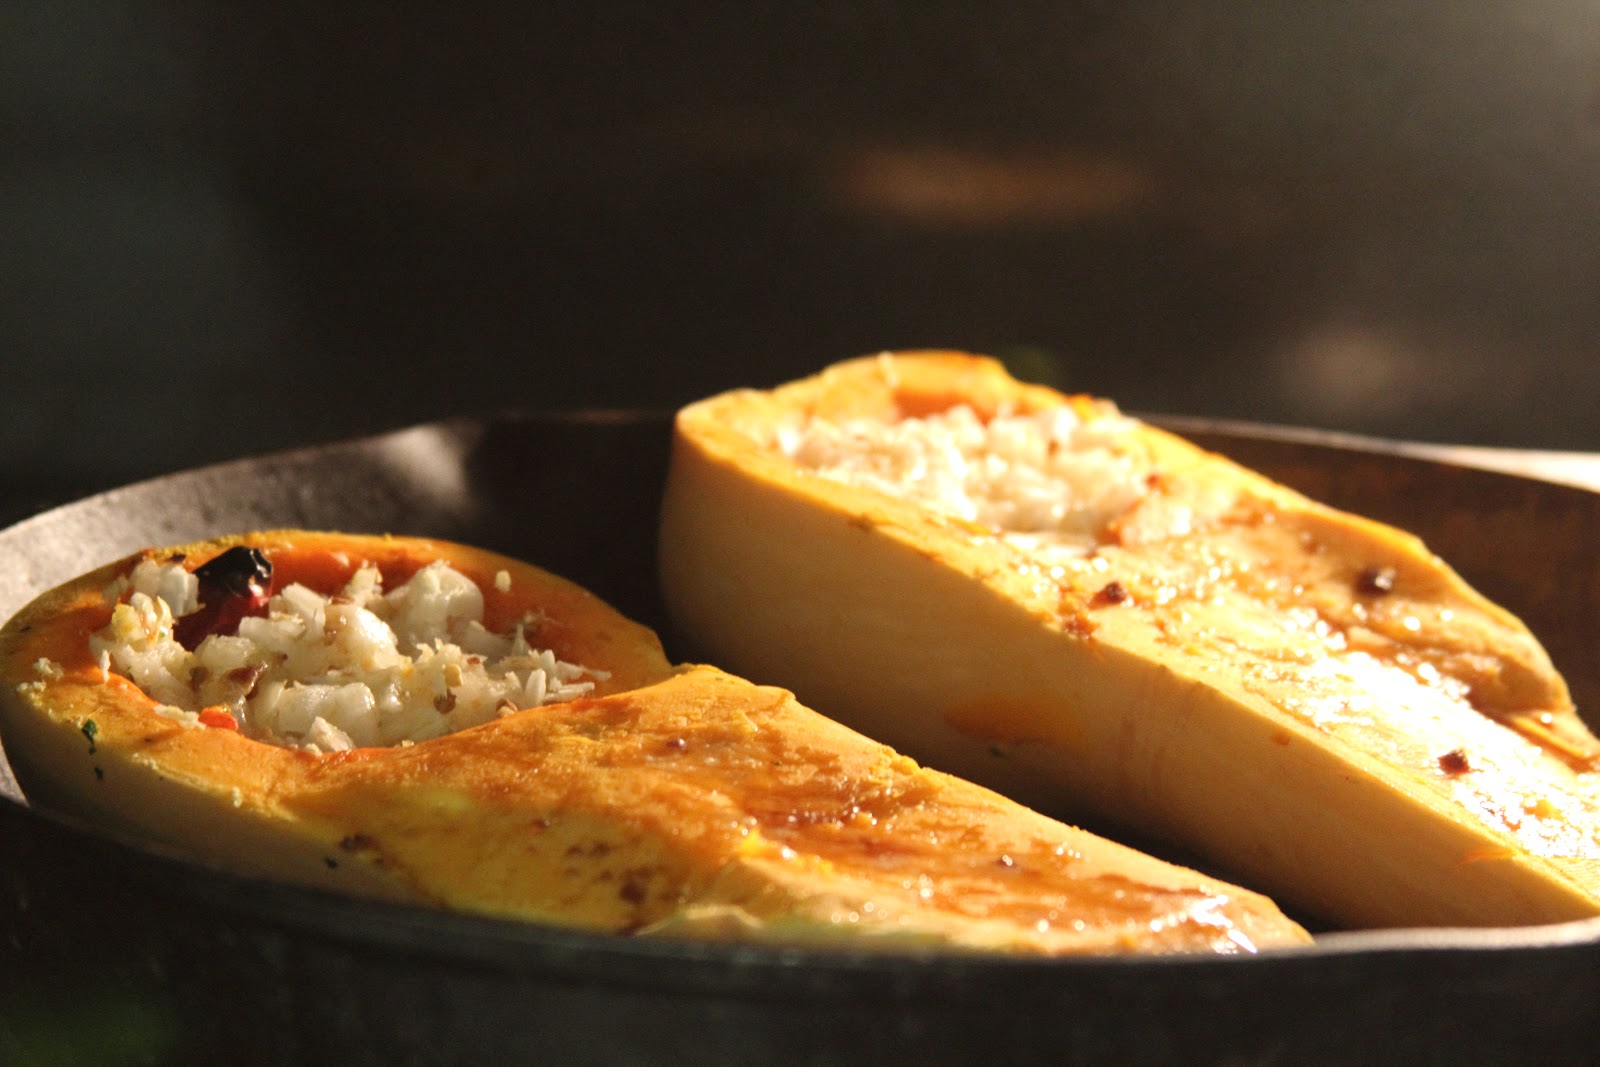
  • Cut the garlic clove, bay leaf and red chili in half and put in the belly of the squash halves.
  • Fill the squash with coconut-onion filling.
  • Add a small cube of butter on top so the squash and the filling roast nicely while locking in the moisture.
  • Sprinkle some brown sugar/crushed jaggery on top…just a little. It caramelizes beautifully. I used jaggery since that's what I had in my pantry and went well with other Indian flavors.
  • Roast in the overn for about 20 mins on 400F. Remove when the squash is a little darker than golden brown…poke a knife and make sure the squash is soft.
  • Scoop out the filling and the flesh…remove the bay leaf.
  • Puree the in the food processor adding some water in between. You can use vegetable stock but water was perfectly fine. Keep the soup nice and thick.
  • Put some crushed black pepper on top after serving.
  • Instead of using cream, I whipped some yogurt and put a dollop of it on top – a healthier option!
The soup was so heartwarming! Butternut squash - like the name suggests - is so creamy and buttery I din't have to add any real cream. All the ingredients shined through individually while maintaining the delicate flavor of the squash. The sweetness of caramelized onions, toasty-nutty flavor of the coconut and the bay leaf fragrance - just divine! It was a happy marriage. This was a big hit with my husband who has asked me to make it again...yep! :)

LinkWithin

Related Posts Plugin for WordPress, Blogger...