Showing posts with label Garden. Show all posts

Wednesday, July 3, 2013

Fresh From The Garden

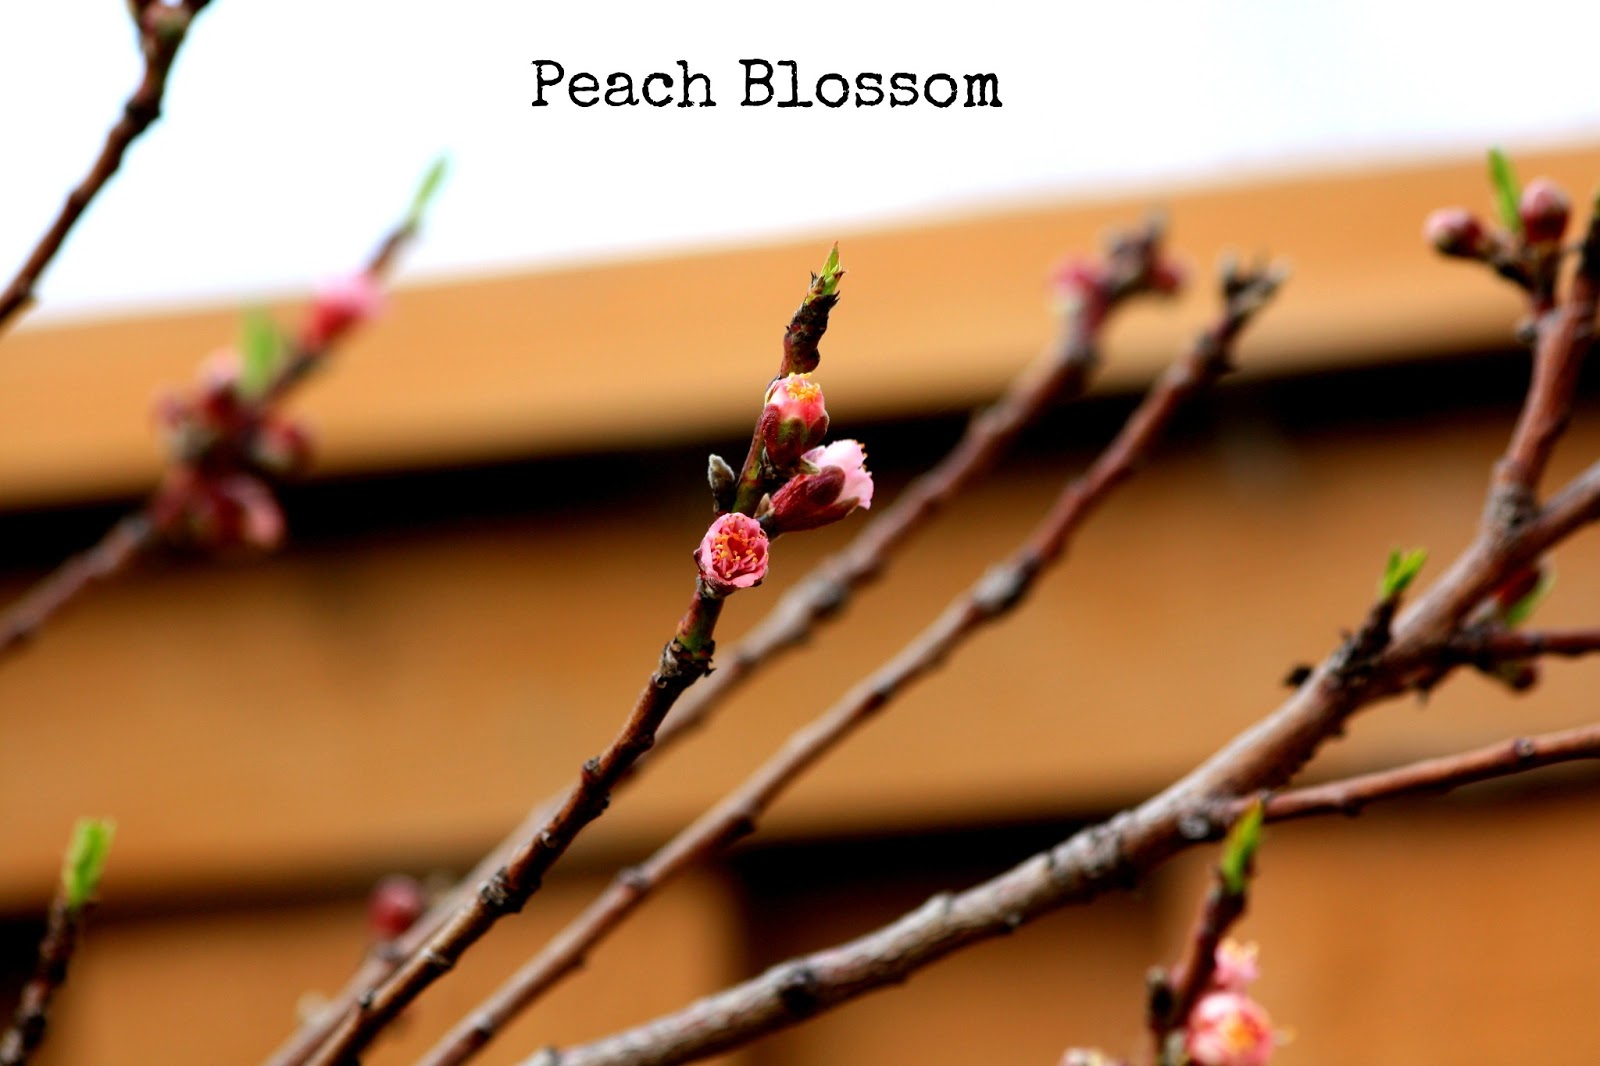
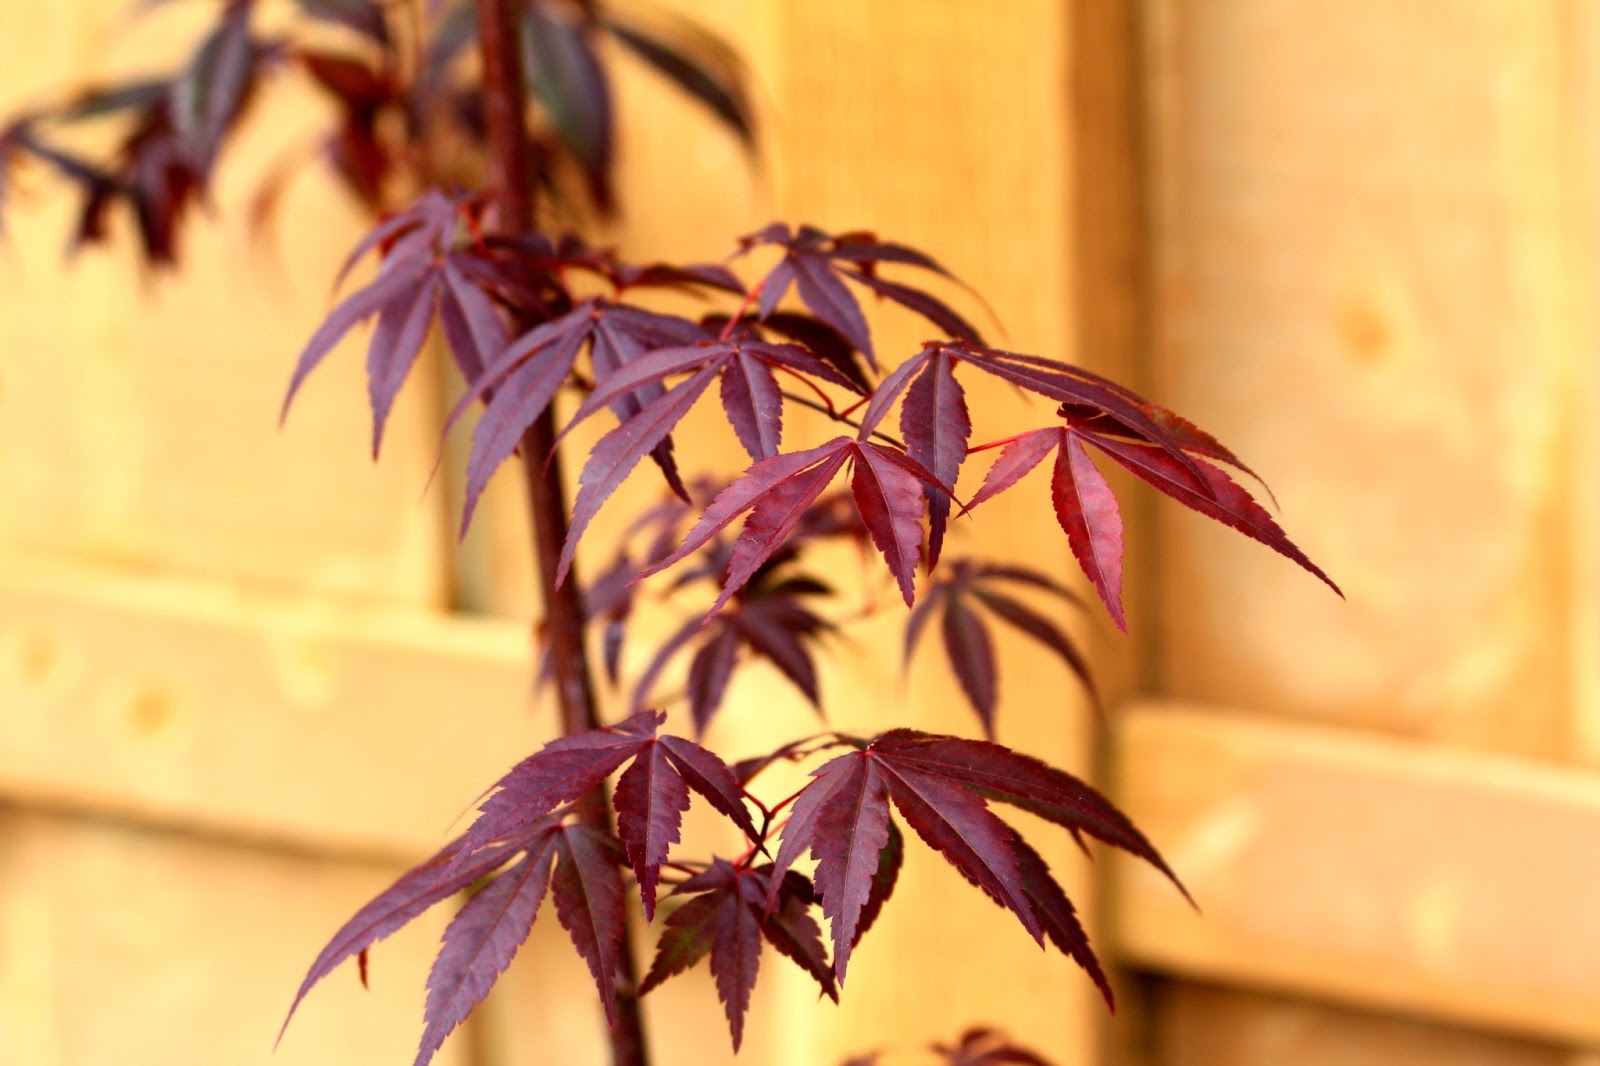
The garden gods have been pretty generous lately. My plants are loving the warm weather and all the extra attention they've been getting from two new members in the house now.

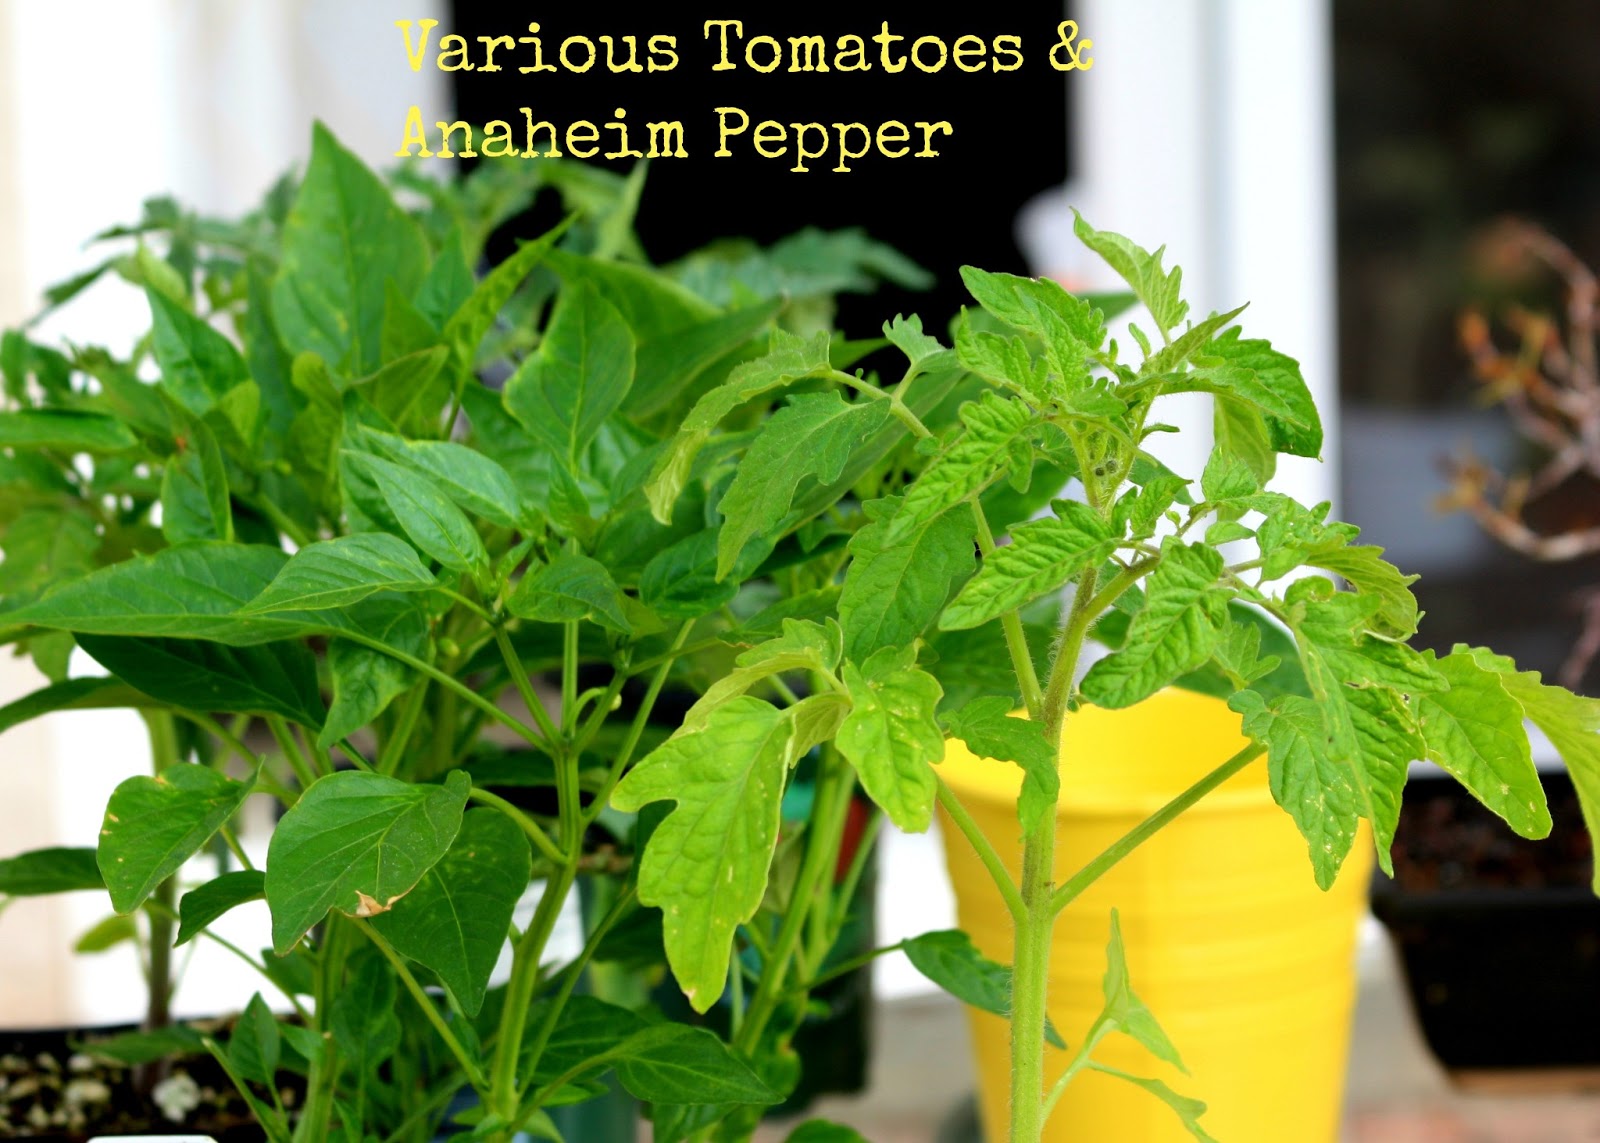
Our heirloom tomato plant produced its first meaty, juicy, attractive babies. Their vibrant color won me over even before tasting them. And the taste - aah! They had the perfect balance between sweetness and tartness. Nothing like the grocery store varieties. I could eat these on their own!


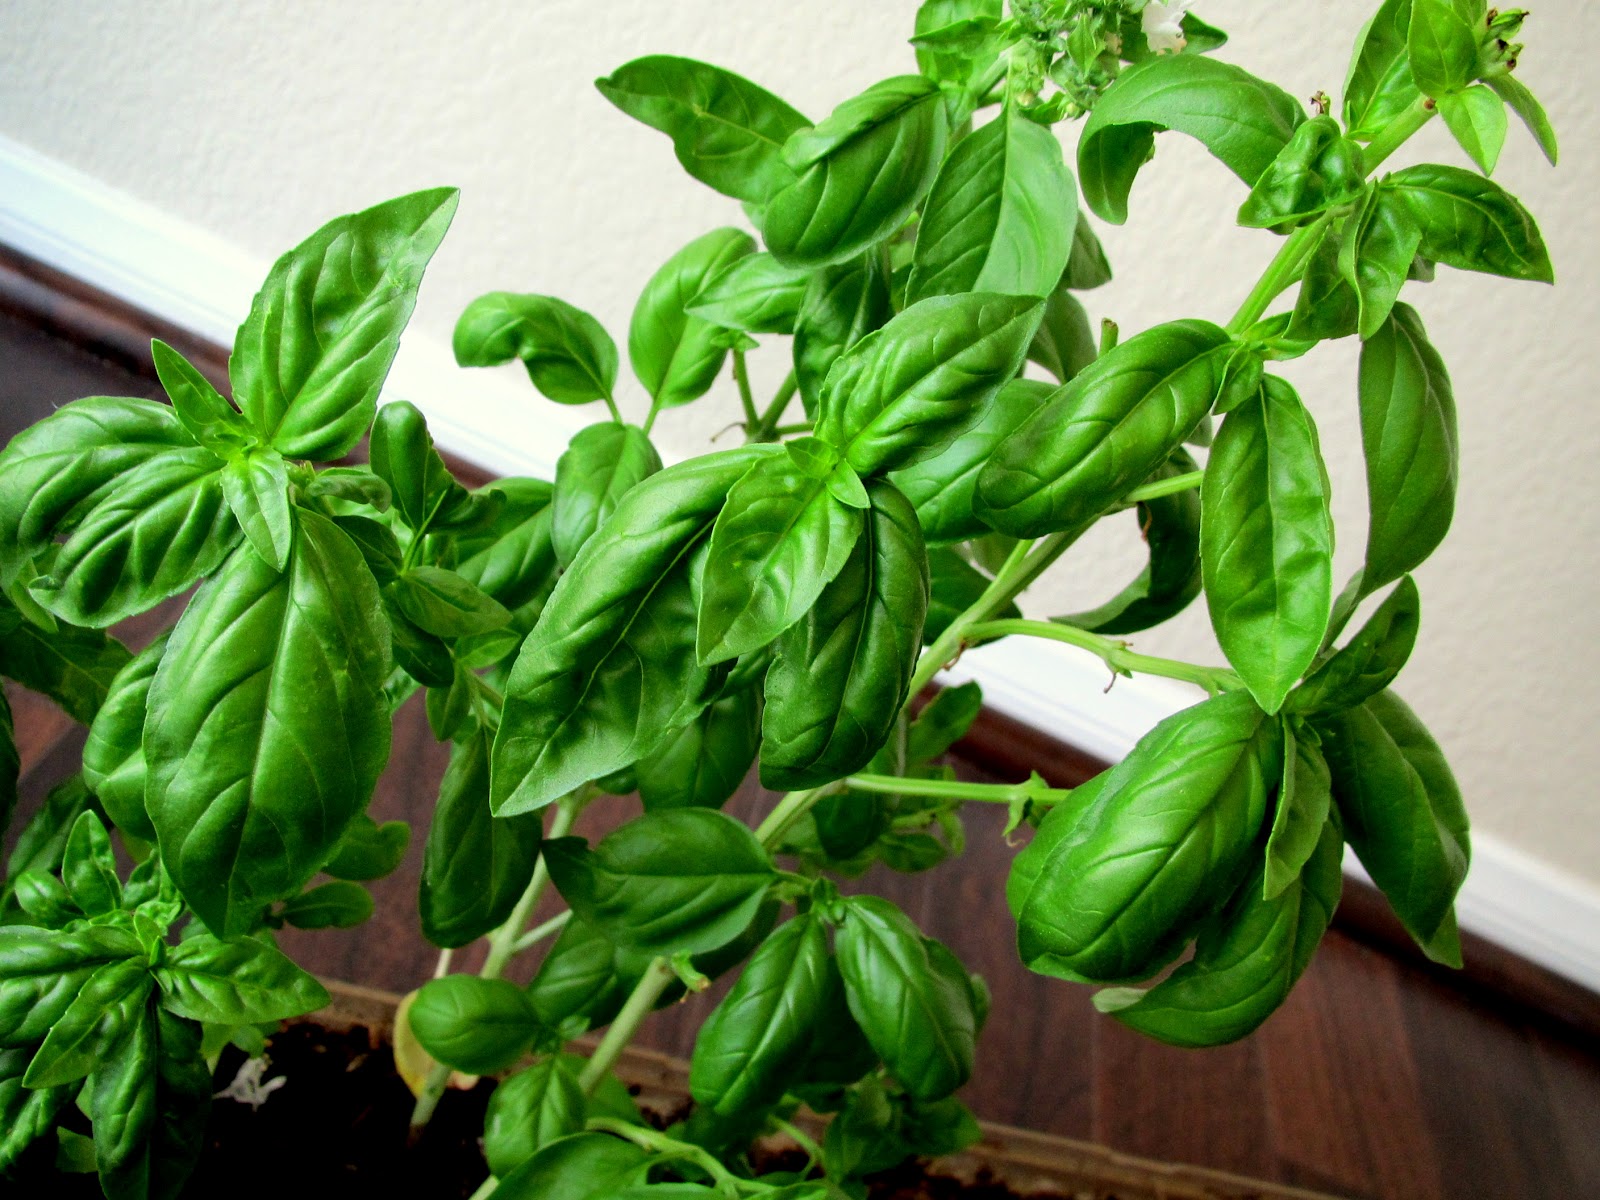
Along with the prized heirloom produce, we picked a few red chilies, plenty of tiny purple tomatoes, and a whole lot of fragrant basil. Thank heavens for all these fresh veggies and herbs, or I may forget how things are supposed to taste.


What do you do when you have organic, flavorful produce? Not muddle the flavors! That's what I decided and made this simple tomato-pesto tart using puff pastry sheets lying in the freezer. Tart was a great choice to use heirloom tomatoes - they are firm and meaty, and hold up really well even after being blasted with heat. And their soft flesh contrasted the crunchy pastry sheet beautifully. These tarts made for a nice summer meal - crispy, light, full of bursting juices.


Heirloom Tomato - Pesto Tart

Ingredients:
2 Puff pastry sheets
3-4 Heirloom tomatoes (depending on their size)

For pesto:
1 Cup packed fresh basil leaves
2 Garlic cloves
1/4 Cup nuts - cashews, almonds, pine nuts, or walnuts
2 Tablespoons grated parmesan cheese
Olive Oil as required
Salt to taste

  • Preheat oven at 375F.
  • Add all the ingredients for pesto, except olive oil, to the food processor. Make a coarse paste, while adding olive oil little by little. I use minimum amount of oil to get a smooth paste.
  • Wash and cut tomatoes in 1/4 inch discs.
  • Thaw the puff pastry sheets just enough so that you can separate them. If you let them thaw for too long, the dough will start stretching in all directions! Cut each sheet in three width wise. I used Pepperidge Farm box which comes with 2 sheets - so I had 6 decent sized tarts.
  • Lay these sheets on a tray lined with parchment paper or lightly oiled aluminum foil. Divide the pesto and spread it on each sheet. Then lay the tomato slices, and bake these tarts for 15-18 minutes or until the pasty sheets are golden brown. The tarts are ready to eat. 
---

One of my very close friends, Aditi, has been a loyal reader of my blog. We keep exchanging recipes and ideas. She gave me the recipe to make Sai Bhaji - a simple mixed greens preparation using split chickpea lentils and potato for some substance. I tried it last night using fresh Swiss Chard from the garden and other greens. This recipe is a keeper. It was done in no time and just tasted 'healthy'! I was too eager to eat and took a very bad picture with my phone. 


Sai Bhaji

Ingredients:
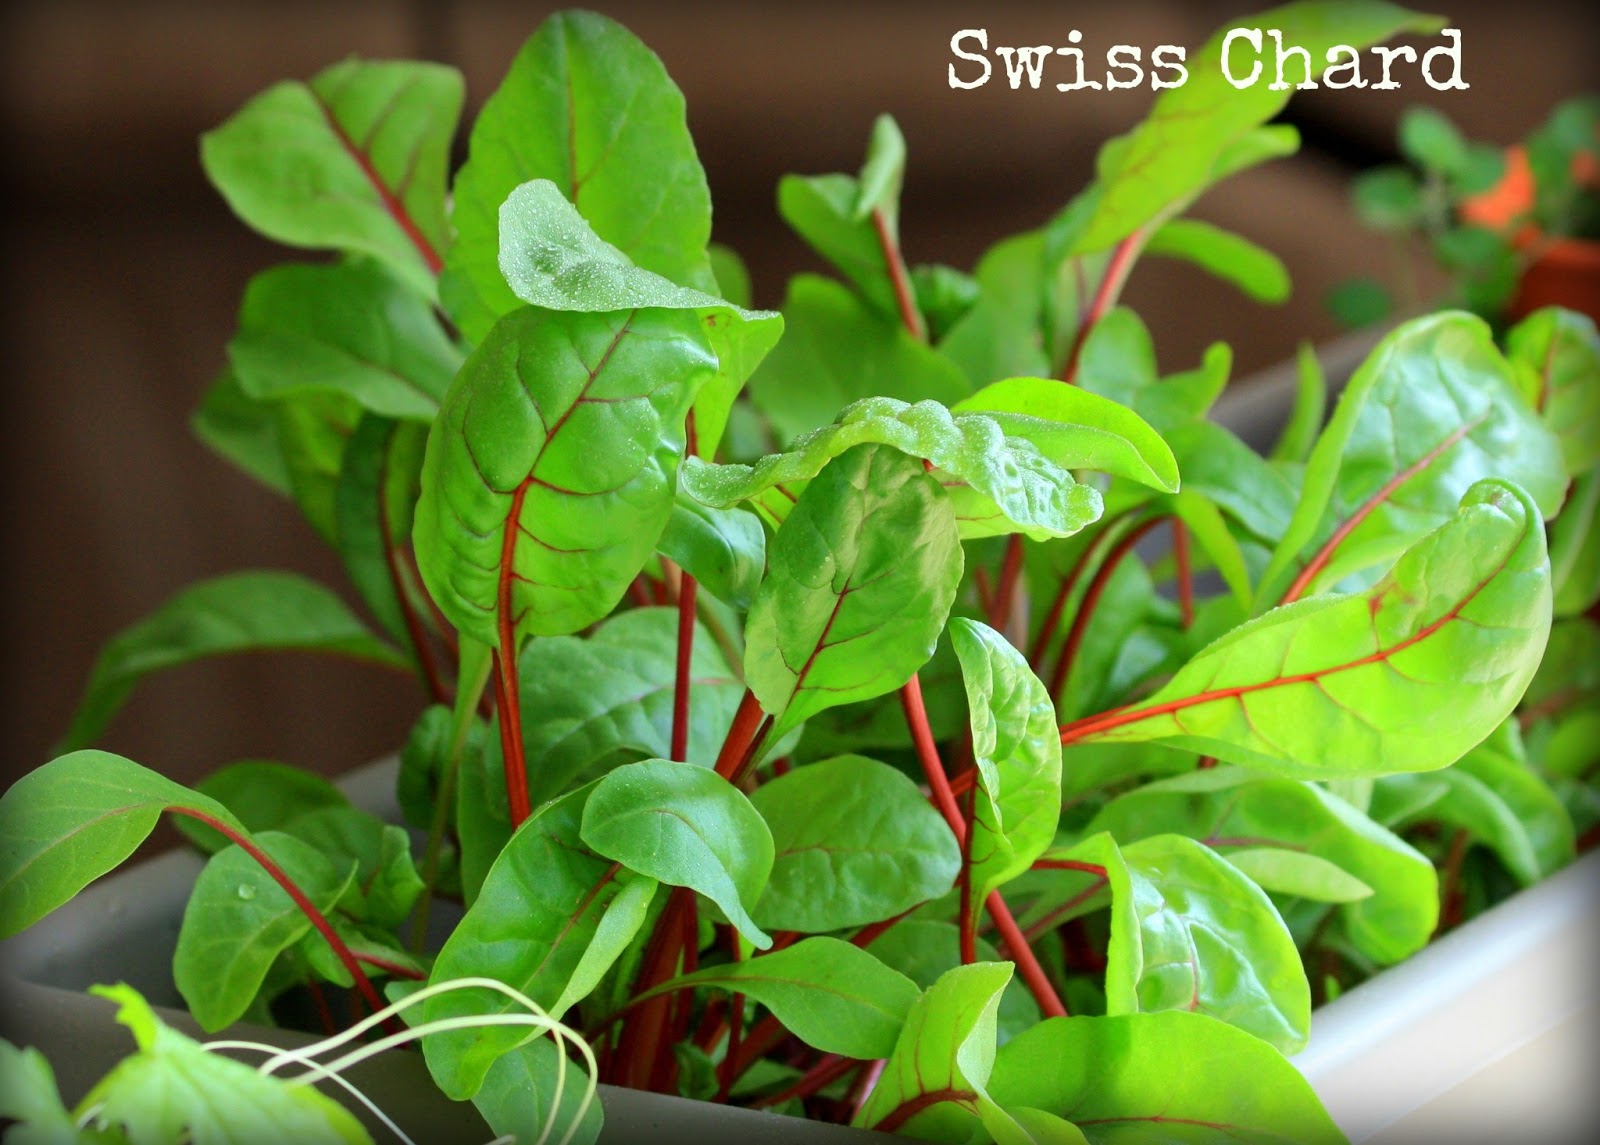
1 Cup of spinach, swiss chard and mustard greens each - washed and chopped. Feel free to add any other greens that are smooth in texture when cooked.
2 Cup washed split chickpeas (chana daal) - soaked in water to soften
1 Small potato - peeld and cubed
1 Small onion - finely chopped
1 Tomato - cubed
2 Teaspoons minced ginger and garlic
1 Tablespoon oil
1 Teaspoon mustard seeds
1/4 Teaspoon turmeric powder
Red chili powder to taste
Salt to taste

  • Heat oil in a pressure cooker and add mustard seeds. Once they splutter, add turmeric powder, and chana daal. Saute for 2 minutes.
  • Add ginger-garlic, onion, tomatoes, and potatoes if using, and mix well. 
  • Mix in all the greens, add red chili powder and salt to taste, and add a little bit of water (just enough to cook). Pressure cook the greens for 2-3 whistles. I cooked them without the whistle just enough so the chana daal would cook but not break. 


The Bhaji is ready to be eaten with rotis. Chana daal provided a great bite to the otherwise soft bhaji. A good dose of protein too. It had a nice tang provided by tomatoes that lifted all the flavors. I'll add this recipe to my usual dinner rounds.


Thursday, May 16, 2013

From The Far East - Loquat Chutney

We've been enjoying an abundant supply of loquats recently. Husband and I didn't even know what this tree in the backyard was until our Asian gardener identified it for us. Loquat, a fruit native to central China, is also known as Chinese plum. If you like peach, apricot, citrus or mango, or all of them, you'll love loquat with hints of all of these fruits. The loquat tree with yellowish ornage fruits makes our yard quite attractive to all sorts of birds. Most fruits get pecked before they ripen fully, but we still manage to keep plenty to ourselves. I love the juicy fruit with sweet-n-tart flavors, and so do all our friends who've tried. it. There were quite a few vendors selling loquat at the farmers market last week.


Loquat, unlike most other fruit trees, starts flowering in late winter and bears fully ripe fruits around late spring. So around this time, we have more fruits than we can manage to eat. I looked up if I could use the excess fruits in cooking. Turns out loquat is great for tarts, chutneys, jellies and jams. Makes total sense given the fleshy, juicy texture. I made a simple chutney with it, similar to the mango chutney made with ripe yet firm mangoes available in India around this time. It would be the perfect accompaniment to any light meal. You can make it with peaches, apricots, or firm ripe mangoes too.


Loquat Chutney

Ingredients:
2 Cups firm, ripe loquat - peeled, deseeded and chopped
1 Stick cinnamon
1 Star anise
1/2 Teaspoon cumin seeds
1/4 Cup grated jaggery/brown sugar
2-3 Tablespoons cider vinegar
1 Teaspoon red chili powder
1/2 Teaspoon cumin-coriander powder
2 Teaspoons ghee/butter
Salt to taste

Heat ghee/butter in a sauce pan and add cumin seeds, cinnamon and star anise. Let the seeds splutter and whole spices roast until fragrant. You can use a spoonful of fennel powder instead of start anise for that sweet, licorice like aroma.
Add rest of the ingredients and cook the chutney until everything comes together. You can adjust the amount of jaggery and vinegar depending on how sweet or tart the fruits are. Adjust the chili powder per preference.
Once cooled, the chutney is ready to eat. It can be stored in the fridge for upto 2 weeks.


Friday, April 5, 2013

Garden Tips

When I did a post on what I'm growing in my garden this year, Priyanka requested me to share some of my gardening experiences and tips. I should declare first thing that I am no expert and have only been gardening the past 4-5 years. There's a steep learning curve and the first couple of years go in knowing the Dos and Don'ts of it. Gardening is much like cooking - It requires paying attention to the technical details and a whole lot of TLC. If patience is a virtue, gardening will test your limits of it. But the joy of seeing a life grow in front of your eyes is extremely satisfying. And having very fresh, organically grown veggies and herbs in your plate is definitely priceless!

Before you being to plan your garden, ask yourself a few questions:
What kind of space do you have for gardening?
What is the average temperature in your area?
How much sunlight do you get during the day?

If you have a large garden, you can be more adventurous and try planting different plants. When working in a smaller area like a balcony or windowsills, you need to be more selective in what you can plant. Sunlight is very important for healthy growth of plants. For most parts of the world, it is not an issue during the summer, especially in outdoor gardens. If you plan on planting in the balcony/windows, south facing areas are ideal. If there's not enough sunlight, go for plants that thrive in partial light or shade. Maintaining controlled temperature and moisture environments is also important, especially in early spring when the weather changes frequently. Do your research based on these factors and then let the gardening begin.

Pick your plants: If you are a new gardener, pick plants that are easy to grow and yield produce soon after planting. Quick reward for your efforts is never bad, and it keeps you interested through the process. I find tomatoes very easy to grow. They are hardy, give lots of fruit, and get used in almost all cuisines. Some other plants I've had success with are zucchini, eggplants, greens such as spinach, Swiss chard and mustard greens, easy to grow herbs like basil, sage, thyme, chives, and oregano. All of these plants do well in containers, so you can start planting in small spaces as well. Chilies are among the plants that do not grow easily. So you may want to skip them until you learn the tricks of the trade. 

Know your plants: All the seed packets you get in the stores have detailed instructions on what each plant requires. Read them carefully and note them down somewhere so you don't forget. A great way to keep track of your plants is to make a chart with the date of planting and the temperature, sunlight and moisture requirements. This way, you can refer to the chart when in doubt. If I buy plants instead of seeds from nurseries, I ask one of the friendly helpers how best to take care of those plants. For everything else, there's internet!

Start seeds in seed starter: You can begin planting at the start of spring. To help germinate the seeds well, start them in seed-starters. I get wide trays of peat pellets from the Home Depot. The pellets multiply in size after soaking up water. Sow seeds 1/2-1/4 inch deep into the pellets and keep the pellets moist in a warm area, preferably in a south facing window. Cover the pellet tray with plastic wrap so it creates a controlled environment with the right moisture and temperature level. Let the plants grow in seed starters until they are a few inches tall before you transfer them to the ground/big containers. If you sow a lot of seeds in one pellet, thin out some of the plants keeping the healthiest. The best thing about these pellets is that, they can be transferred directly to your final potting area without disturbing the plant roots. 

Give them sunshine: Once the seeds germinate and grow into 2-3 inches plants, the leaves will start reaching out to the sun. Keep rotating the pellet trays so that your plants don't bend in one direction only and all the sides get equal sunlight. Don't rush to transfer the plants outside until the temperatures stabilize. If the day time temperatures are above 60 degrees, you can keep the plants outside during the day and bring them back at night if it's still too cold. It's safe to transfer the plants outside when the nighttime temperatures reach high 50's or above.

Plants like comfortable homes too: If you plan to keep your plants in pots, make sure the pots are big enough for the plants to thrive. Vegetables that have roots reaching deep in the soil should be planted in large pots with drain holes at the bottom. Herbs on the other hand do well in smaller pots that fit on windowsills as well. Make sure you use good quality potting soil which can be bought in any gardening store at a very decent price. Adding some perlite to the soil mix helps keep it aerated and avoid clumping/compacting. A layer of mulch is great in controlling weed. If planting in the ground, aerate the soil by tilling. The soil should be kept moist, but well drained. Over watering can rot the roots. Many of the potting soil brands have some fertilizers in them. But you can buy fruits & vegetable fertilizers for better growth. There are many organic brands available. Cow manure is great to mix in the soil.

Keep the bugs away: One of the biggest threats to your plants is bugs - pests & fungus. I have always had a hard time keeping my plants away from pests. They almost always show up and are quite persistent. You should always be watchful and tackle pests at the first sign of appearance. For some lazy bugs like aphids (that don't move around much), just a little forceful spray of water is effective in getting rid of them. You can try some home remedies like sprinkling soap water (hand soap diluted in lots of water), salt water, or red chili powder water over your plants. I've noticed that worms hate salt poured on them! Sometimes, you do have to use pesticides though. If you want to stay away from toxic pesticides, there are many organic, environmentally safe brands available these days. There are sprays or small pellets for bugs and slugs etc. One of the other very safe ways is to introduce good bugs to your garden. Husband let out a containerful of ladybugs in the garden recently so they would feast on pests. I have also learned that planting fragrant flowers and herbs, which attract the good bugs, next to your veggies also helps in pest control.

TLC: Last but not the least, plants need lots of love and care. Visit your plants at least once a day. Make sure they are in good condition and tend to their needs. Maybe a browning leaf needs to be trimmed or the soil in one of the pots has dried out. Your plants will thrive when you pay attention to them.

Hope this post helps those looking to plant something this year and encourages others to do so. There is a wealth of information available in gardening books/magazines or even online. Do take advantage of them. Happy gardening! 

Monday, March 18, 2013

Spring Blooms

Husband and I got a head start on our garden this year. I admit - he takes more care of the plants than I do. We are  lucky to have plenty of sunlight way before spring, so the seeds we sowed have come to life beautifully indoors with the light coming in through the patio. Here's what we are growing this year!

Tender mustard greens are great in salads. I am waiting for these to grow so that I can make saag!
Girls love ruby!
Husband is a huge fan of Karelas..Hope we get some fruits.
Oh, the heavenly aroma of sage!
Already used some to make roasted potatoes. Mmmm..
We mislabeled this plant. I think it's eggplant, husband thinks it's tomatillo - we'll find out soon hopefully :D
A beautiful flower bucket hubs put together - has lavender which I'm looking forward to using in the kitchen.
Hubby's works of art
Simply gorgeous! This is the first time we are seeing the big trees in the garden bloom.
Just bought this Japanese Maple - Look at that beautiful color!
The fig tree was completely bare until last week. Suddenly, the tips of every branch have one leaf and one tiny fig!
4 types of tomatoes and one pepper plant.
Other than these, we've planted the usual - basil, cilantro and zucchini. There's dill, spinach, holy basil and oregano as well. Let's see how everything turns out. I'm looking forward to a productive summer!

Spring has arrived...Are you planting anything in your garden/patio/balcony/windowsill this year?


Wednesday, August 8, 2012

First Zucchini!

Finally, after fighting last year's luck and some persistent slugs, my zucchini plant has yielded its first fruit. As I mentioned earlier, I knew exactly what I was going to make with the first zucchini. Hubs and I have become huge fans of this simple recipe to make zucchini fries/chips. The original inspiration was a recipe by Veggie by Season. I had tried it in my egg-aversion days and had replaced egg with some yogurt to help the breadcrumbs stick. Sadly, I ended up with a product far from being crunchy. The yogurt made it a soggy mess. Ever since, I have resorted to the good ol', comparatively healthy technique of shallow frying. I also switched to panko bread crumbs instead of the regular ones since they provide a lot more crunch. Some tweaking to the original seasoning of simple salt and pepper makes this version quite flavorful. Today we enjoyed the chips as appetizers for dinner. One zucchini was just enough to get us started on the rest of the courses. 

The picture came out sad, only because I was too hungry to spent time on photography!
Zucchini Fries/Chips

Ingredients:
1 Zucchini
1/2 Cup yogurt - whisked
3/4 Cup panko  bread crumbs
Paprika to taste
Dash of garlic powder
Salt to taste
Oil spray/oil

  • Cut zucchini in about 1/8 inch thick disks. Don't make it too thin. 
  • Whisk some yogurt (with a few drops of water if needed) so that it's smooth. Season it with paprika, salt and a dash of garlic powder. 
  • Take the bread crumbs in a plate and season them with paprika, salt and garlic powder as well. Seasoning yogurt as well as the bread crumbs will make these chips flavorful throughout. 
  • Dip the zucchini in yogurt, then press into the bread crumbs on both sides and fry in a pan using oil spray. If you don't have oil spray, simply spread some oil on the pan. Fry on both sides until golden brown. 

You can enjoy these chips with some ranch or another creamy dip, but they taste just perfect by themselves. 

Sunday, July 1, 2012

Randomness

It's been a while since I was home alone being a couch potato, only my needle and yarn to accompany me. Mom and dad left yesterday to continue their trip at my sister's, leaving a huge void in my house. I'm quite thankful for the wonderful time we spent together though, and it consoles me that they are just across the country as opposed to the globe! Now that it's back to just the two of us, I won't need to cook as much. For now, I'll update you on all the happenings in the last few days.

No butter baked goodie - I had wondered how applesauce worked in baked goodies all this while. After a successful trial, I'm convinced of the power of apple! I baked an eggless yogurt cake for mom and dad before they left, using this easy recipe. I cut the recipe in half, used only 1 tbsp of sugar instead (for mom) and (apprehensively) substituted oil with applesauce. Boy, was I sweetly surprised at the end product?! The cake was moist, fluffy and tasty. I would recommend adding some fruits or berries to the cake though since it's pretty one tone. Mom and dad gave two thumbs up.

Float fun - I stay away from sodas; not just for health reasons but I don't like the taste at all. Ice-cream floats though are a different story though. Creamy vanilla ice-cream dunked in fizzy root beer is the ultimate summer dream. We got my dad hooked onto root beer floats while he was here. If you haven't tried them or haven't had them in a while, do revisit soon =D.

Feeling peachy - Take a look at the velvety peaches we've plucked from the tree recently! we snacked on a few juicy fruits and saved some for a tart, maybe.


Anjeer Barfi - Everyone who visits our house 'oohs' and 'aahs' over the giant anjeers (figs) in the backyard. My sister and bro-in-law love figs and asked us to save some for them. I don't know what the status will be when they visits us in fall, but I wanted to surprise them with some fig goodness. I made fresh Anjeer Barfi (a sweet made from figs) and sent with my parents. Bro-in-law only saved a little bite for my sister, but I heard they loved the barfi. I used a pretty standard method to make it:


Anjeer Barfi

Ingredients:
3 Large figs (all the ripe figs on the tree)
1 Teaspoon ghee/ clarified butter
2 Tablespoons chopped dry fruits + more for garnishing
3 Teaspoons sugar
1/4 Teaspoon cardamom powder

  • Puree figs in the food processor. If you don't have fresh figs, use twice as many dry figs - reconstitute them in warm water and puree. 
  • In a pan, heat ghee on low-medium and roast the dry fuits for 10-15 secs. They don't need to turn color. I used almonds as that was the only dry fruit I had on hand, but you can use cashews and pistachios as well. Add the fig puree, sugar and cardamom powder and cook on medium for 10 mins or so until most of the moisture evaporates and the mixture separates from the pan in one ball. It's important that you get rid of the water content. 
  • Grease a plate with ghee or line it with parchment paper/aluminum foil and spread the mixture and pat it to 1/2 inch thickness. Spread some chopped dry fruit on top and press gently into the barfi. Stick it in the fridge to cool and thicken. 
  • I made a big round barfi to send it. You can cut small 1 inch cubes. 

Babies and batwas - My BF recently delivered a beautiful baby girl (yay for her), and my cousin is expecting her second bundle of joy - a girl too - very soon! I crocheted two cute little headbands for both of them. One inspired by this simple but beautiful design, and another with a pretty little flower. The second one has reached its destination already and the mommy was simply thrilled about the handmade gift :). On my recent trip to Michael's, hubby picked this rainbow of a yarn ball for me, and I crocheted a simple batwa (pouch) with a pattern I created myself. Take a look. I'm tackling this new design now. 

Thursday, June 14, 2012

Garden Gossip

Of all the pleasures that our new house has brought us, our lovely garden has become our joy and pride. Hubby spends 95% of his time (sometimes against my wish) in the garden, tending to the newly planted veggies, fruits and flowers. But my disappointment in his excessive gardening (instead of doing the dishes) vanishes when I look at how beautifully they are growing! Of course, I can't help but love the garden myself. That's the first place I visit after getting home from work. The plants take way all my exhaustion and freshen my mind. Mom and dad have made it a ritual to check up on plants first thing in the morning and then enjoy tea in their company. Plants are like babies - they need our care and love. And give us happiness seeing them grow and flourish. Here's a peek at what's growing in my garden this year. 

Swiss Chard  has beautiful ruby red stems and veins meshing through large velvety green leaves. A simple preparation of sauteed chard with onions and garlic makes a healthy and tasty side. I like it with roti as well. 


Spinach makes Popeye strong! And it's one of the most widely loved greens. I use spinach in a myriad ways - in salads, sabjis or curries, like this or this, daals, dips, pakodas and a number of other appetizers. The culinary uses of this leafy vegetable are endless.


Most people usually either love eggplant, or hate it. There's no in between. I am in the former category. I can have eggplants in any way, shape, or form. Be it chips from large eggplants, curry with stuffed small eggplants, grilled Japanese eggplant in pizzas or sandwiches, or simply bharta from large eggplants - I like 'em all. I don't know how large this eggplant will grow before I need to pluck the fruit, but there's a little eggplant peeking through the bottom leaves!


Last year was a sad year for zucchini. The golden zucchini I planted died before the first fruit was fully grown. I hope to have better luck this time. So far my 4 plants are looking good, and one of them better give me some zucchini! (Un)fried zucchini chips have been my new craze. I'll make that first thing I have a zucchini.


I have a special place for tomatoes in my heart. That was the first vegetable I grew when I started gardening in Utah and have been growing for 4 years now. Hubby wanted to plant tomatoes no matter what other veggies we planted, because they do not disappoint you. Tomatoes are extremely hardy and love bright and sunny weather. Check out these cuties! 


Poblano pepper! My jalapeno pepper suffered the same fate as zucchini last year. This year I'm trying my luck with poblano; but I hear peppers are generally late bloomers. I've been praying to the plant gods so that  I can roast my own poblanos!


Blackberries are hubby's favorite kind of berries. Our little plant is already bearing lots of tiny fruits. I can't wait to snack on them and hopefully make some jam or preserve out of the leftovers. 


We inherited lots of fruit trees and flowers from the previous owners. I was ecstatic to see the large fig tree! Mom and I have been waiting for the dozens of figs to ripen. I am looking forward to trying some desserts and flat-bread pizzas with caramelized figs.


We had no idea there was a peach tree in the backyard! The tree is fairly small and neither of us paid too much attention to it, until recently, when the green fruits camouflaging with the leaves started turning red-orange. Peach tart sounds like a good idea.


Basil has been my faithful herb. I sowed the leftover seeds from last year and they give me a big bunch of leaves every week. I love adding a few julienned leaves to pasta or making my basil-cilantro chutney for sandwiches or wraps. It adds lots of flavor and some moisture to a simple veggie wrap, like the picture below this. 


Wraps and sandwiches are our dinner favorites. Easy to put together and healthy to eat, they are quick dinner fixes. I simply use some whole wheat tortillas or flatbreads. Make a chutney by grinding basil-cilantro (2:1 ratio) leaves, garlic cloves, sometimes a spoonful of parmesan, a little EVOO, salt and pepper, and water for the right consistency. Spread this chutney generously, and add your favorite greens and veggies such as tomato, lettuce, sprouts, avocado, purple cabbage etc. My favorite among the veggies is roasted bell pepper, which adds meatiness and slight sweetness to the wraps. Simply roast red bell pepper on open flame until the skin is completely charred, cover in a container for 5-10 mins so the steam loosens the skin and then peel off the burned skin. You are left with sweet, juicy flesh. I always roast bell peppers at home instead of buying the canned ones. Wrap it all up and enjoy it with some hot sauce. 


That's about it for my garden! Have you been gardening this summer? Any recipes I should try out when I pick the veggies?

LinkWithin

Related Posts Plugin for WordPress, Blogger...