Holi Hai Bhai Holi Hai! Wishing all my readers a very colorful Holi!
I know the other side of the country is eagerly awaiting the arrival of spring; but I hope the colors of Holi wash away all the white and brighten up you days. Over here, spring is peeking through the pink-purple-yellow wildflowers dotting the green patches everywhere, the sweet songs of red-black-blue birds hopping in our yards, and the tender green shoots covering the bare bones of all the trees. There's a riot of colors everywhere; happy times are here again!

What colorful food will you eat for Holi? No, I'm not talking about artificial food colors. I'm referring to the bounty of veggies and fruits that add a splash of color to our plates. We've all heard our grandmas saying, "Eat your colors! They make a balanced diet." Scientific research now shows that the color pigment in different fruits and veggies results from the compounds, vitamins and other nutrients in them. Old cultures have always emphasized the importance of eating foods from various color families. Mom always taught me to pick different colored veggies/fruits/beans when planning a menu. Holi is a perfect time to remind ourselves that colorful foods are not just pleasing to the eyes, but nourishing to our bodies. Eat a rainbow every day to ensure you get the essential nutrients your body needs**. A few good articles on the benefits of colorful foods - NYTimes Health, Dr. Oz, SFO Chronicle.
**Please note: I'm no nutritionist or doctor. But I suppose eating a variety of fruits and veggies doesn't hurt anyone :D.
Rainbow of foods
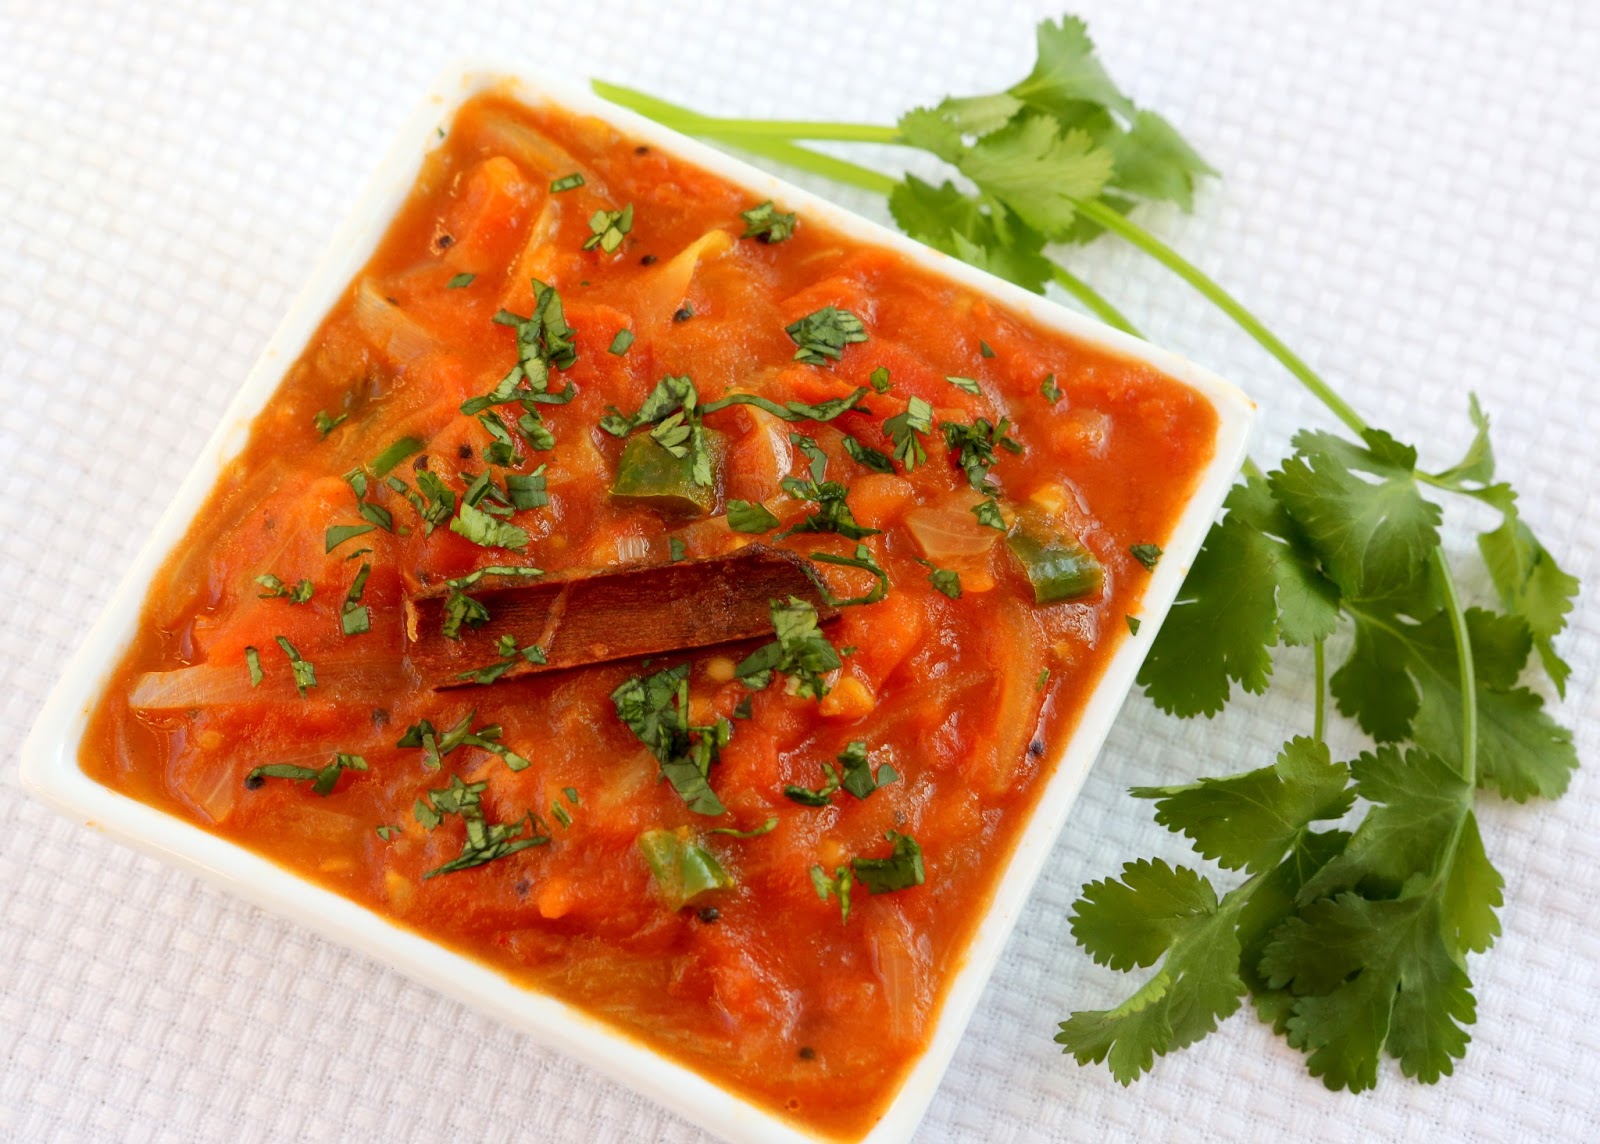
Red/Pink: Provide antioxidants, vitamin A and C.
Examples: Tomatoes, Red bell pepper, Pomegranate, Strawberries, Watermelon
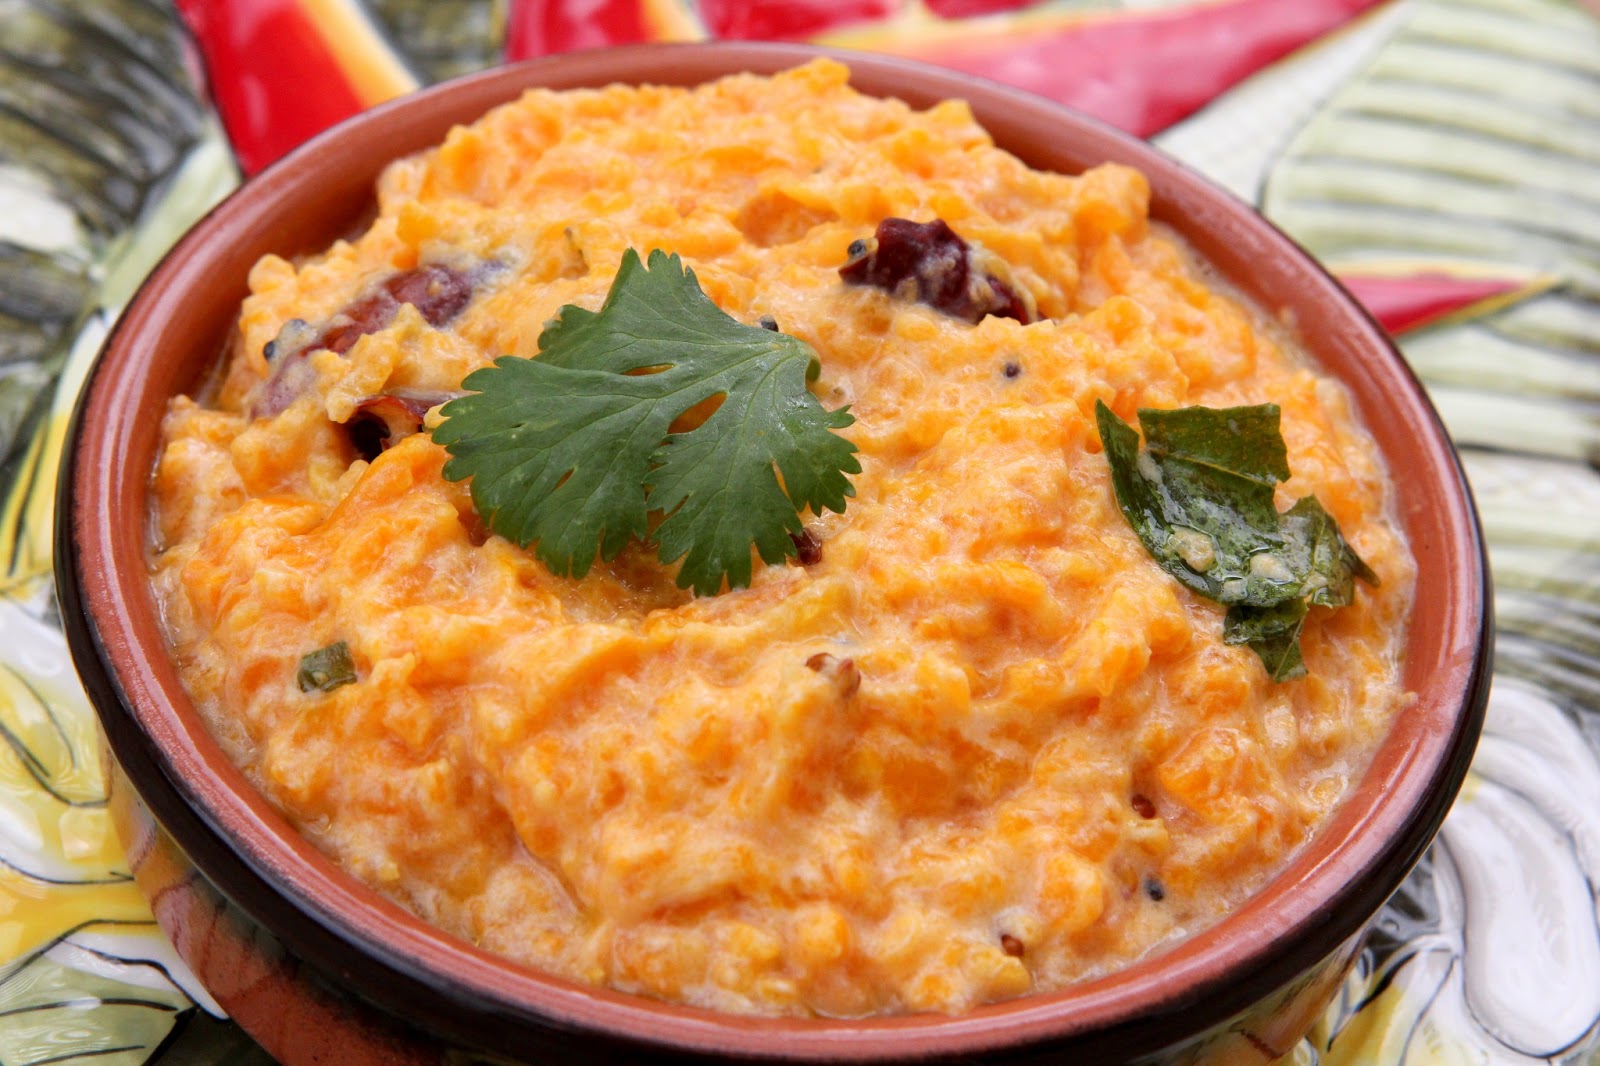
Orange/Yellow: Rich in vitamin A, vitamin C.
I know the other side of the country is eagerly awaiting the arrival of spring; but I hope the colors of Holi wash away all the white and brighten up you days. Over here, spring is peeking through the pink-purple-yellow wildflowers dotting the green patches everywhere, the sweet songs of red-black-blue birds hopping in our yards, and the tender green shoots covering the bare bones of all the trees. There's a riot of colors everywhere; happy times are here again!

What colorful food will you eat for Holi? No, I'm not talking about artificial food colors. I'm referring to the bounty of veggies and fruits that add a splash of color to our plates. We've all heard our grandmas saying, "Eat your colors! They make a balanced diet." Scientific research now shows that the color pigment in different fruits and veggies results from the compounds, vitamins and other nutrients in them. Old cultures have always emphasized the importance of eating foods from various color families. Mom always taught me to pick different colored veggies/fruits/beans when planning a menu. Holi is a perfect time to remind ourselves that colorful foods are not just pleasing to the eyes, but nourishing to our bodies. Eat a rainbow every day to ensure you get the essential nutrients your body needs**. A few good articles on the benefits of colorful foods - NYTimes Health, Dr. Oz, SFO Chronicle.
**Please note: I'm no nutritionist or doctor. But I suppose eating a variety of fruits and veggies doesn't hurt anyone :D.
Rainbow of foods
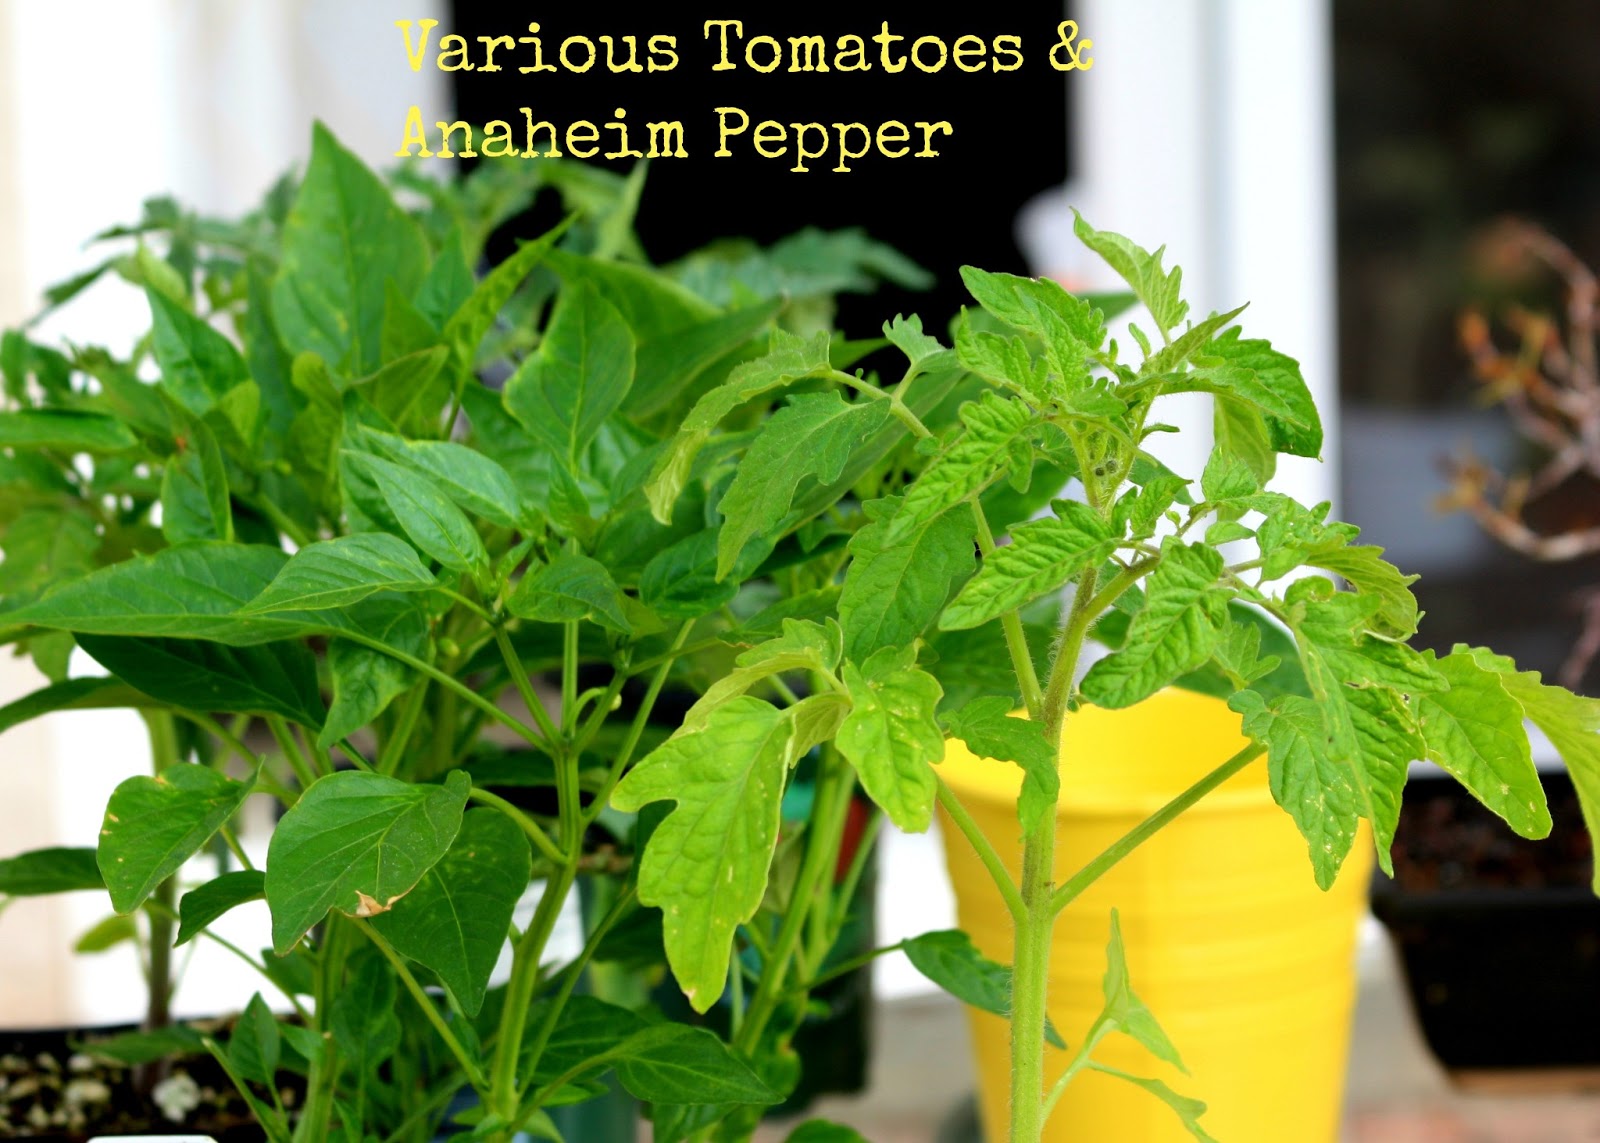
Red/Pink: Provide antioxidants, vitamin A and C.
Examples: Tomatoes, Red bell pepper, Pomegranate, Strawberries, Watermelon
 | ||
Watermelon Salad
|
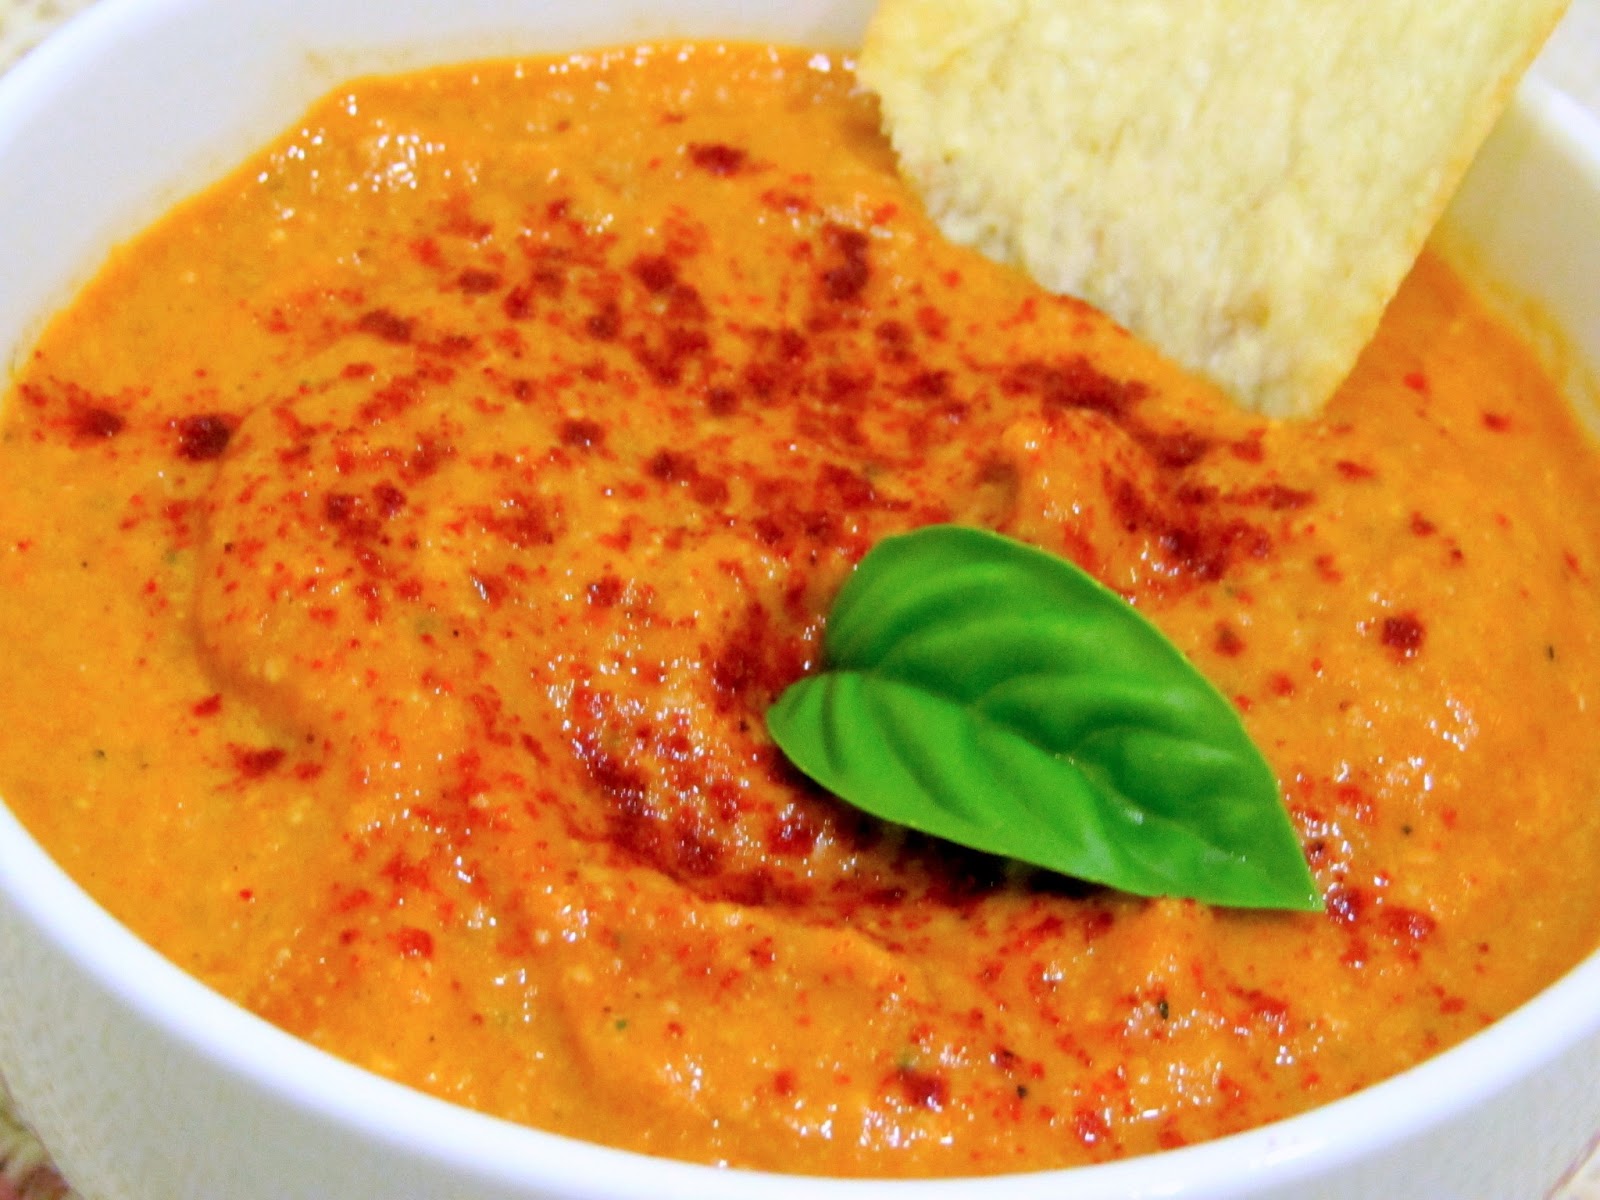

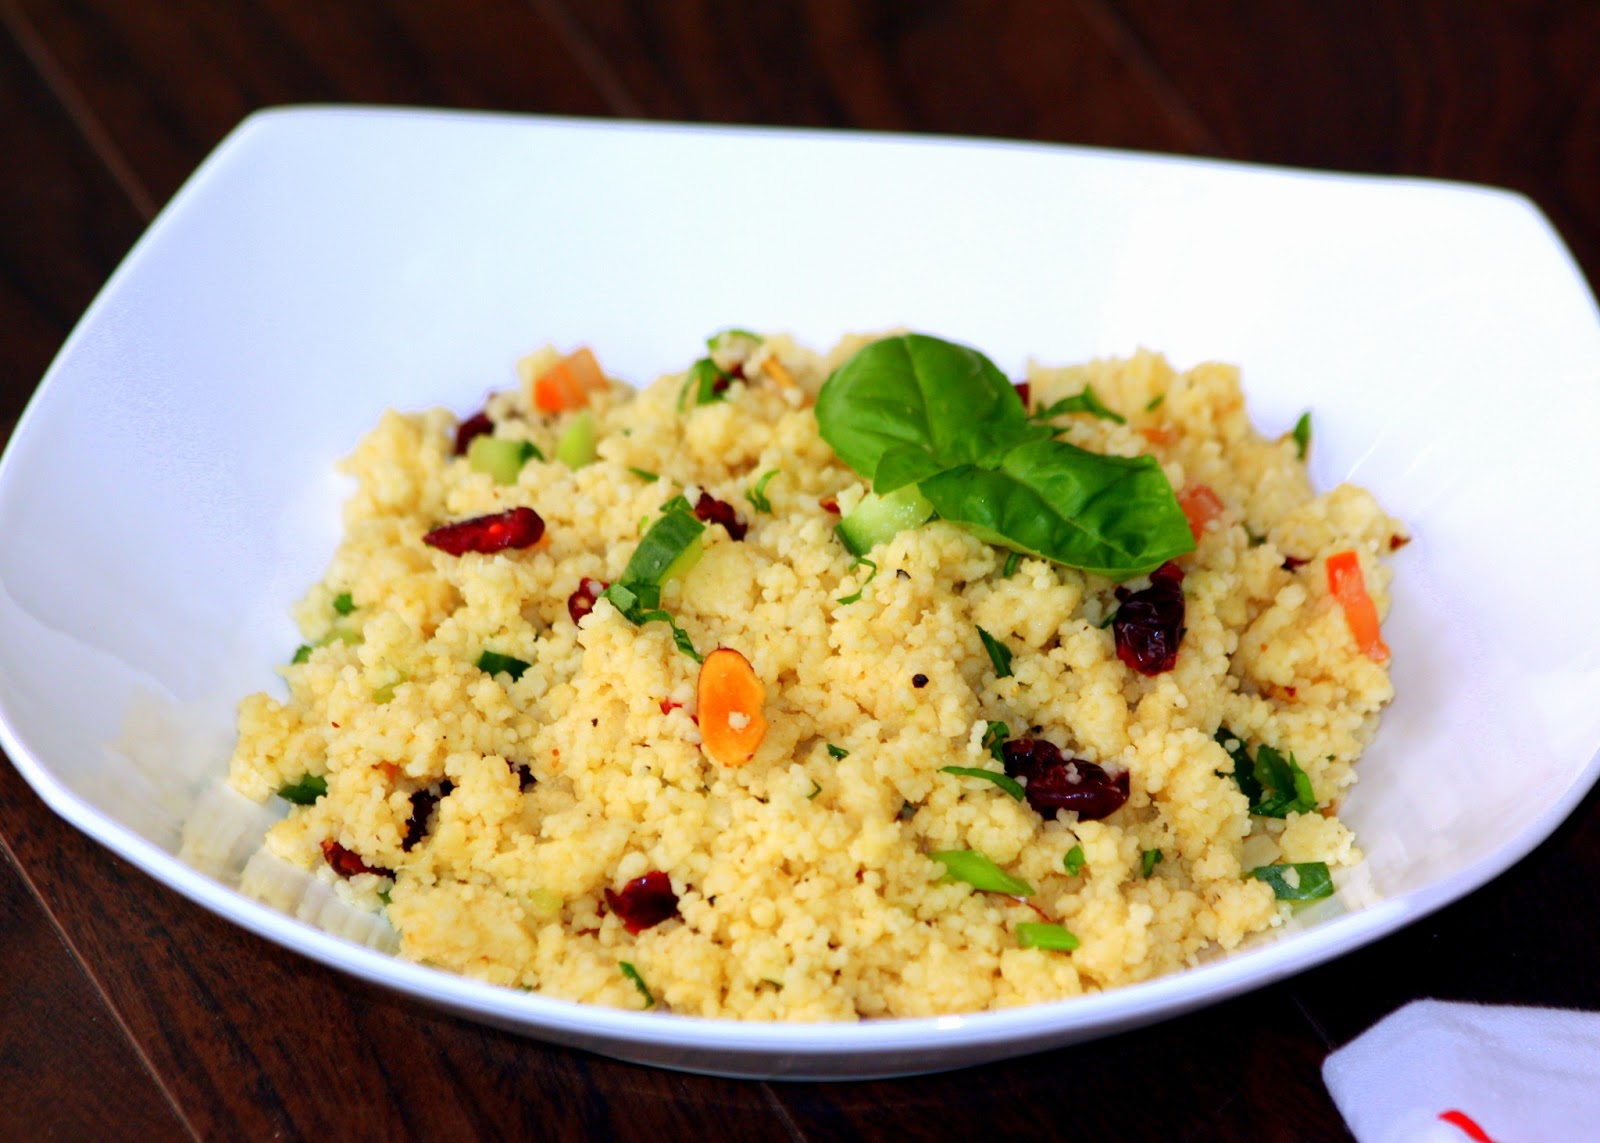
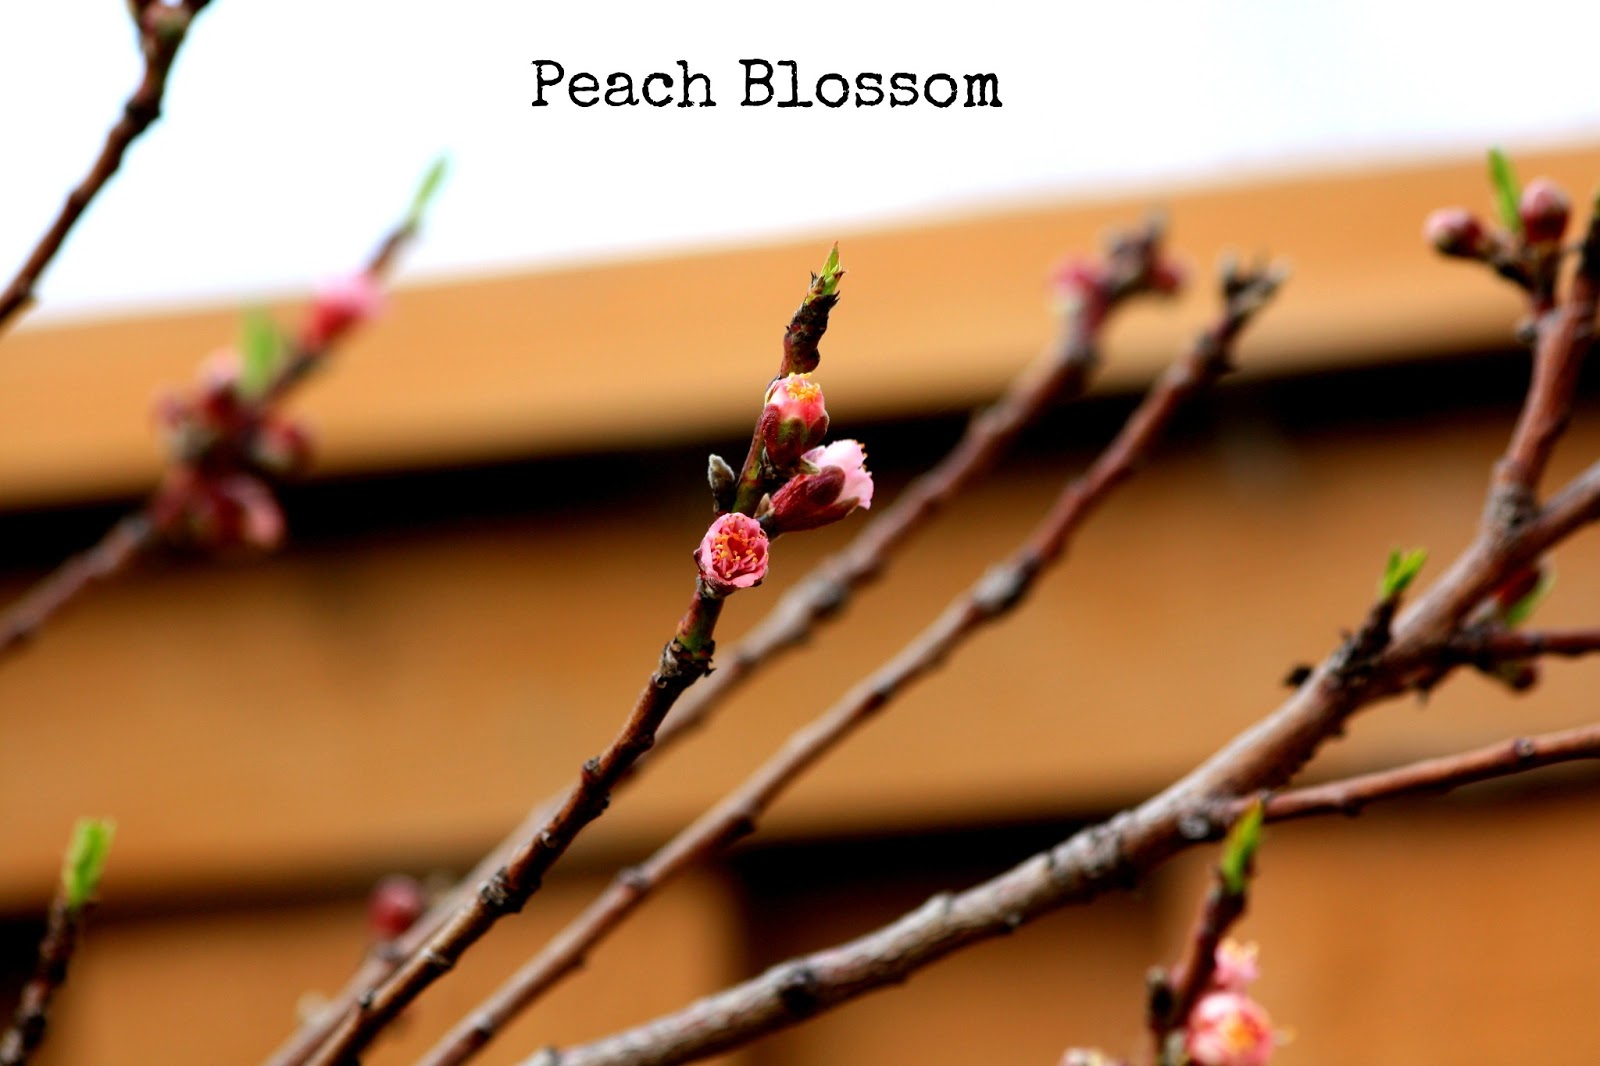
Examples: Apricots, Squash, Carrots, Orange, Papaya, Peaches, Mangoes


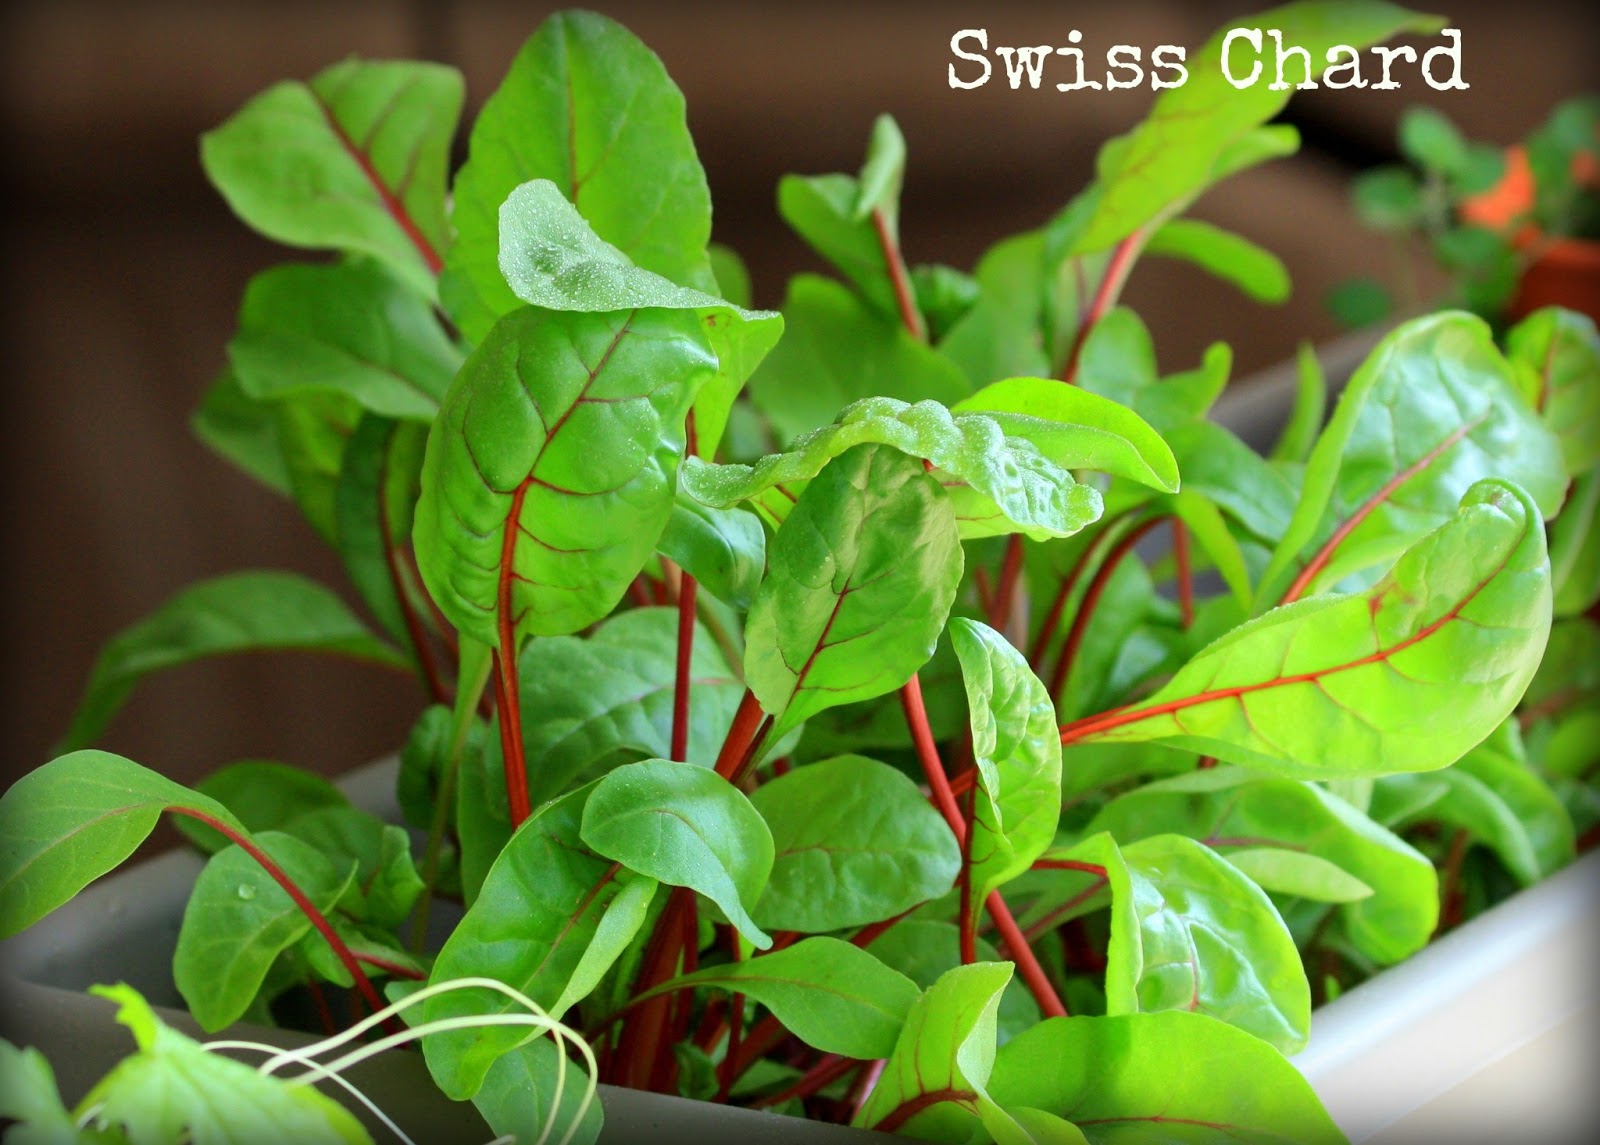
Green: Fiber, vitamin K, chlorophyll - a natural purifier, vitamin B
Examples: Spinach, Kale, Lettuce, Zucchini, Green bell peppers, Peas, Green Beans, Broccoli, Leafy veggies


Examples: Eggplants, Beets, Purple cabbage, Blueberries, Figs, Plums, Blackberries
May your lives be filled with healthful colors!
 | ||
Berry Trifle
|